14
240064-1
14 • REMOVING THE CONTROL PANEL (Version D)
The following are the instructions for removing
the control panel to replace the control board
or the glass panel.
14.1
•
REMOVING THE CONTROL PANEL
Disconnect the power supply to the oven.
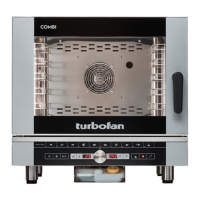
To remove the control panel, first remove
the plastic covers inside the front tray that
protect the 3 mounting screws (pry up
using a flat head screwdriver) and loosen
the 3 screws.
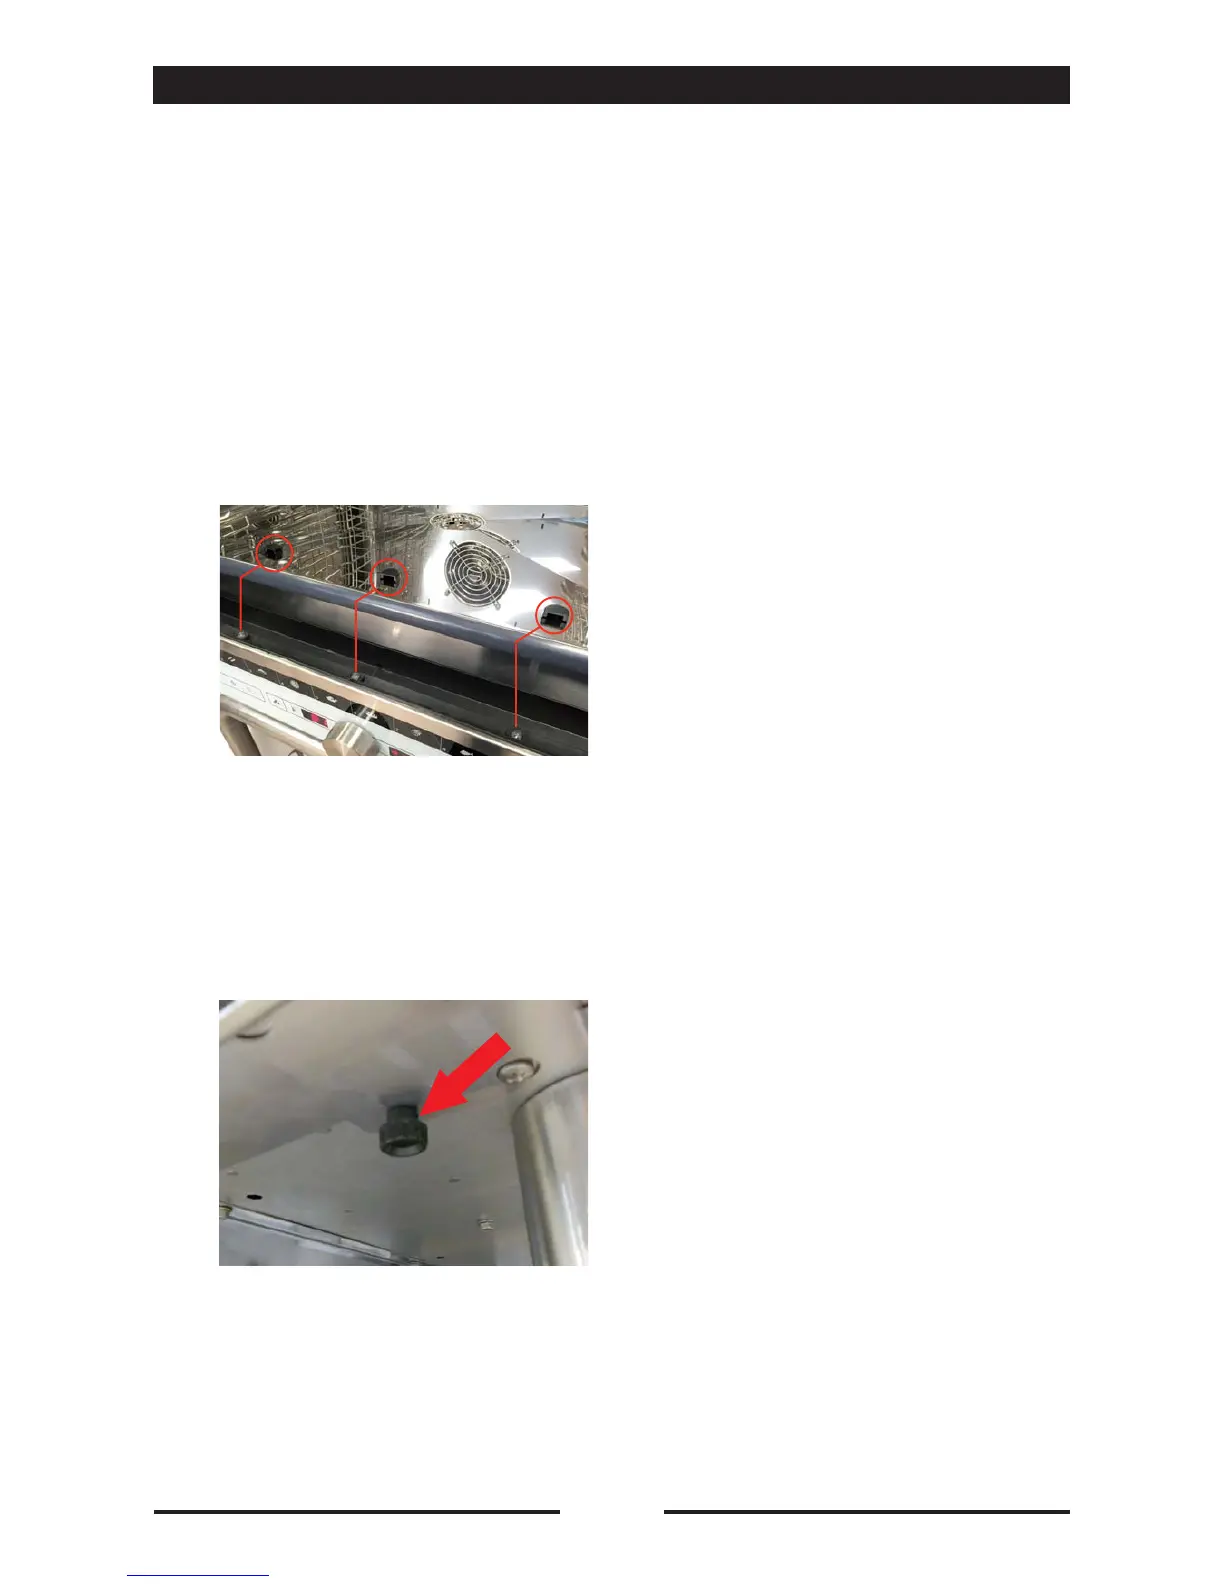
On the lower part of the control panel,
loosen and remove the two black mounting
knobs.
Once removed, the panel slides down.
14.2
•
REPLACING THE CONTROL BOARD
KEYPAD
Disconnect the control board keypad
connector and the encoder connector.
Unscrew the 4 mounting screws on the
panel of the control board keypad/frame
and remove them.
Insert the new control board keypad/frame
assembly, replace the 4 screws and
reconnect the wiring.
Replace the control panel.
14.3
•
REPLACING THE GLASS PANEL
Remove the encoder knob and unscrew the
mounting nut.
Disconnect the control board keypad
connector and the encoder connector.
Unscrew the 4 mounting screws on the
panel of the control board keypad/frame
and remove them.
Remove the encoder board.
Put the encoder board on the new glass
panel and screw the mounting nut.
Replace the knob.
Replace the control board keypad/frame
assembly, replace the 4 screws and
reconnect the wiring.
Replace the control panel.
 Loading...