Rebar Scanner A60+
8
Note: When covering layer thickness is beyond the lower limit of
nominal range of covering layer thickness, ≤XX is showed on the
screen. When covering layer thickness detected by the first nominal
range is more than 50mm, to improve the detection accuracy, switch
into the second nominal range to carry out detection.
3.2.4 Diameter test
Interface of diameter test is shown as figure 3-5. Firstly, project
No is set (the initial position is fixed as 2). Press ← and →keys to
move the cursor and press ↑ and ↓keys to adjust the value of cursor
position. After above setting is end, press the ENTERkey to confirm
the setting. Then probe is self-calibrated. At this time, probe should be
placed in the air and away from the strong magnetic field interference.
At the same time, wait! is showed on the screen. After wait!is
missing, it indicates self-calibration of probe is end, as figure 3-6
shows. At this time, enter into detection status.
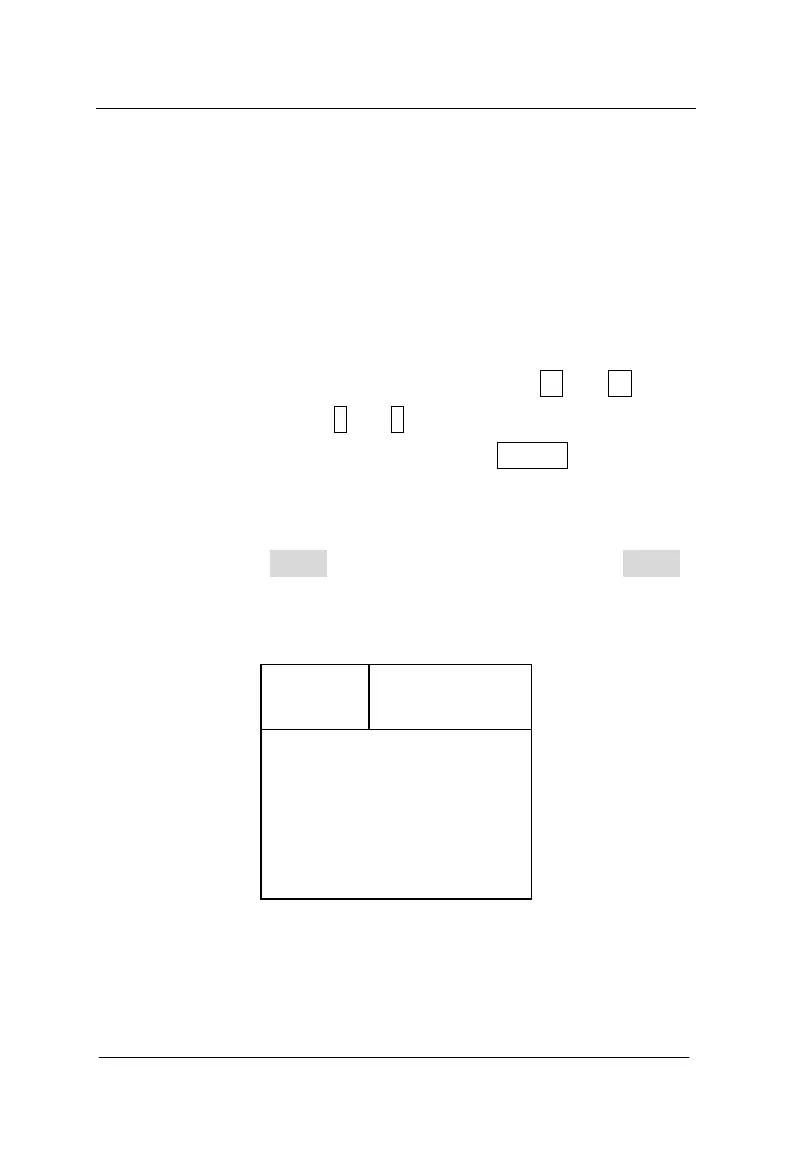
Figure 3-5 interface of diameter test
During detection, current signal value of probe is showed on the
No.=0000
Signal
Memory
Diameter
Thickness