14
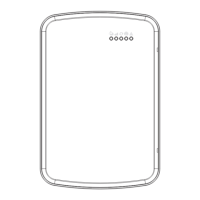
Step 1 “Hook” the lip provided on the rear cover of the console over the top edge of the con-
trol module front plate.
Fig. 2.2 Console installation – Step 1
Step 2 “Hinge” the bottom of the console downwards until it is flush with the front of the con-
trol module.
Fig. 2.3 Console installation – Step 2
Step 3 If the console is to be permanently installed, secure it to the control module using the
captive screw provided. It should be finger tight only. Do not over-tighten the screw or damage
to the console housing may occur.
Fig. 2.4 Console installation – Step 3
To remove the console, follow the three steps outlined above in reverse order.
2.7 Wiring
Wiring diagrams for typical configurations are included in Appendix C on page 68.
Caution: Always verify wiring connections before applying power to the controller or connected
circuits. To avoid injury or equipment damage, do not install or remove wiring while controller
power is on.
To minimize the chance of loose connections, the terminal board uses lever-operated, spring-
loaded terminals. See Appendix A on page 61 for allowable wire sizes and recommended insula-
tion strip lengths.
 Loading...