TYCROP Manufacturing Ltd. QuickPass Top Dresser Setup Manual
Setup Instructions Page 1
Setup Instructions
IMPORTANT: If the QuickPass will be used without an
attachment, you must connect the two quick couplers at
the rear of the QuickPass to complete the hydraulic
circuit.
How to Set Up the Chassis
1. Remove the hitch tube tongue from the side of the
crate.
2. Slide the hitch tube tongue into place at the front of
the QuickPass. Ensure that the jack’s mounting
bracket is on the same side of the unit as the drive
motor.
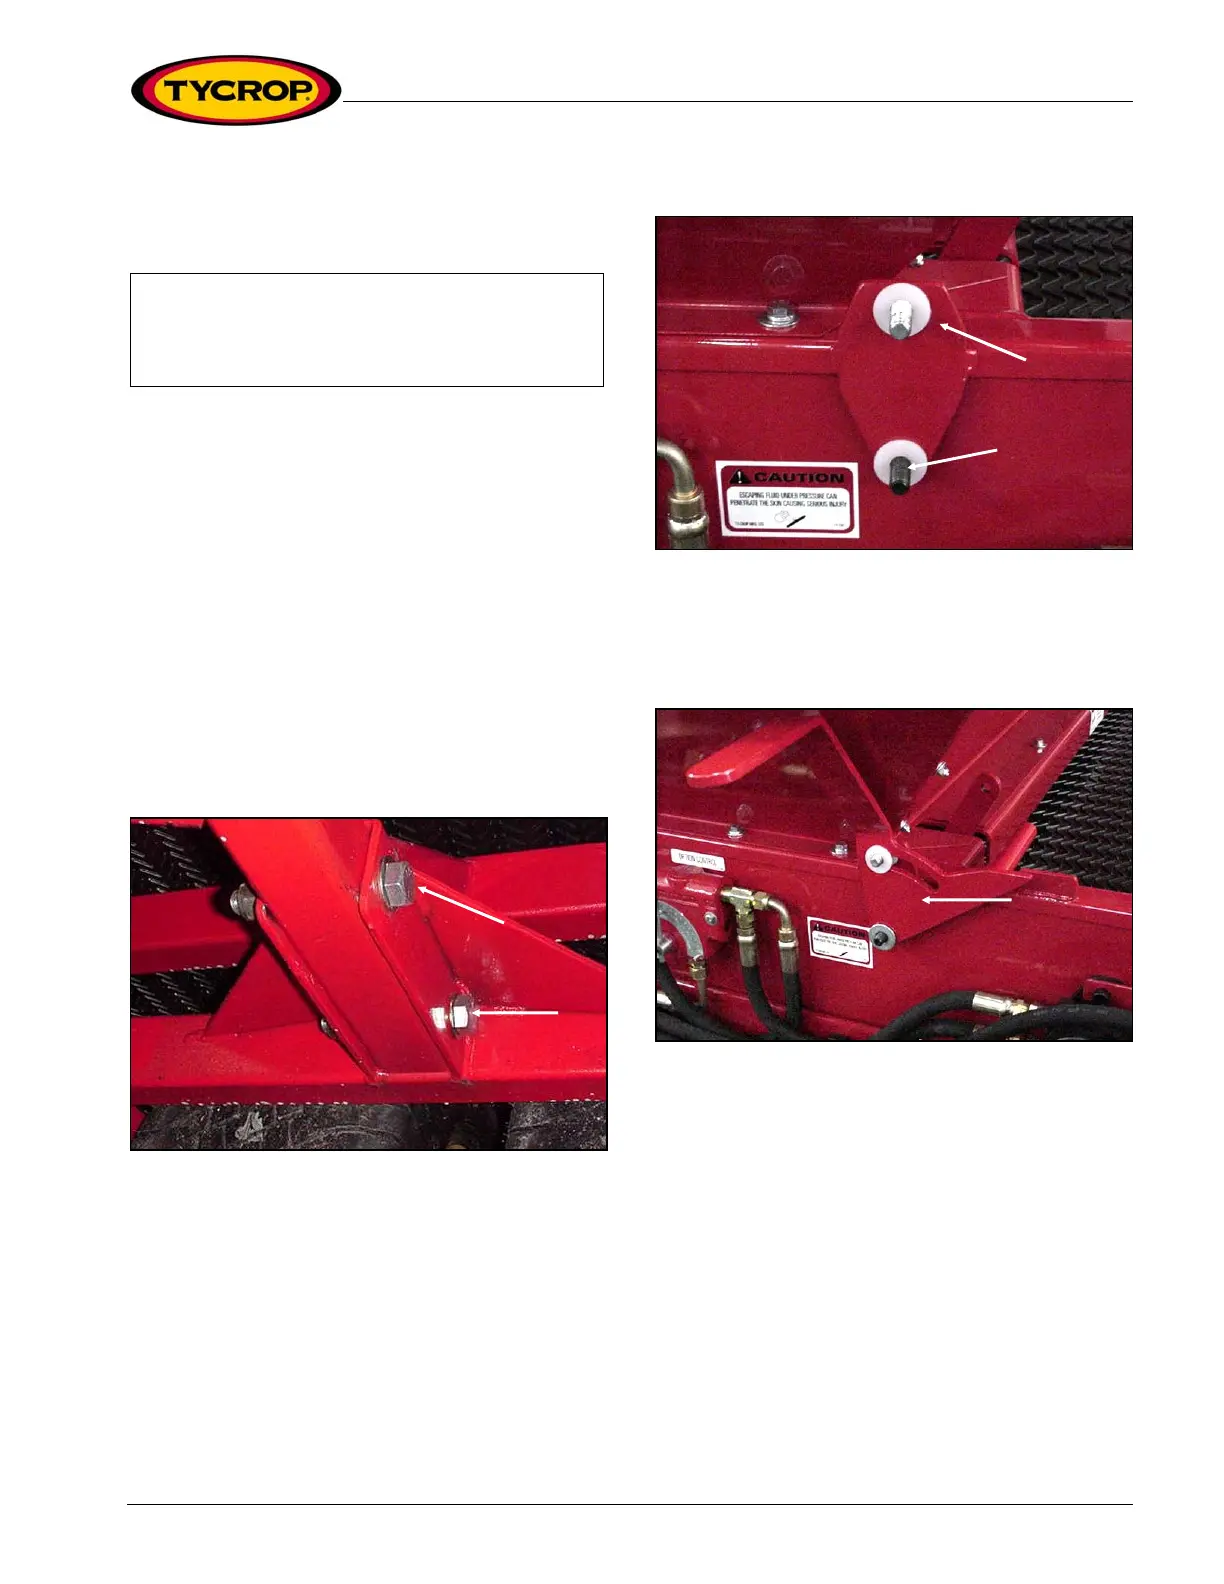
3. Place the two 18.75 x 112.5 mm (¾ x 4½ in) bolts
through the frame and hitch tube, with washers on
both sides.
4. Securely tighten the nylon locking nuts to 13.83 kg/m
(100 ft lb) (Figure 1).
Figure 1: Tighten nylon locking nuts to hitch tube
5. Cut and remove the metal straps securing the chassis
to the crate. Pull the QuickPass from the crate.
6. Install the hopper. See the set up instructions on page
12 (300) and page 13 (450).
7. Install the two plastic washers over the two welded
bolts on the left side of the QuickPass (Figure 2).
Figure 2: Install plastic washers over welded bolts
8. Install the rear gate handle over the welded bolts. Add
another plastic washer and a flat washer to the top
bolt, and a flat washer on the bottom (Figure 3).
Figure 3: Install flat washers over welded bolts
9. Install the black tensioning handle to the top bolt and a
nylon locking nut to the bottom bolt. Tighten the nut
just enough so you can move the rear gate handle back
and forth freely.
10. Install the 12.5 x 37.5 mm (½ x 1½ in) bolt and lock
washer through the gate-adjusting arm into the rear
gate handle and tighten (Figure 4).
 Loading...