Figure 14: Schematic diagram of installation
1.
Heater
2.
Control panel
3.
Sensor
4.
External ON/OFF switch (option)
5.
Extra control panel (option)
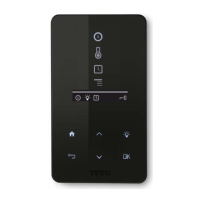
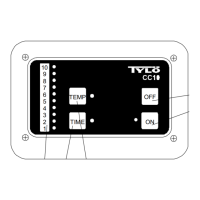
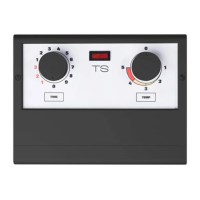
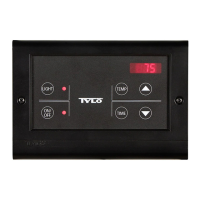
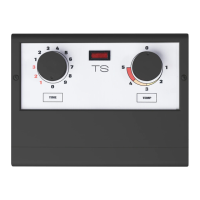
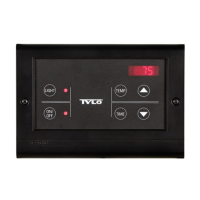
Control panel
The control panel can be installed inside or outside the sauna. If
installing it inside, the upper edge must not be more than 90 cm
from the floor. Use a type 2-LIFYCY 2X2X0.2 mm Twisted Pair
cable to connect control panel to heater.
To install the control panel:
1. Slacken the lock screw and split the panel and back piece
(see Figure 15, Page 6 pos 1).
Figure 15: Installing the control panel
1.
Slacken the lock screw
2.
Seal
3.
Mounting on wall
4.
Terminal
5.
Slide on the panel's glass element
6.
Tighten the lock screw
2. Glue the seal onto the back piece (see Figure 15, Page 6
pos 2).
3. Mount the back piece leaving sufficient room for electrical
cables to pass through their openings. Note that the hole for
the retaining screw must be at the bottom (see Figure 15,
Page 6 pos 3).