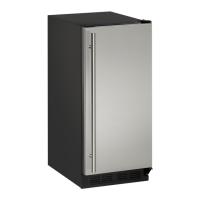
CLR2160, CLRCO2175 19
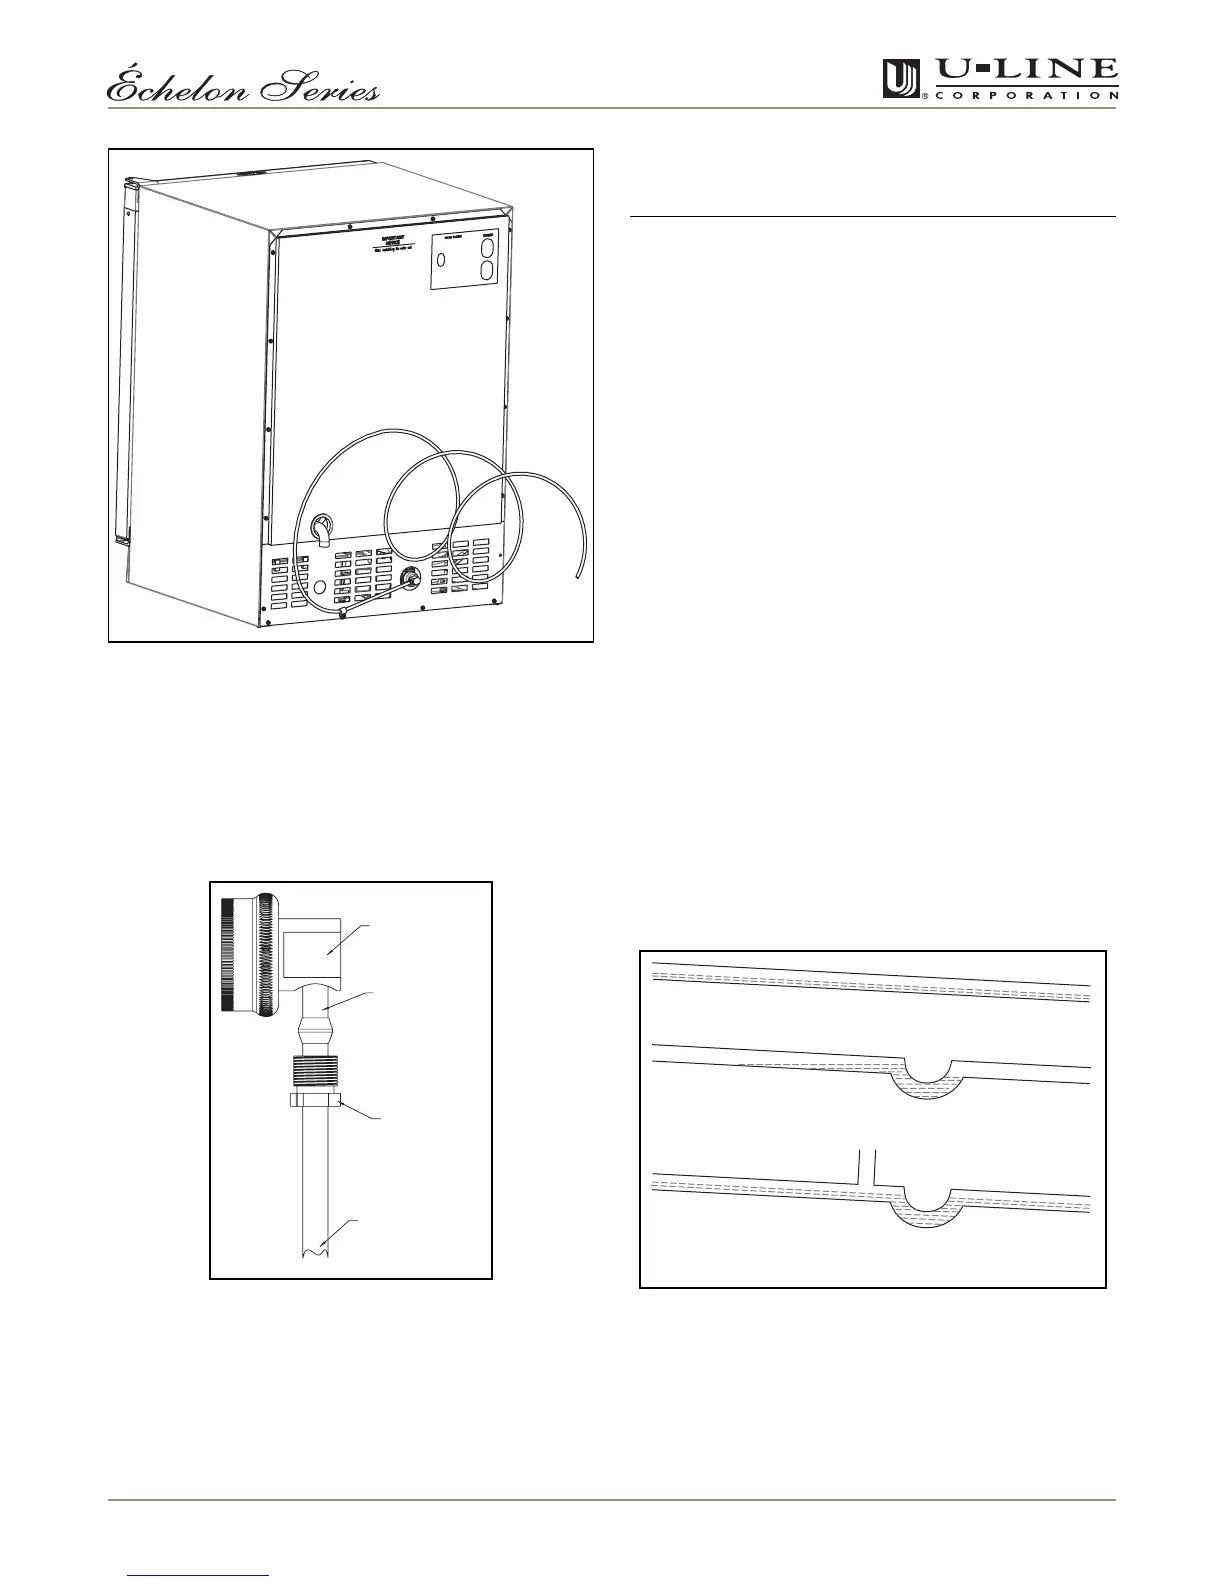
Figure 30
2. Locate the U-Line supplied garden hose fitting. Ensure
the end of the copper tubing has been cut straight and
free of burrs. Slide the compression nut and ferrule
onto the copper tubing as shown (see
Figure 31
). Push
the assembly completely into the the garden hose
fitting and tighten using the two wrenches. Wait to
connect this assembly to the appliance until the drain
connection is ready.
Figure 31
Drain Connection
IMPORTANTIMPORTANT
Drain can NOT be located directly below unit. Unit
has a solid base that will not allow unit to drain
below itself.
The CLR2160 or CLRCO2175 can be installed using a
Gravity Drain, a Factory-Installed Drain Pump (U-Line P60)
or a Locally-Installed (U-Line P60) Drain Pump. Drain lines
must have a 5/8” inside diameter. The floor drain must be
large enough to accommodate drainage from all attached
drains.
NOTE: We strongly recommend the use of the U-Line
CLRDRAINKIT for both gravity & pump installations. A
complete drain kit containing all the items needed to
connect your unit are available from your dealer. Order
Part No. U-CLRDRAINKIT.
NOTE: Longer drain connections may require
additional drain hose lengths. Additional drain line can
be purchased from your dealer or directly from
McMaster-Carr. (McMaster-Carr # 52375K35)
Follow these guidelines when installing drain lines to
prevent water from flowing back into the ice maker
storage bin and/or potentially flowing onto the floor,
causing water damage:
Gravity Drain
A Gravity Drain may be used if:
• Drain line has at least a 1-inch drop per 48 inches of
run (1/4 inch per foot).
• Drain line does not create traps or created traps are
vented (see Figure 32).
Figure 32
See Figure 33 for a typical Gravity Drain installation.
ULIN_S_165
9/16" Wrench
1/4" Copper Water
Supply Line
7/16" Wrench
From Water Supply
to Ice Maker
ULIN_S_0168_A
Normal
Proper Drain
With Trap
Poor Drainage, Water Will Back Up
With Trap and Vent
Proper Drain
ULIN_0569_A
ULIN_30096_5-7-07.fm Page 19 Friday, May 11, 2007 11:06 AM
 Loading...