Do you have a question about the U-Line CLR60 and is the answer not in the manual?
Critical safety warning regarding water supply connection and potential property damage from improper hook-up.
Instructions to record model and serial numbers for service inquiries.
Information about the warranty registration card and its importance for coverage.
Defines the meaning of 'Warning' (serious injury/death) and 'Caution' (minor injury/damage) statements.
Emphasizes electrical safety, disconnecting power, and safe handling practices.
Warns against obstructing airflow and using non-genuine parts, both of which can void the warranty.
Safety warning about child entrapment in old appliances and proper disposal procedures.
Critical warning about water/drain connections requiring a licensed plumber to prevent damage and harm.
Emphasizes adhering to local codes and using qualified plumbers for water and drain connections.
Guidelines for gravity drain installation, including pipe diameter, slope, and insulation.
Note on checking and testing hose connections for the factory-installed drain pump.
Instructions for installing an optional U-Line P60 drain pump or equivalent.
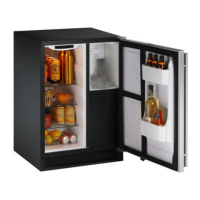
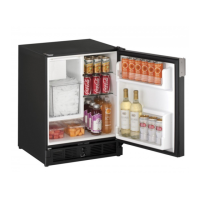
Stresses the importance of a level unit for proper ice production and preventing water spillage.
Instructions on water line installation, including shut-off valves, tubing length, and copper tubing specification.
Details on connecting the water supply line, using compression fittings, and avoiding kinks.
Advises rechecking water and drain connections for leaks after installation.
Guidance on routing the water supply line to prevent contact with internal components and noise.
Instructions on using a level and adjusting the unit's feet to ensure it is level.
Instructions for removing the grille using a screwdriver and identifying the mounting screw.
Steps for placing and securing the grille onto the unit's base.
Detailed steps for reversing the door mounting, starting with removing the grille and top hinge.
Instructions on lifting the door off the bottom hinge and installing the opposite side hinge.
Steps involving inverting pivot screws, removing plastic plugs, and aligning the upper hinge.
Final steps for door alignment, seal inspection, and reinstalling the grille.
Steps to loosen hinge screws, square the door, and ensure gasket contact for proper alignment.
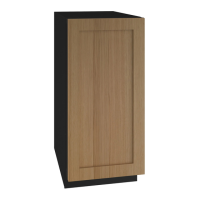
Crucial warning that the custom door panel insert must not exceed 20 lbs.
Warning that insert edges may be sharp and requiring careful handling during installation.
Detailed steps for removing the door, handle, and gasket to install a custom door panel.
Steps to reattach the handle, secure the gasket, and place the door on the hinge.
Warning against installing the unit behind closed cabinet doors, as it obstructs airflow.
Provides dimensions for built-in installation and recommends slightly larger openings for easier access.
Steps to power on the unit, connect water, and initiate the first ice-making cycle.
Explains that initial start-up may have uneven water flow, which corrects itself over time.
Describes how the ice maker produces clear ice and how the unit shuts off when the bin is full.
Strict warning to disconnect power before making any ice thickness adjustments to avoid electrical shock.
Steps to access the ice thickness adjustment dial and turn it for thicker or thinner ice bridges.
Advises adjusting the dial one increment at a time and allowing 24 hours for stabilization.
Recommendations for cleaning the unit's exterior with non-abrasive cleaners.
Warning to disconnect power before cleaning the condenser and caution about sharp fins.
Instructions on cleaning the condenser coil located behind the front grille, recommending frequency and method.
Procedure for cleaning the solenoid valve inlet screen annually to remove sediment.
Information regarding the automatic clean cycle and safety precautions for using cleaning agents.
Steps for using ice machine cleaner to remove lime scale and mineral deposits.
Procedure for cleaning the ice storage bin using mild soap, detergent, and a bleach solution for sanitizing.
Warning about electrical shock hazards during servicing and the need to replace panels before operation.
Steps required to drain the water system if the unit is stored or not used for extended periods.
Instructions to clean the ice maker and storage bin before the next use after storage.
Guidance to check normal operation and the troubleshooting guide before contacting service.
Introduction to the troubleshooting guide for common problems and their solutions.
Warning to disconnect power before performing any maintenance or repair.
Troubleshooting steps for when the unit does not operate, covering power and selector switch issues.
Troubleshooting steps for when the unit runs but produces no ice, focusing on water supply and air temperature.
Troubleshooting steps for low ice production, including airflow, ice thickness, and system cleanliness.
Troubleshooting steps for slow ice release or no release from the evaporator.
Troubleshooting steps for poor ice quality (soft or unclear), related to water quality and system cleanliness.
Troubleshooting steps for shallow or incomplete ice cubes, covering water level, temperature, and thickness settings.
Troubleshooting steps for water leaking from under the unit, checking supply and drain lines.
Troubleshooting steps for an ice storage bin full of water, focusing on obstructed drains.
Advice on using only genuine U-Line replacement parts to maintain performance and warranty.
Instructions on how to contact a dealer for service, providing necessary model and serial number information.