7. Holding door gasket out of the
way, replace handle on door
making sure it is seated prop-
erly on insert and that screw
holes line up.
8. Install two small screws
removed in step 3. Be careful
no to overtighten these screws.
This could strip the plastic.
9. Starting at the center and
working outward, push door
gasket into place on door.
10. Place door on bottom hinge pin
and install upper hinge screw
(see Figure 23).
19
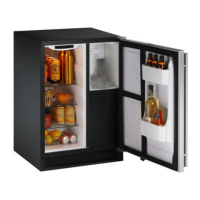
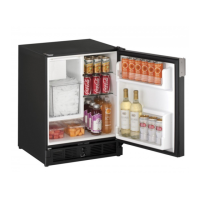
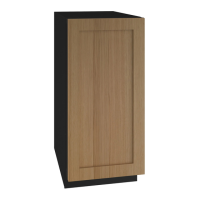
BUILT-IN INSTALLATION
Your U-Line product has been designed for either free-standing or built-
in installation. When built-in, your U-Line product does not require addi-
tional air space for top, sides or rear. However, the front grille must
NOT be obstructed.
Do not install unit behind closed doors.
BUILT-IN CABINET DIMENSIONS
Model
Unit Dimensions
Width Height Depth
CLR 60 14-15/16" 34-35" 24"
NOTE
To ease unit installation and removal, increase the above
measurements. It is recommended that the cabinet rough
opening dimensions be increased by at least 1/4" over the
dimensions given for your unit. The unit must be located to
allow clearance for water, drain and electrical connections
in the rear of the ice maker.
 Loading...