13. Replace three plastic plugs removed in step 8 into holes on top of
unit. Replace screws in holes in bottom of unit, opposite side.
14. Reinspect door seal and alignment. Adjust if needed.
15. Reinstall grille (1 screw).
ALIGNING THE DOOR
For proper door alignment:
1. Loosen top and bottom hinge screws (see Figure 15).
2. Align door squarely with cabinet.
3. Assure gasket is firmly in contact with cabinet all the way around
the door (no gaps).
4. Tighten bottom hinge screws.
5. Tighten top hinge screws.
NOTE
Make sure that the door gasket is not pinched too tightly
on the hinge side of the door.
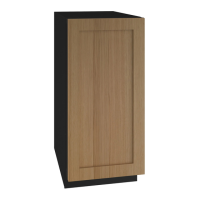
CUSTOM DOOR PANEL INSERT
INSTALLATION
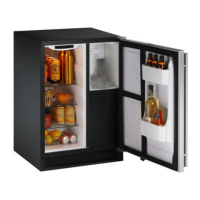
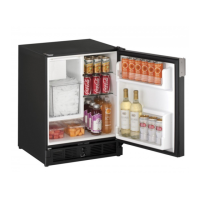
A custom door panel insert can be installed in your U-Line unit. The
door will accept a flat or raised panel. The maximum panel thickness
where inserted into the door reveal (channel) is 1/4" thick. For raised
panels, the depth of the reveal is 1/4" on the sides and bottom, and
1/2" on the top (allow for proper clearance when installing a raised
panel). The size of the door panel insert is shown below:
The door panel insert must not weigh more than 20 lb.
17
 Loading...