PAGE 1 OF 12 0814 IH-3415
π H-3415
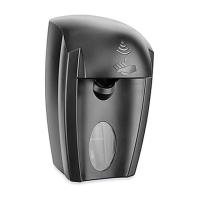
AUTO FOAMING
SOAP DISPENSER
1-800-295-5510
uline.com
APPLYING DISPENSER LABEL
1. Peel label from
backing. The
adhesive is on the
FRONT of the label.
(See Figure 1)
2. Open dispenser.
Place label sticky side
down on the INSIDE of
the clear oval window.
(See Figures 2-3)
3. Close front of
dispenser.
(See Figure 4)
MOUNTING INSTRUCTIONS
For most applications, tape mounting is adequate.
For porous, textured or wallpapered surfaces, screw
mounting or a combination of screw and tape
mounting is recommended.
TAPE MOUNTING
1. Important! Dispenser opens
to the front. For ideal
placement, the dispenser
should be mounted 3"
above any countertop,
fixture or obstruction, and 2"
below any cabinet, fixture or
obstruction. (See Figure 5)
2. Clean the mounting surface
thoroughly using any type
of general purpose cleaner
and a paper towel.
(See Figure 6)
NOTE: Be certain
surface is completely
dry before proceeding.
3. Remove the protective
backing from the tape
pad on the back of the
dispenser. Make certain
that the mounting surface
is clean and dry. Carefully
position the dispenser to the
desired location and press
firmly to the surface for 30
seconds. (See Figure 7)
INSTALLATION
Electric DrillPhillips Screwdriver
TOOLS NEEDED
Label
Front
Figure 1
2"
11"
7.5"
3"
Figure 5
Figure 6
Figure 7
Label
Front
Adhesive Side
Dispenser Door
Opened
Dispenser Door
Opened
Figure 2
Label
Back
Figure 3
Label
Front
Figure 4
Para Español, vea páginas 5-8.
Pour le français, consulter les pages 9-12.