12. Adjust door to assure proper seal. Tighten upper hinge screws
securely.
13. Replace three plastic plugs removed in step 8 into holes on top of
unit. Replace screws in holes in bottom of unit, opposite side.
14. Reinspect door seal and alignment. Adjust if needed.
15. Reinstall grill (1 screw).
NOTE
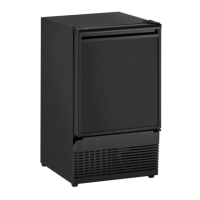
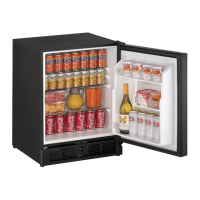
On Combo Models 75A and 75FF (built-in installations only),
changing the door mounting to the left side may interfere
with ice bucket removal. See BUILT-IN INSTALLATION sec-
tion for clearance requirements.
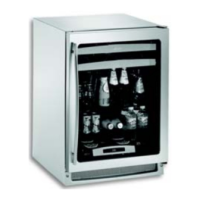
To reverse the door mounting on Models 75AD, 75R, 75RF,
Combo 75A, and Combo 75FF, perform the following:
1. Remove grill (1 screw). See Figure 13.
2. Remove top hinge from cabinet (4 screws). See Figure 14. Hold
door to keep it from falling.
3. Lift the door off the bottom hinge.
4. Remove four plastic plugs in hinge holes, top of cabinet, opposite
side (see Figure 20). Be careful not to scratch cabinet.
5. Remove pivot screw from top
hinge, invert screw and rein-
stall pivot screw in top hinge.
See Figure 19. Do not install
hinge on cabinet at this time.
6. Remove bottom hinge from
cabinet (4 screws) and
screws on opposite side of
cabinet (see Figure 22).
7. Remove pivot screw from
bottom hinge, invert screw
and reinstall pivot screw in
hinge (see Figure 19).
14
User’s Manual
 Loading...