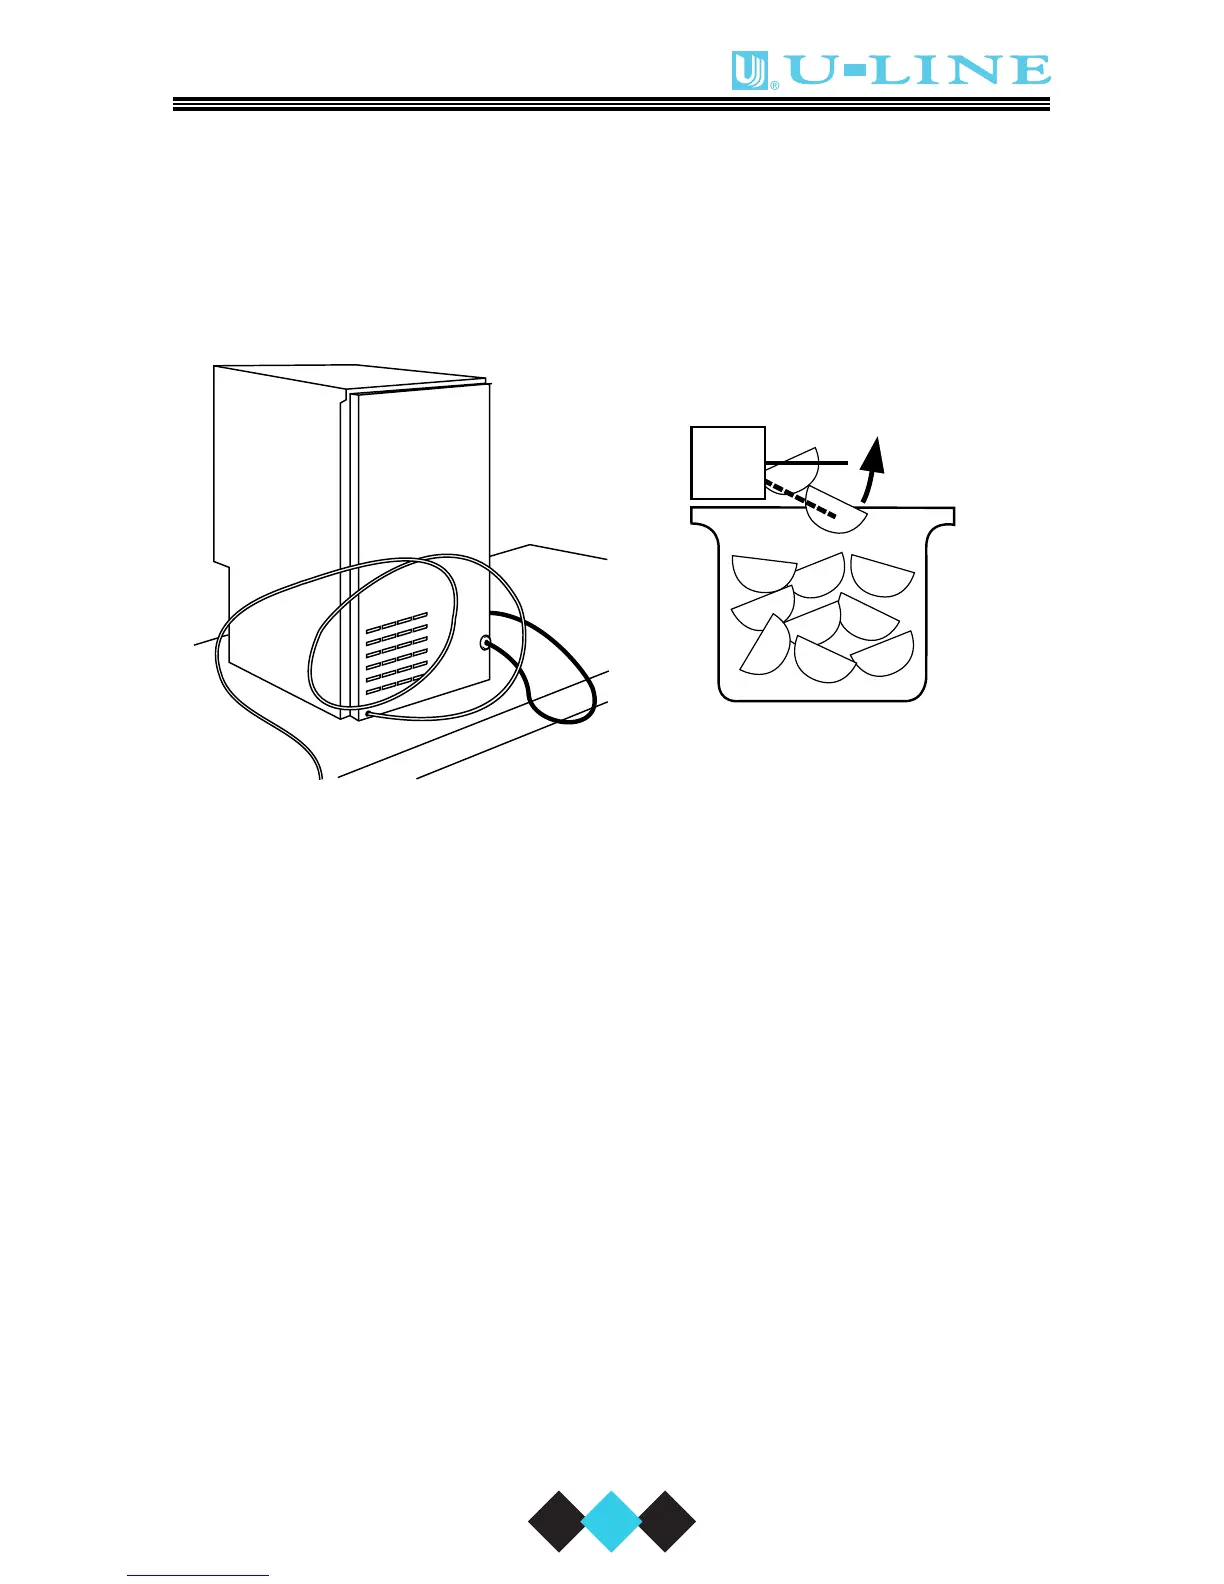
4. For recessed installations,
allow extra water supply line
length to provide slack for easy
removal from the recessed
area (see Figure 7). This will
also safeguard against kinking
the line.
NOTE
After completing the installation, turn on the water and
recheck water connection for leaks. Apply additional tight-
ening if needed. Do not use thread sealing compound or
tape.
7
NOTE
If you are not intending
to use the ice maker and
do not connect the water
supply (or turn the supply
valve off), it is imperative
to raise the bin arm of
the ice maker (see Figure
8).
NOTE
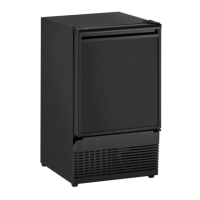
On Models BI-95 and BI-98, route the water supply line
through the unit in such a way as to prevent the line from
coming in contact with any internal components other than
the solenoid valve (see Figure 6). Normal operation creates
some vibration. A water supply line contacting an internal
component or cabinet wall may cause excessive noise dur-
ing operation or damage to the line.
5. Install the grill. See GRILL INSTALLATION.
6. Plug in the power cord.
7. Gently push the unit into position. If desired the unit may be recessed
into cabinet or wall. Model PBCM-98 is free standing and cannot be
permanently recessed, but can be pushed under a counter.
 Loading...