Connecting a Device to the Auxiliary JackConnecting a Device to the Auxiliary Jack
You can use any standard 3.5mm Stereo (3-conductor) male-to-
male cord to listen to audio from an attached device.
In order to use the microphone with the attached device, you will
need to use a 3.5mm (4-conductor) cord wired properly for your
device. Unless otherwise requested, our products are wired in
the AHJ / CTIA standard. Check your device documentation for
details on the type you need.
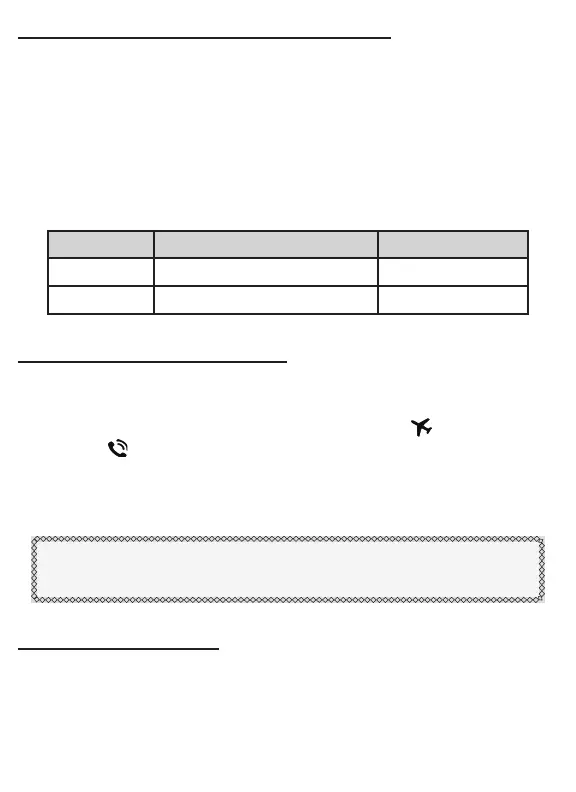
WIRING DEVICE PART #
AHJ / CTIA Apple / Android / Windows AC-CORD-AHJ
OMTP Android / Windows AC-CORD-OMTP
Selecting Microphone RoutingSelecting Microphone Routing
The microphone cannot be output to both the aircraft radio and
an attached device simultaneously. Use the Microphone Routing
Switch to direct the microphone output to either to route to the
aircraft or to route to the Auxiliary Jack.
Incoming audio from the aircraft radio and the auxiliary jack will
always be heard simultaneously regardless of the switch position.
Pro Tip: When setting by feel, move the switch towards the cord
of the device you want the microphone to route to.
Auxiliary Jack VolumeAuxiliary Jack Volume
The volume of audio coming through the Auxiliary Jack is controlled
by the volume output of the attached device. HARMONY does not
have an “auto-muting” feature, keep audio at a reasonable volume
to avoid missing radio calls.
10