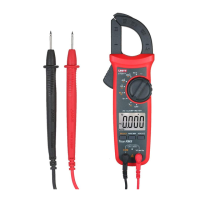
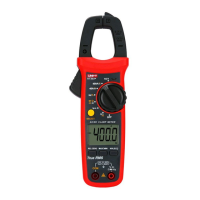
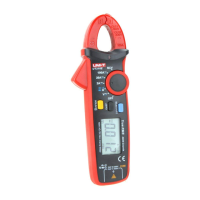
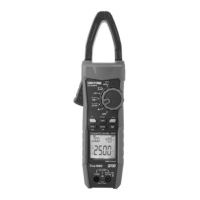
UT200A+/UT200B+ User Manual UT200A+/UT200B+ User Manual
impedance is about 10MΩ, this load effect may result in error
for measuring high-resistance circuit. If the measured impedance
is ≤10kΩ, the error (0.1% or less) can be neglected.
Avoid electric shock when measuring high voltage.
Test a known voltage before use to check if the product
functions well.
3. Resistance Measurement
1) Set the rotary switch to resistance position.
2) Connect red test lead with “Ω” terminal, and black with “COM”,
then the tips of both test probes respectively make contact
with both ends of the measured resistor (connect with
measured resistor in parallel).
Note:
Before measuring on-line resistance, please disconnect all
powers in the measured circuit and discharge all capacitors
injury. completely, to avoid product damage and personal
If the resistance of shorted test lead is less than 0.5Ω, please
check if the test lead is loose or any defect occurs.
“OL” will appears on the display screen if the measured resistor
resistance is over the specified range. is open or its
For low resistance measurement, the test leads can cause
an error of 0.1Ω~0.2Ω. To obtain accurate measurement result,
test leads by please subtract the resistances of both shorted
the measured resistance.
For high resistance measurement, it is normal to take several
reading.seconds to stabilize the
Do not input voltage over DC/AC 30V to avoid personal injury.
reading.seconds to stabilize the
4. Continuity Measurement
1) Set the rotary switch to continuity position.
2) Connect red test lead with “ ”terminal, and black with
“COM”, then the tips of both test probes respectively make
contact with both ends of the measured object (connect with
the measured object in parallel).
3) If the resistance between both measured ends is ≥50Ω,
the circuit is determined as open and the buzzer keeps silent;
if ≤30Ω, the circuit is connected well and the buzzer beeps
continuously.
if ≤30Ω, the circuit is connected well and the buzzer beeps
continuously.
Note:
Before measuring on-line continuity, please disconnect all
powers in the measured circuit and discharge all capacitors
injury. completely, to avoid product damage and personal
5. Diode Measurement
1) Set the rotary switch to diode position.
2) Connect red test lead with “ ”terminal, and black with
“COM”, then the tips of both test probes respectively make
3) “OL” is displayed if the measured diode is open or the polarity
voltage of silicone PN junction is is reversed. The normal
generally about 500~800mV (0.5~0.8V).
Note:
Before measuring on-line PN junction, please disconnect all
powers in the measured circuit and discharge all capacitors
injury. completely, to avoid product damage and personal
The voltage range of testing diode is about 2.2V/1.0mA.
6. Capacitance Measurement (UT200B+)
1) Set the rotary switch to capacitance position.
2) Connect red test lead with “ ”terminal, and black with
“COM”, then the tips of both test probes respectively make
contact with both ends of the measured capacitor.
3) Read the testing result from the display screen. If there is
no input, the clamp meter will display a fixed reading, which is
the intrinsic compensation capacitance of the clamp meter.
When measuring capacitor with small capacitance, the measured
capacitance shall subtract the intrinsic compensation
capacitance, so as to ensure measurement accuracy. Thus,
9
10