8
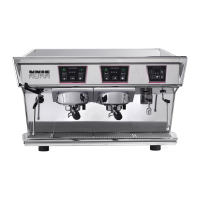
7. CHECKS AND ADJUSTMENTS
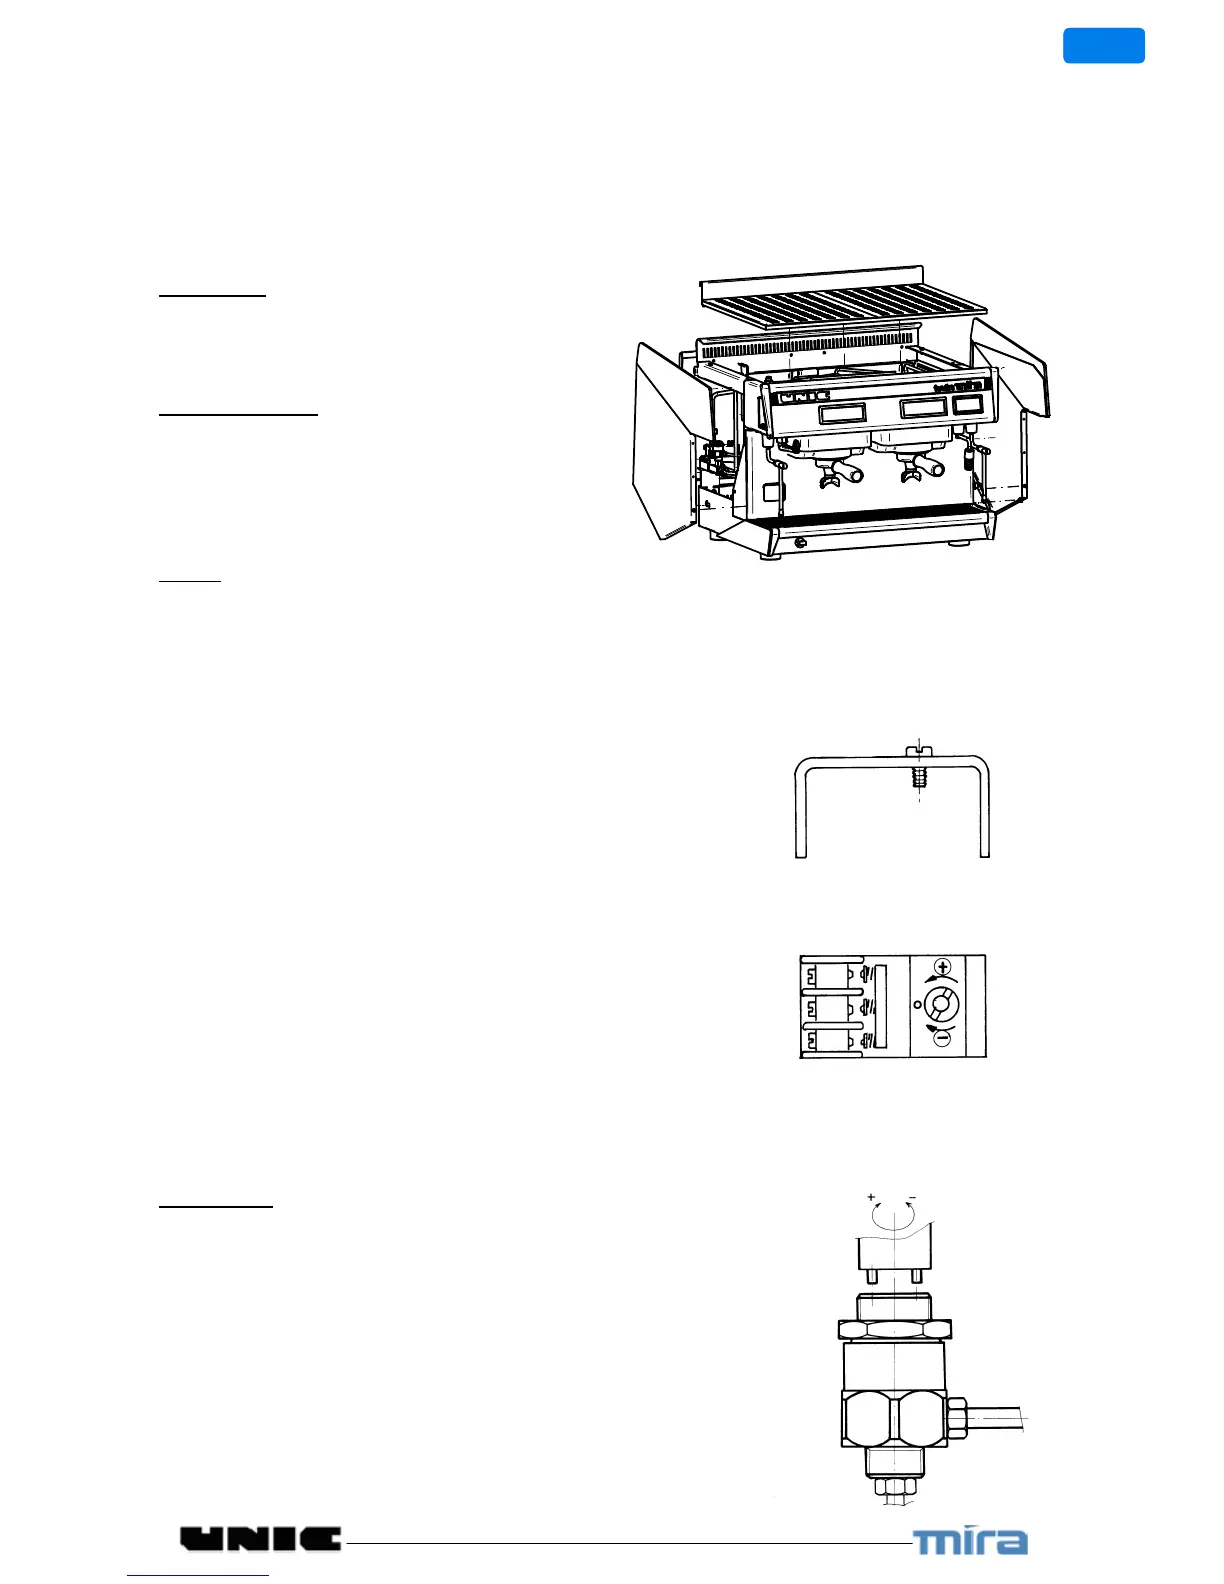
To get to the various adjustments, the cup rack, the rear panel or the sides must be removed.
Proceed as follows:
CUP RACK:
Remove the grids, then undo the 4 upper
screws. And remove the cups rack.
REAR PANEL(S):
Undo the 2 upper screws located inside the
machine at its back (under the cup rack); then
make the panel(s) glide vertically outwards.
SIDES:
On each side, undo 1 screw under the front
panel; pull the side to the back.
Temperature adjustment by means of the electric pressure
controller
The pressure controller (pressurestat) is located at the
back.
Dismantle the cup rack; remove the cover of the
pressure controller to get to its adjustment screw.
-TIGHTEN to LOWER the temperature
-LOOSEN to RAISE the temperature
The pressure-gauge (red scale) must
indicate a pressure of between 0.9
and 1 bar which corresponds to a
temperature of 120°C.
Pressure-release valve adjustment
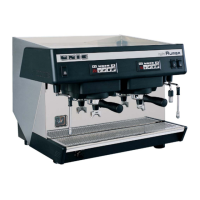
MIRA Model
The HP valve is located on the right side of the machine: it
is necessary to dismantle the sides and the rear panel.
The valve is set above the pump; its adjusted pressure
must just be greater than the water network pressure.
Recommended value: 7 to 8 bar (green scale of the
pressure gauge).
- If the valve opens ABOVE 8 bar: LOOSEN
- If the valve opens BELOW 7 bar: TIGHTEN
Use a pin-wrench; after the adjustment, do not forget to
block the counter nut.

 Loading...