Page9
4. INSTALLATION
4-1 Power Connection
G1 Charger Amplifier Power Source Option:
a. DC 12V Power Adapter-Plug Adapter plug on, and then plug DC Jack plug into G1 Charger
Amplifier DC12V power socket.
b. Vehicular Charging Adaptor Cable-Plug the vehicular charging adaptor cable into power
socket on the vehicle, and then plug DC Jack plug into G1 Charger Amplifier DC12V power
socket.
4-2 External Antenna Installation
G1 Charger Amplifier External Antenna Option:
a. Low Band Antenna
b. VHF/UHF
Please follow the instruction of the external antenna to install the antenna.
5. Function Instruction
5-1 CHARGING
5-1-1 CHARGING G1 UNIT
G1 Charger Amplifier should be used to G1 pager only. Before charging the G1 pager, please make
sure that the batteries inside the pager are rechargeable (Ni-MH) type battery.
(Recommendation: Please use the battery provided by Unication.)
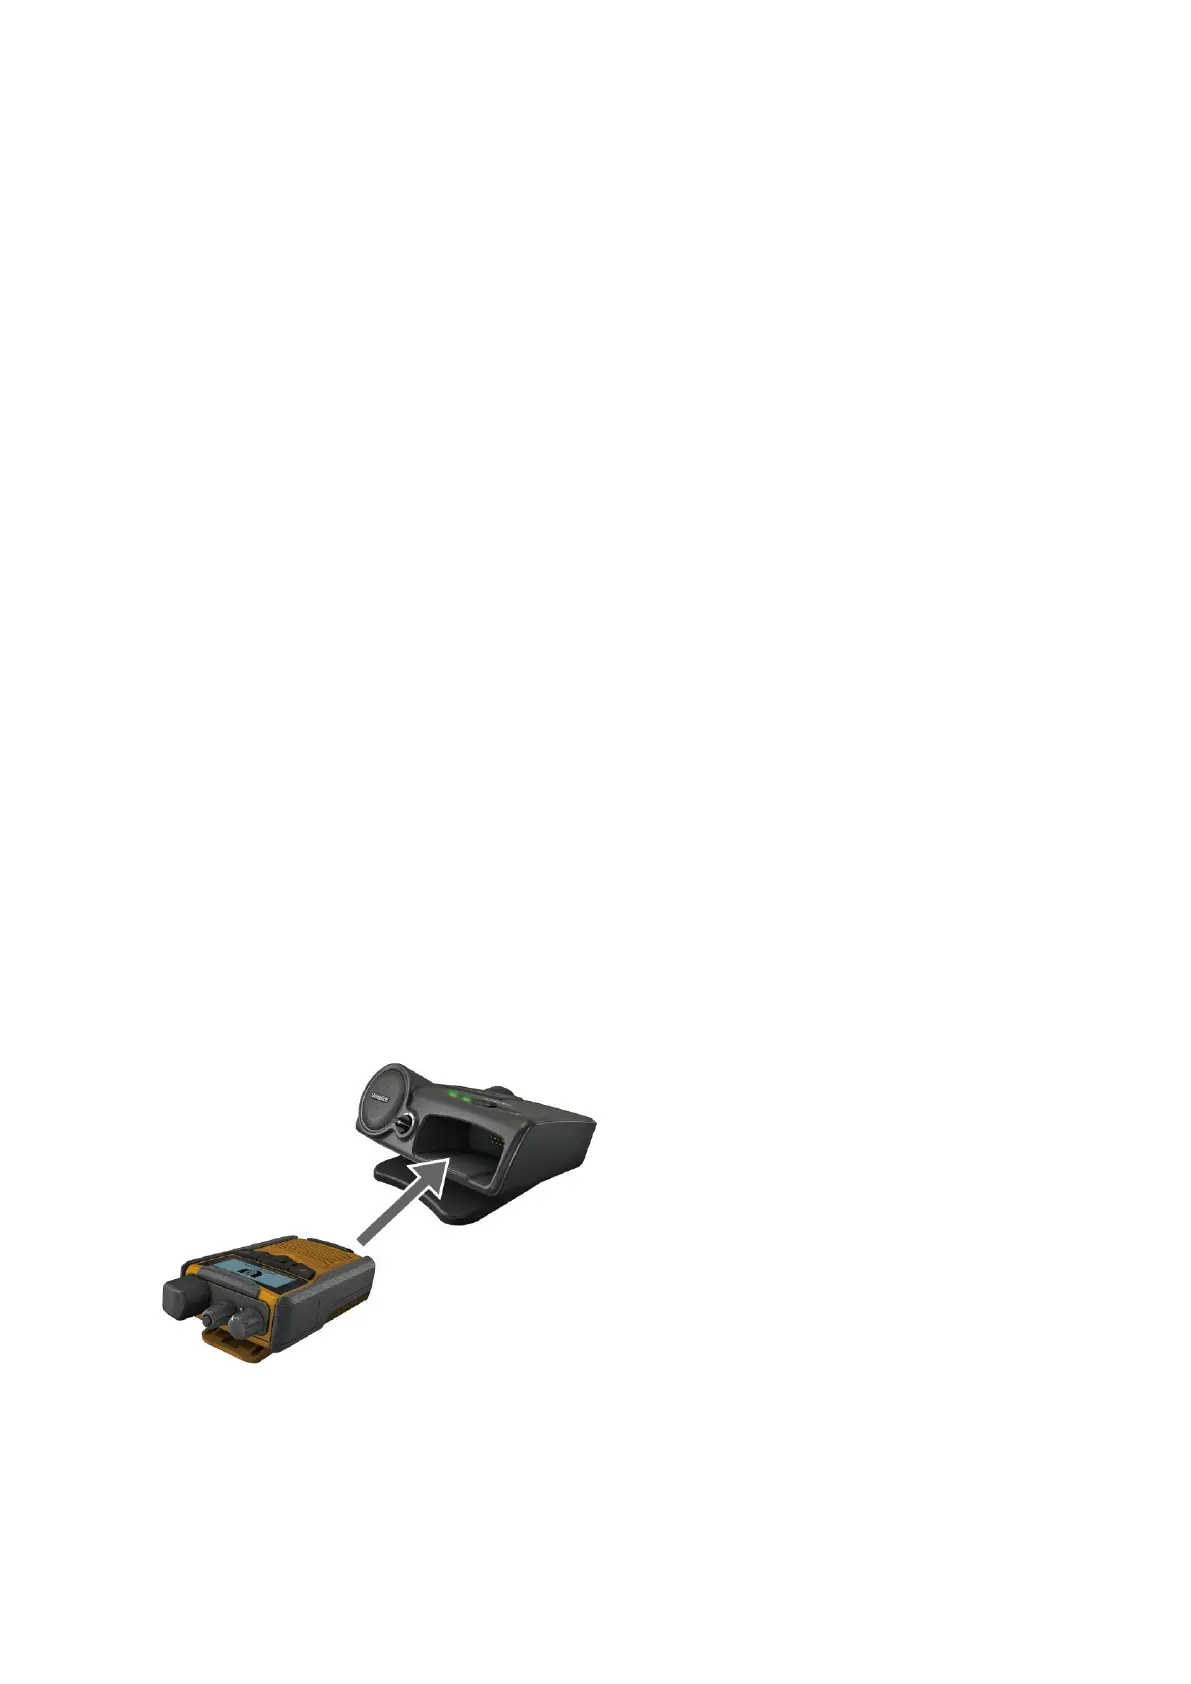
Step 1. Please insert the pager into the charger’s pager pocket as in the following illustration:
Step 2. Once the pager is inserted correctly the charger amplifier will detect the battery and start
charging. When the pager is being charged, the charging LED will turn into orange.
Step 3. When the pager is fully charged, the charging LED will turn into green.
NOTE: When the charging hour or the charging voltage is exceeding, the charging LED will turn