Assembling the stand
Before you begin:
Read the assembly instructions from beginning to end. Give
yourself plenty of time. Gather the tools you’ll need that aren’t
inluded in the box:
1. A Phillips head screwdriver.
2. Pliers, or a crescent wrench.
Here’s how to assemble the stand:
Step 1.
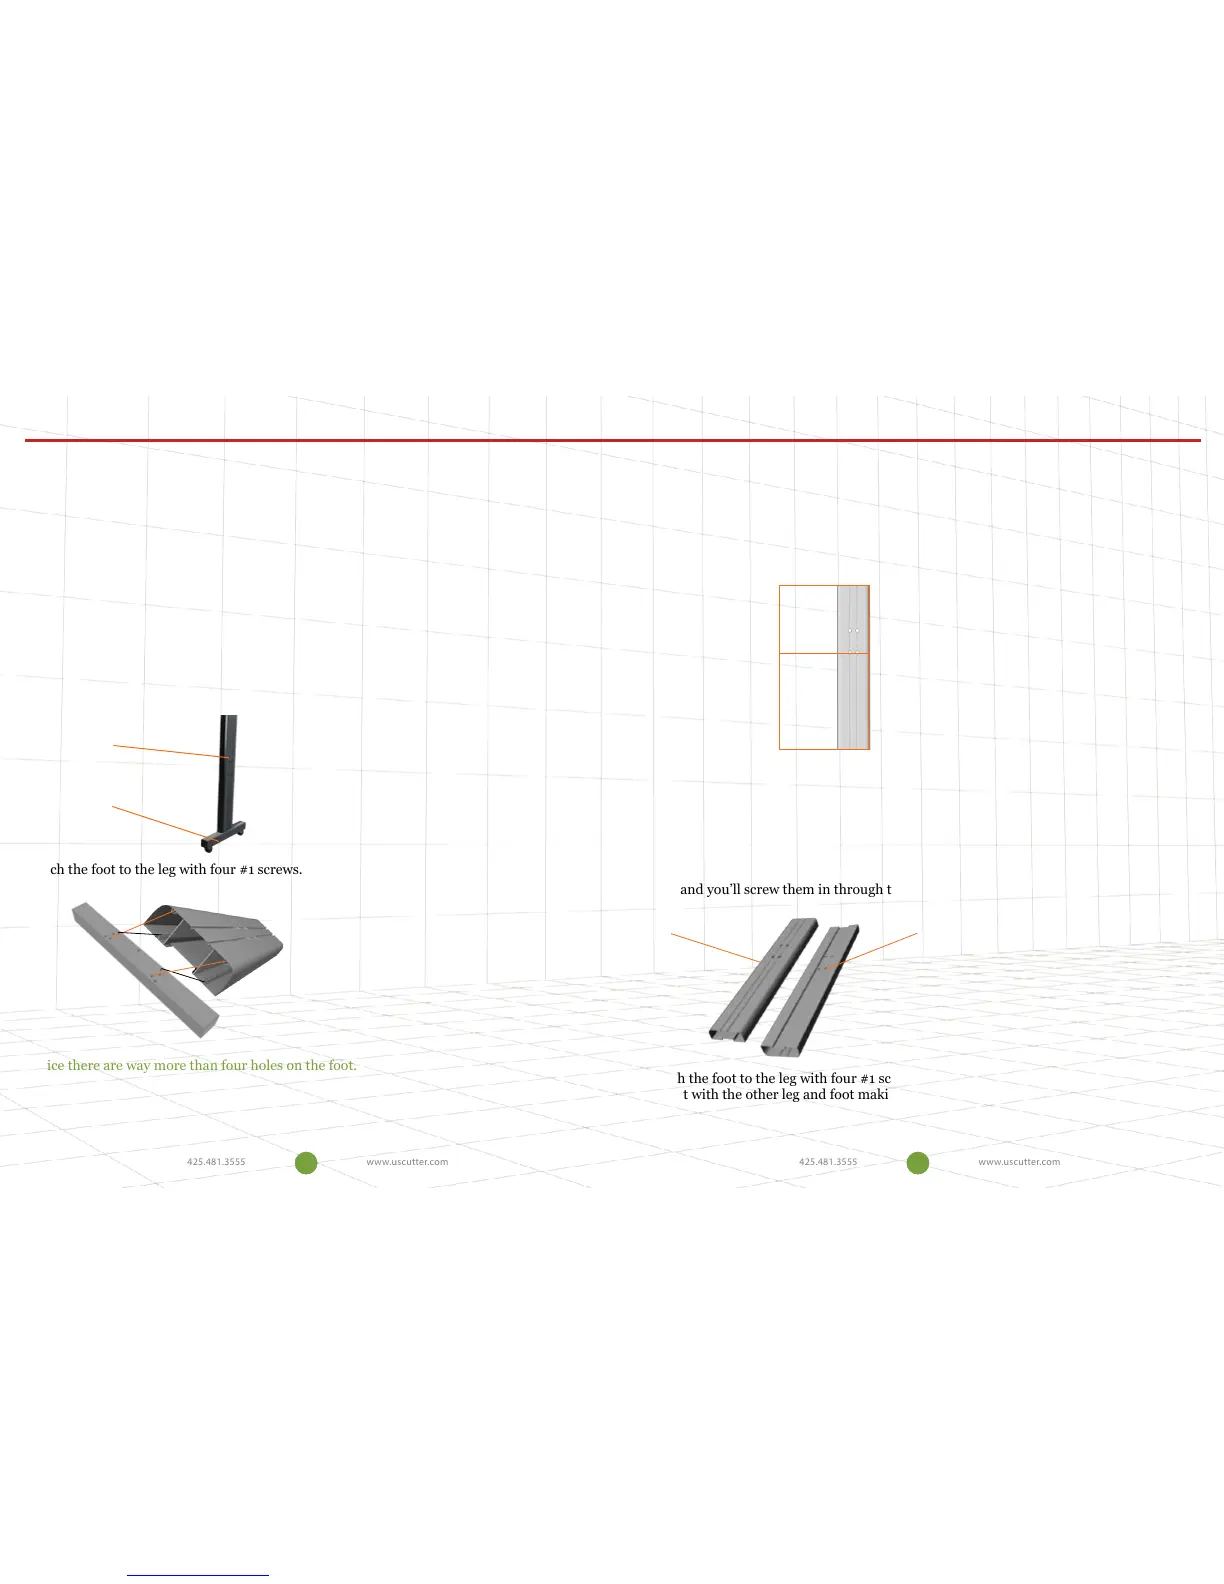
Attach the feet (A) to the legs (F).
This is the foot:
This is the leg:
Attach the foot to the leg with four #1 screws.
Notice there are way more than four holes on the foot.
Line up the foot and the leg so that the four holes in the leg that look like this line up with
the four holes on the foot.
Which end of the leg do I attach the foot? They both have holes.
Assembling the stand
Good question. See those two holes that are further toward one end of the leg?
That’s where your cross piece is going to attach and hold the two legs together.
Attach the foot to the other end.
One side is rounded and the other has sharp corners? Which side should face
out?
The rounded edge side should face out. If you look closely at the holes you will
see that one side is biger than the other. The small holes will attach the cross
piece and you’ll screw them in through the larger hole.
Attach the foot to the leg with four #1 screws using the Phillips screwdriver.
Repeat with the other leg and foot making sure the rounded edge faces out and
the holes for the cross piece are close to the top.
Install foot here
Face out Face in
4 5