ENGLISH
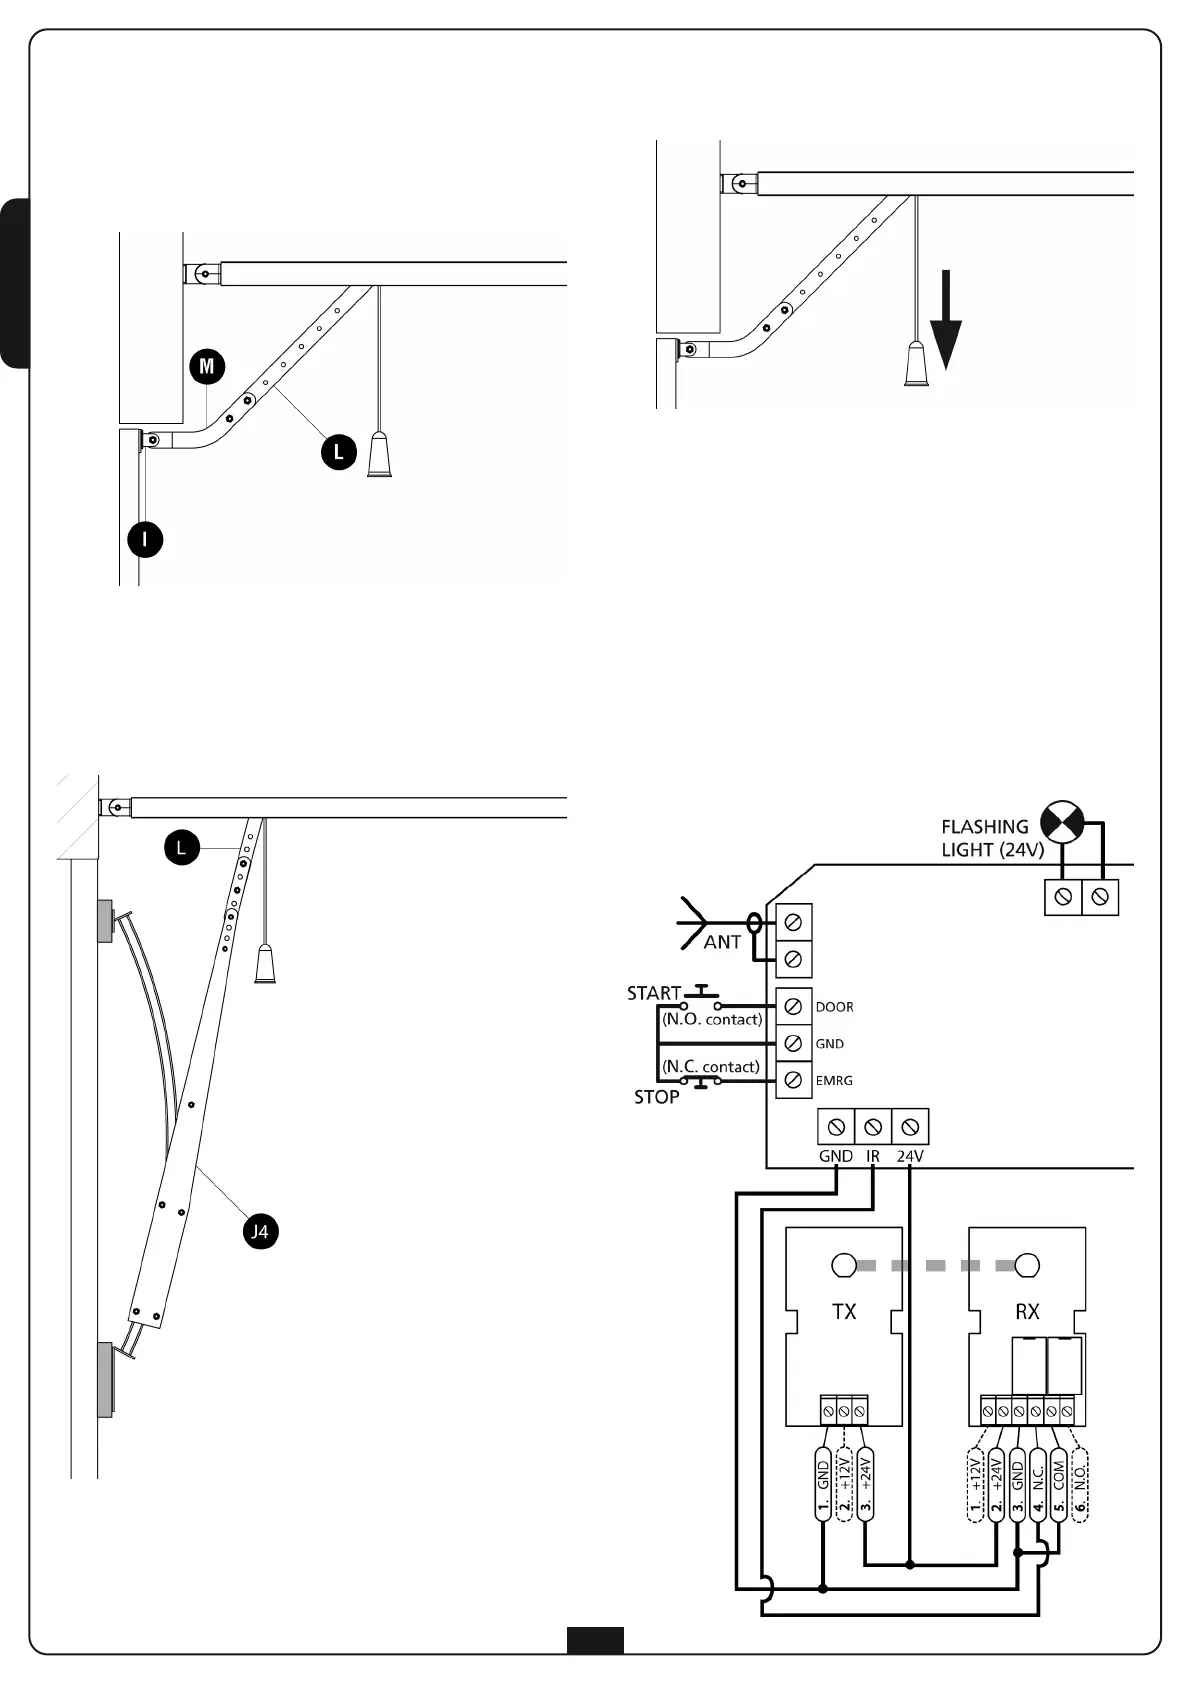
2.9 Only for sectional and spring operated garage doors
Fasten the draw slide I on the upper portion of the door
maintaining the previously marked reference points.
Connect the perforated bar L and the curved arm M using
2, 6 x 15 bolts. Connect the curved arm M and the draw
plate I using the cylindrical headed pivot with the provided
split pin.
3. Only for counter-weighted garage doors
Fasten the arch arm 162504 on the upper portion of the
door maintaining the previously marked reference points.
The two anchor plates (upper and lower) of the arch
162504 must be in the same plane. If not, add shims.
Connect the perforated bar L to the perforated bar of the
arch arm using 2, 6 x 15 bolts.
ELECTRICAL CONNECTIONS
The control panel inside JEDI-L is already cabled.
You just need to plug it in the electrical outlet to proceed with
operational parameter programming.
To connect the photocells and the START button, please refer to
the following diagram:
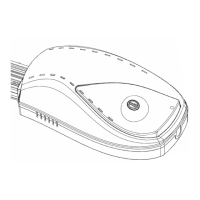
RELEASE OF THE AUTOMATION
In order to release the automation from inside, pull the knob
downwards.
CAUTION: Do not use the knob to open the door.
It is prohibited to hand objects off the release cord.
In order to release the automation from outside, install the
accessory release kit (code 162518).
16
 Loading...