English
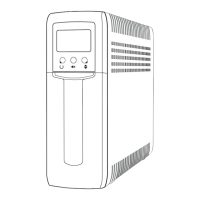
Product Overview
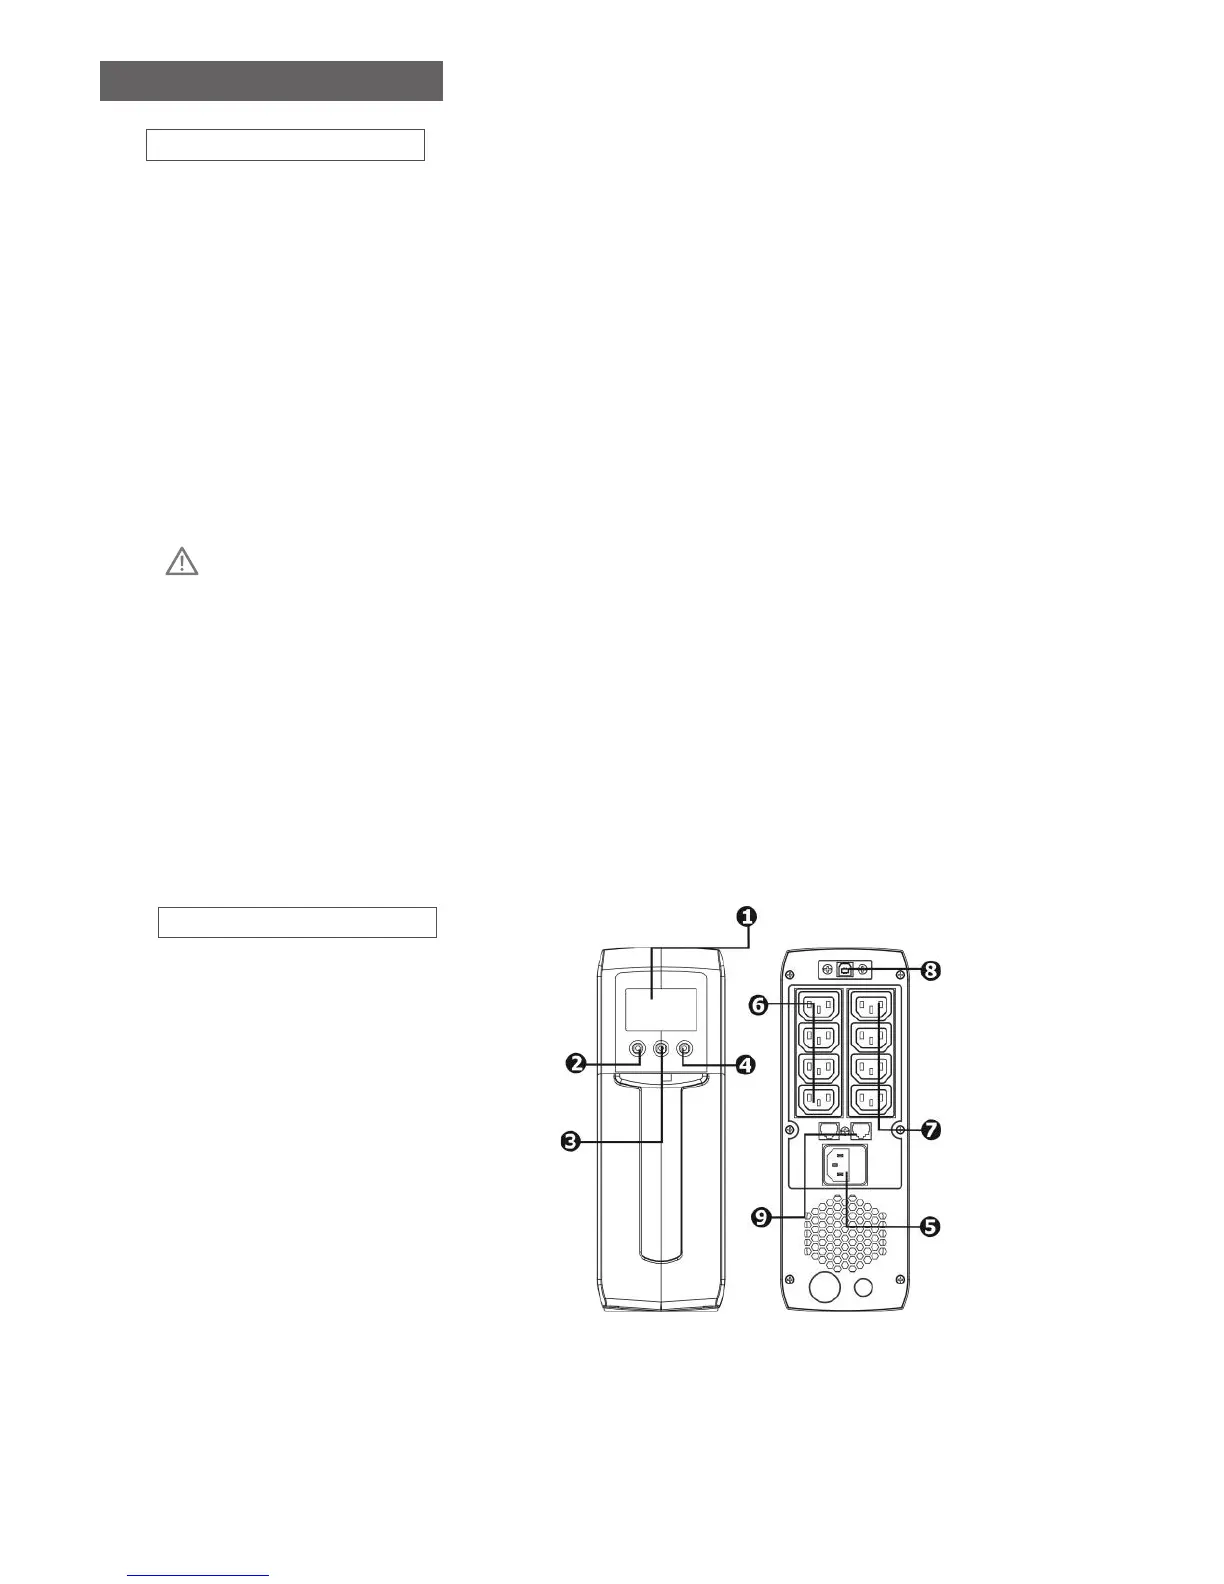
1. LCD display (Please check
LCD section for the details)
2. Power Switch
3. Mute Button
4. Up/Down Button
5. AC input
6. Surge-Proteted outlets
7. Battery Backup Outlets
8. USB port (option)
9. Modem/Phone/Network
Surge Protection (option)
Installation & Operation
1. Inspection
The following items are inside the box: UPS Unit, User Manual
• Remove the UPS from its package and inspect it for damage that may have occurred during
shipping. If any damage is discovered, re-pack the unit and return it to the place of purchase.
2. Connect to Utility Power
• Connect AC power cord to utility power. Then, the UPS will start to charge inside battery. For best
result, charge the battery for 6 hours prior to initial use.
3. Plug in Equipment
• Battery back-up Outlets (4)
• Connect computer and monitor to the “Battery Backup” outlets. These outlets provide battery
backup, EMI ltering, line conditioning, and surge protection. Battery power is automatically
provided in case of power failure.
• Surge-Protected Outlets (4)
• Connect a printer, fax machine, or scanner to the “Surge-protected” outlets. These outlets do not
provide power during power failure.
CAUTION: NEVER connect a laser printer or scanner to the battery backup sockets of UPS. The
equipment may draw signicantly power to overload the UPS
4. Turn On/O the UPS
• To turn on the UPS unit, hold the power button until you hear a beep. To turn o the UPS unit,
hold the power button until it beeps. Then, display will shut o.
5. Install software (Optional for advanced users)
For optimal computer system protection, install UPS monitoring software to fully congure the UPS
system. Please follow steps below to download and install monitoring software.
1. Go to the website http://www.V7-world.com/downloads
2. Select ViewPower software for your operating system to download the software.
3. Follow the on-screen instructions to install the software.