10
GB
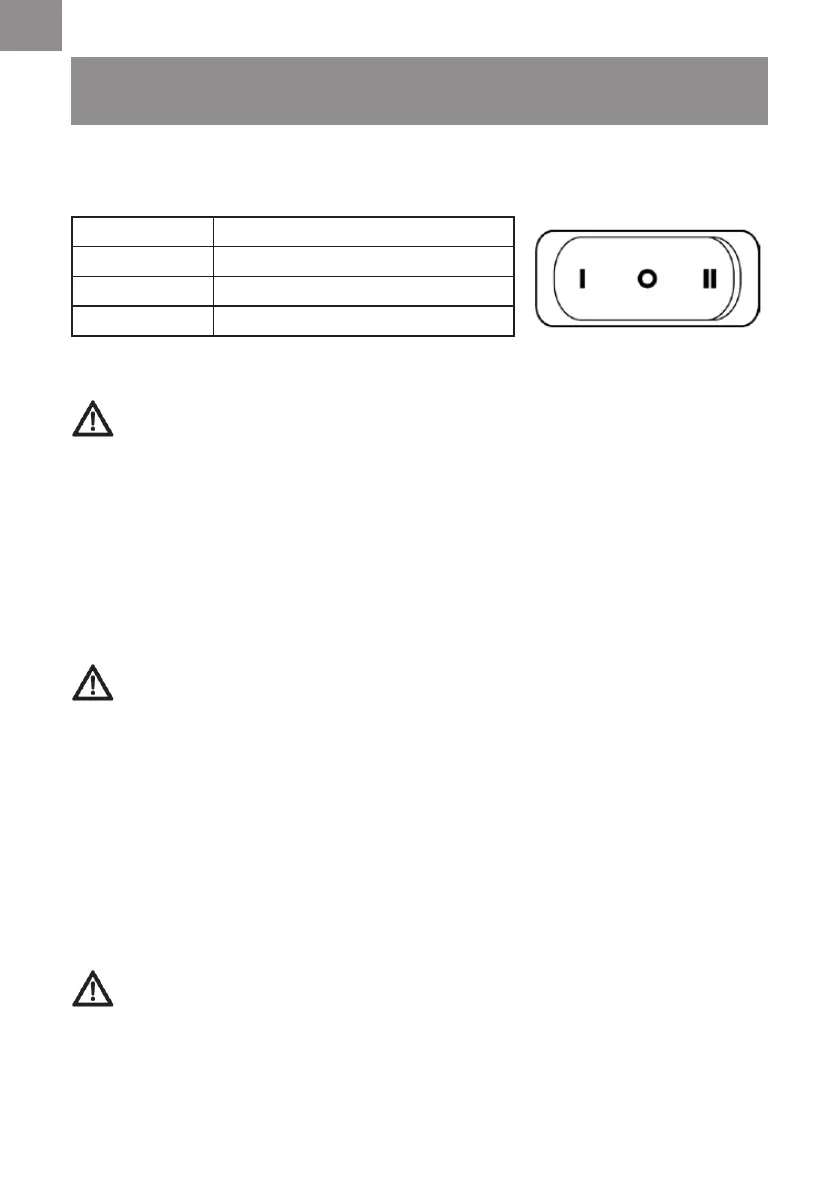
1. Switching On/Off
Connect the mains plug to a suitable a power outlet.
2. Power Tool Take-Off Operation (Fig. 5)
OPERATION
Position Status
I on
O off
II automatic synchronized start-up
WARNING:
Always check the maximum wattage compatibility of the power tool take
off socket against the desired power tool before connecting to prevent overloading.
1) Connect the power cable of your power tool to the power take-off socket.
2) If applicable, connect the vacuum suction hose to the dust extractor connector on your tool with
the supplied adaptor.
3) Switch the vacuum cleaner to position II, as described in Switching ON/OFF. The moment you
switch on the power tool, the vacuum cleaner will also switch on. Once the electrical appliance
has been switched off, the vacuum cleaner switches off following a time lapse (around 5
second) to allow the suction tube to be emptied.
3. Dry & Wet Vacuum Operation
WARNING!
ENSURE YOU READ, UNDERSTAND AND APPLY SECTION ENTITLED
‘ SAFETY INFORMATION’.
1) Verify that the correct lter is installed for wet or dry vacuuming and the container latches are
secured.
2) Secure the locking end of the hose into the vacuum suction port.
3) Push the desired accessories onto the hose nozzle. The air ow regulation allows you to
change vacuum cleaner suction. For best cleaning results, fully close the air ow regulation (Fig. 6).
4) Plug the power cord into a power outlet.
5) Turn on the motor by assigning the switch to the “I” ON position.
6) Once you have completed vacuuming, switch to the “O” OFF position and unplug the power
cord from the power.
For Dry Vacuuming:
WARNING:
BEFORE INSTALLING, REMOVING OR CLEANING THE VACUUM
CLEANER FILTER, ENSURE THAT THE POWER CORD IS UNPLUGGED AND
SWITCHED OFF.
1) To prepare your vacuum cleaner for dry vacuuming, install the cartridge lter over the lter cage
with the at end of the lter towards the vacuum power head. Carefully push lter until it sits
ush forming a tight seal.
 Loading...