9
GB
UNPACKING AND CHECKING CARTON
CONTENTS
ASSEMBLY
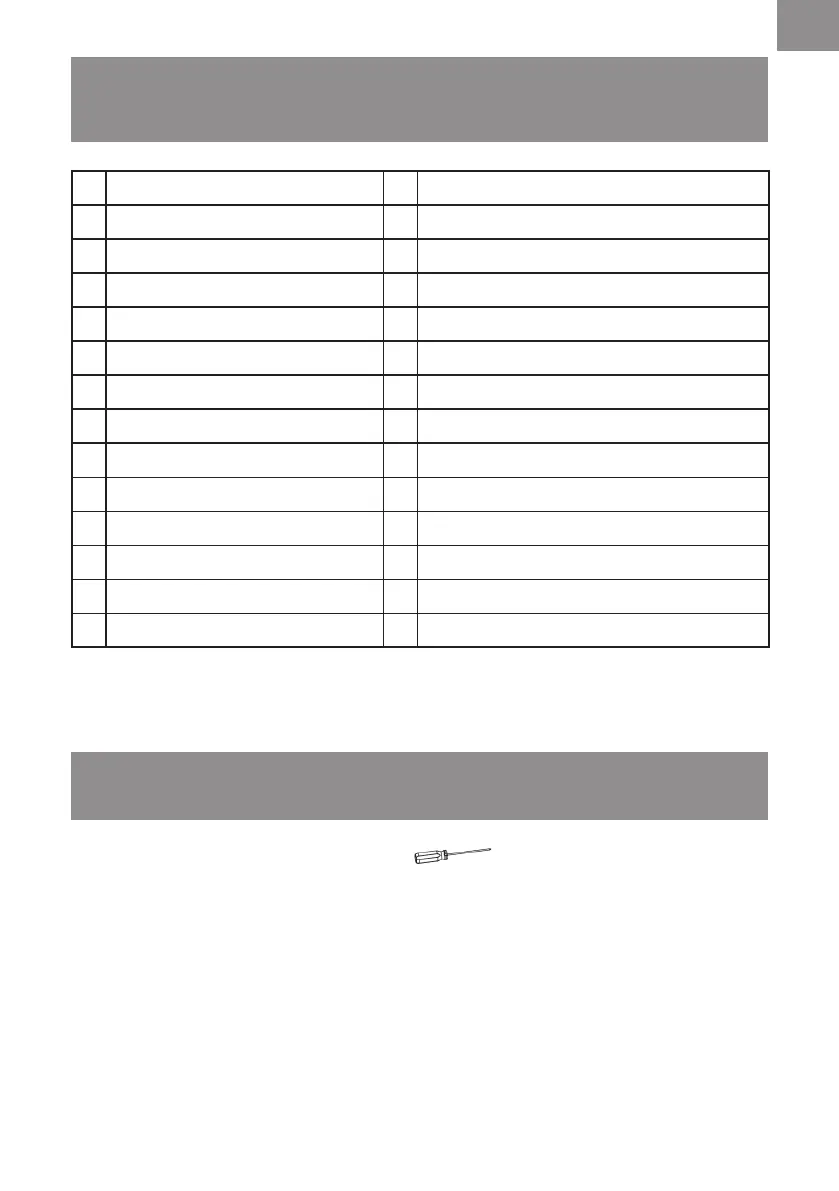
NOTE:
A Phillips screwdriver is required.
1. Remove all the contents from inside of the vacuum cleaner container.
2. Turn the container upside down. Insert two rear wheels and two front casters into the slots and
apply pressure until they click into place. Secure them with supplied screws (Fig. 1 & 2).
3. Your vacuum cleaner comes ready for dry vacuum cleaning with the cartridge lter and nylon
pre-lter pre-installed. If the cartridge lter and nylon pre-lter are not installed, refer to page 10.
4. Optionally, for improved dust ltration, fully t the dust bag ange onto the inlet stub (Fig. 3).
5. For wet vacuuming, replace the cartridge lter and nylon pre-lter with the foam lter supplied.
Do not use a dust bag when wet vacuuming. If the foam lter is not installed, refer to page 11.
6. Secure the power head back on the container, using the 2 side latches. Insert the locking end
of the hose into the suction port of the container and turn clockwise to lock into place (Fig. 4).
7. Choose the desired accessories and/or extension wands and push t onto the hose nozzle.
1 Carry Handle 15 Nylon Pre-lter
2 Power Head 16 Crevice Tool
3 Power Take-off Socket 17 Hard Floor Nozzle
4 Suction Port 18 Round Dust Brush
5 Container 19 Extension Wand (x2)
6 Front Caster 20 Cartridge Filter (pre-installed)
7 Anti-static Chain 21 Filter Retainer (pre-installed)
8 Rear Wheel 22 Exhaust Filter (pre-installed)
9 Latch 23 Dust Bag
10 On/Off Switch 24 Foam Filter
11 Power Cord Storage Hook 25 Handle with Air Flow Regulation
12 Exhaust Filter Door 26 Screw (x4)
13 Accessory Storage 27 Instruction Manual
14 Suction Hose