3 Taking measurements
3.1
MI70 first start-up settings
When taking MI70 into use for the fir
st time, configure the basic settings (language, date, and
time) as instructed below.
1. Press the Power On/O button in MI70 to switch the indicator on.
2. Press any of the arrow buttons and open the menu by pressing
Open.
3.
Select Settings using the
buttons and press .
4
. Select User interface and press
.
5
. Select Language and press
Se
t.
6. Select the language using the
buttons. C
onfirm the selection by pressing
Selec
t.
7. To set the date, return to the Settings menu by pressing
.
8.
Select Date and press
Se
t. Change the date using the
buttons. To c
onfirm the
selection, press
Selec
t.
To select an alternative date format, select Date format and press Set. You can select from
3 alternative formats. Press Select to confirm the selection.
9. To set the time, return to the Settings menu by pressing
10. Select Time and press Set. Change the time by using the arrow buttons. Confirm the
selection by pressing OK. As a def
ault, the time format is based on the 24-hour clock.
If you want to use the 12-hour clock, select 12-hour clock and press
On.
11.
To return to the basic display, press
Exit.
3.2 Basic measuring steps with HM70
If taking measurements in a pressurized environment, make sure that the air
pr
essure setting of HM70 is correct. See Setting actual pressure value and unit
(page 13).
After c
onfiguring the MI70 basic settings as instructed in MI70 first start-up settings (page 12),
you can proceed to take measurements with HM70.
1. Remove the yellow transport protection cap from the probe head.
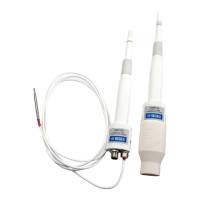
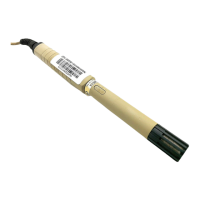
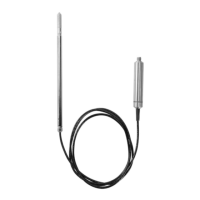
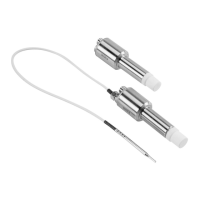
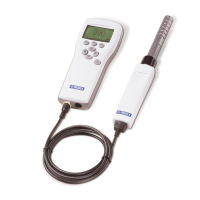
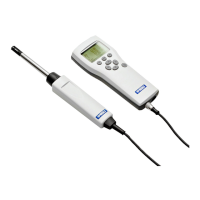
2. With the MI70 indicator power switched o, connect the HMP75/HMP76/HMP77 probe
cable to either of the connector ports of MI70.
Rotate the metal ring around the cable connector clockwise until it tightens up.
3. Switch MI70 on by pressing the Power On/O button.
M212070EN-B
12
 Loading...
