17
Using the appliance
B
17
Cleaning and maintenance
To extend the life of your oven, look after it properly in accordance with the manufacturer's
recommendations.
Before cleaning, disconnect the oven from the power source and check that all the knobs
are in the ‘•’ / ‘0’ position ». You can only start cleaning when the oven is cool.
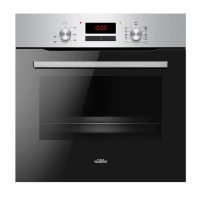
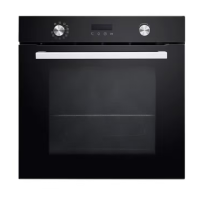
Oven
• The oven must be cleaned after each use. When cleaning, switch on the light to give you
a better view of the area you're going to clean.
•
Wash the inside of the oven using warm water and only a small amount of washing up liquid.
• After cleaning the inside of the oven, wipe it dry thoroughly.
• Wash the enamel parts of the oven with hot water and washing-up liquid.
•
Do not use liquids containing organic acids (e.g. citric acid) as these can cause permanent
stains or discolour the ceramic enamel.
• Steam cleaning:
-
pour 0.25 l of water (1 glass) into a container and place it on the grill at the lowest level,
- close the oven door,
-
set the temperature control knob to the 50°C and the function knob to the position ,
- heat the oven for about 30 minutes,
- open the oven door, wipe the cavity with a cloth or sponge and then wash it using hot
water and washing-up liquid.
•
The oven shelf can be easily removed. To clean shelves, lift the front hook of the runner,
spread it out slightly and remove the rear hook. After cleaning the oven shelves, replace
them in the fixing notches and replace the hooks.
How to remove the door
The door can be removed to make it easier to clean the oven cavity. To do this, open the
door and lift up the hinge guard (Fig. A). Then close the door slightly, lift and remove it by
pulling it forward.
To replace the door after cleaning, perform the same actions in the reverse order. When
replacing the door, make sure that the hook is properly positioned in the hinge slot. Once
the door is mounted, lower the protective guard and tighten it.
Incorrect positioning of the guards could cause damage to the hinges when closing the door.
EN