Do you have a question about the Valcom V-1020C and is the answer not in the manual?
Lists the necessary tools for installing the V-1020C speaker with V-9914 bridge.
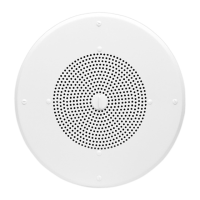
Instruction on cutting a pre-measured hole in the ceiling tile for speaker installation.
Using the bridge as a guide to determine and mark screw hole locations on the ceiling tile.
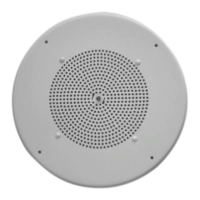
Procedure for aligning the speaker grille with the pre-cut holes in the ceiling tile.
Guidance on aligning the speaker assembly with the bridge structure on either side of the tile.
Attaching the speaker, bridge, and ceiling tile together using the provided hardware.
Instructions for connecting all necessary wiring to the speaker's screw terminals.
Placing the assembled speaker unit into the prepared ceiling grid opening.
Lowering the speaker assembly carefully into its final position within the ceiling grid.
Inserting the volume control knob to adjust the speaker's audio output.
Alternative method for adjusting speaker volume using a flat-blade screwdriver.
Valcom disclaims responsibility for suitability and accuracy of provided suggestions.
| Speaker type | 1-way |
|---|---|
| Number of drivers | - |
| Speaker placement | Ceiling-mountable |
| Audio output channels | 1.0 channels |
| Product color | White |
| Housing material | Steel |
| Recommended usage | Other |
| Sensitivity | 96 dB |
| Frequency range | 80 - 15000 Hz |
| RMS rated power | - W |
| Signal-to-Noise Ratio (SNR) | -70 dB |
| Number of products included | 1 pc(s) |
| Connectivity technology | Wired |
| DC input voltage | 24 V |
| Package weight | 1575 g |
| Operating temperature (T-T) | -20 - 55 °C |
| Operating relative humidity (H-H) | 0 - 95 % |
| Depth | 76.2 mm |
|---|---|
| Weight | 1125 g |
| Diameter | 330.2 mm |