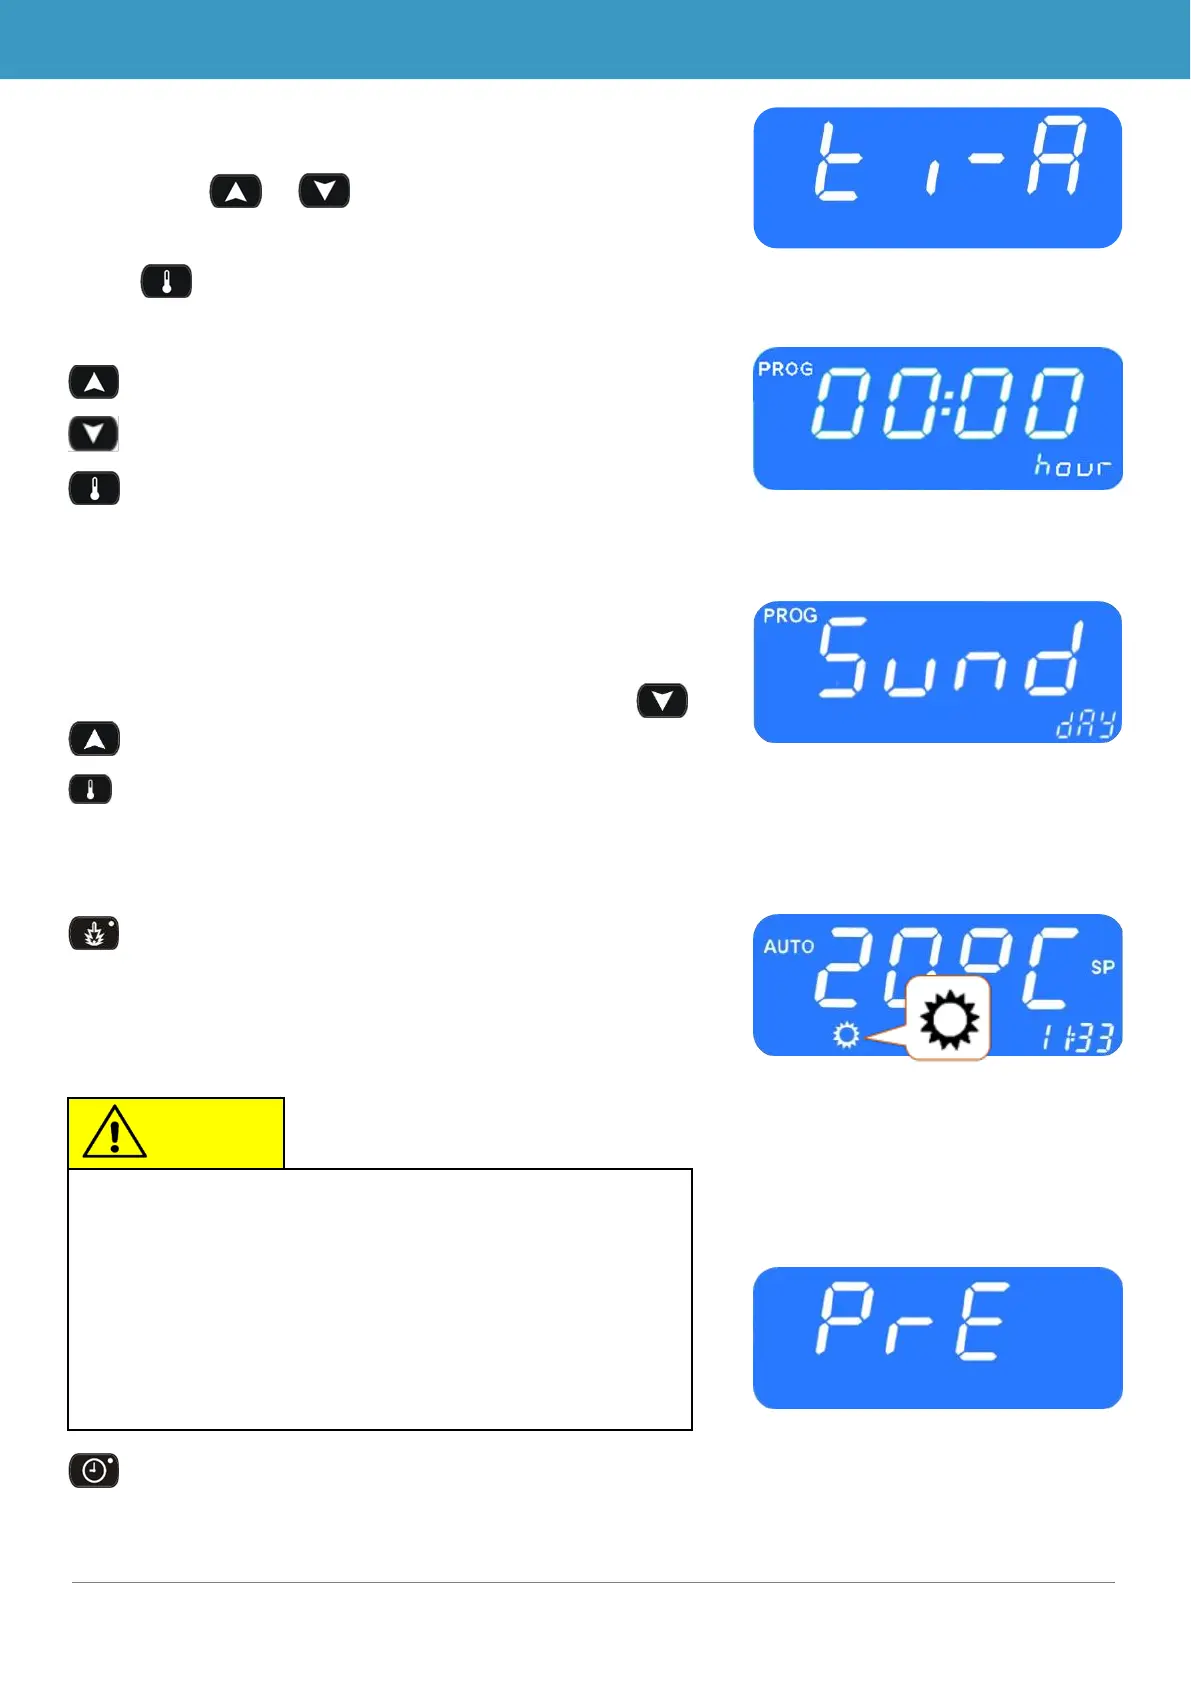
➔ “Pre“ appears on the display (Fig. 14).
Press button or (Fig.3, No.12) once.
➔ ”ti-A“ appears on the screen (Fig. 15)
➔
Press button to confirm.
➔ ”hour“ appears on the screen (Fig. 16) and the hour
digits flash.
Press button to increase the number of hours (0-23 h).
Press button to decrease the number of hours (0-23 h).
Press button to confirm value.
➔ Minute digits flash.
Now proceed exactly as described for setting the number of
hours to set the number of minutes.
➔ Now the week days are displayed (Fig. 27).
Set the week day (Mo, Tu, We, Th, Sa, Su) using the
buttons.
Press button to confirm the day.
➔ The default screen appears.
2.5.2 Activate heating (without start time delay)
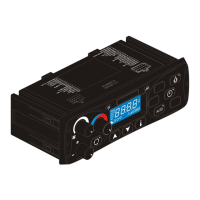
Press button (Fig 3. No 7.).
➔ The button’s LED lights up and the heating icon ap-
pears on the screen (Fig.28).
2.5.3 Programming the timer
Press button 3 seconds.
➔ “PrE“ appears on the screen (Fig.19).
 Loading...