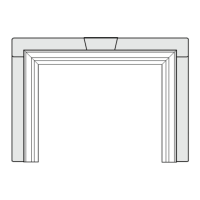
5. The fi replace and kit are now ready for wall fi nishing
to take place. Cement board, tile, or other wall
fi nishes may be completed right up to the outer
edge of the CIK assembly. Do not fi nish past this
edge, as it will prevent barrier screen installation.
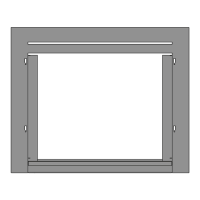
6. Once wall fi nishing is complete, place cover plate in
the bottom of the opening. It will rest on the
supports at the bottom corners of the opening and
the center support bracket. There are no screws
inserted in this step.
7. Place the left hand door. First, insert the door’s top
pin in the hole at the top of the CIK assembly, slide
all the way up, then drop the bottom pin into the
hole at the bottom of the CIK assembly. Turn the
door in toward the back of the fi replace.
Top pin in Bottom pin in
8. Repeat step 6 for right hand door.
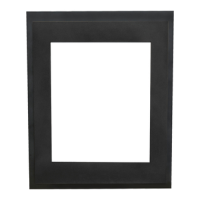
9. Place the barrier screen into the CIK assembly
opening. It will be magnetically held in place.
Assembly of the kit is complete.
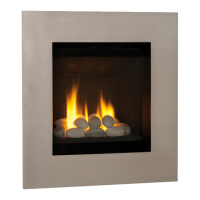
WARNING
For safety purposes, ensure the barrier
screen is re-installed onto the fi replace
after maintenance and before use.
3
 Loading...