www.valuehobby.com/8mm-epp-laser.html
9
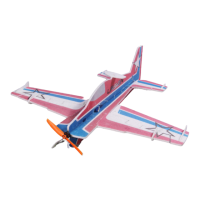
Step3. Cut a slot for the horn along the marked line
on the aileron.
Glue the horn with z-bend wire to the aileron.
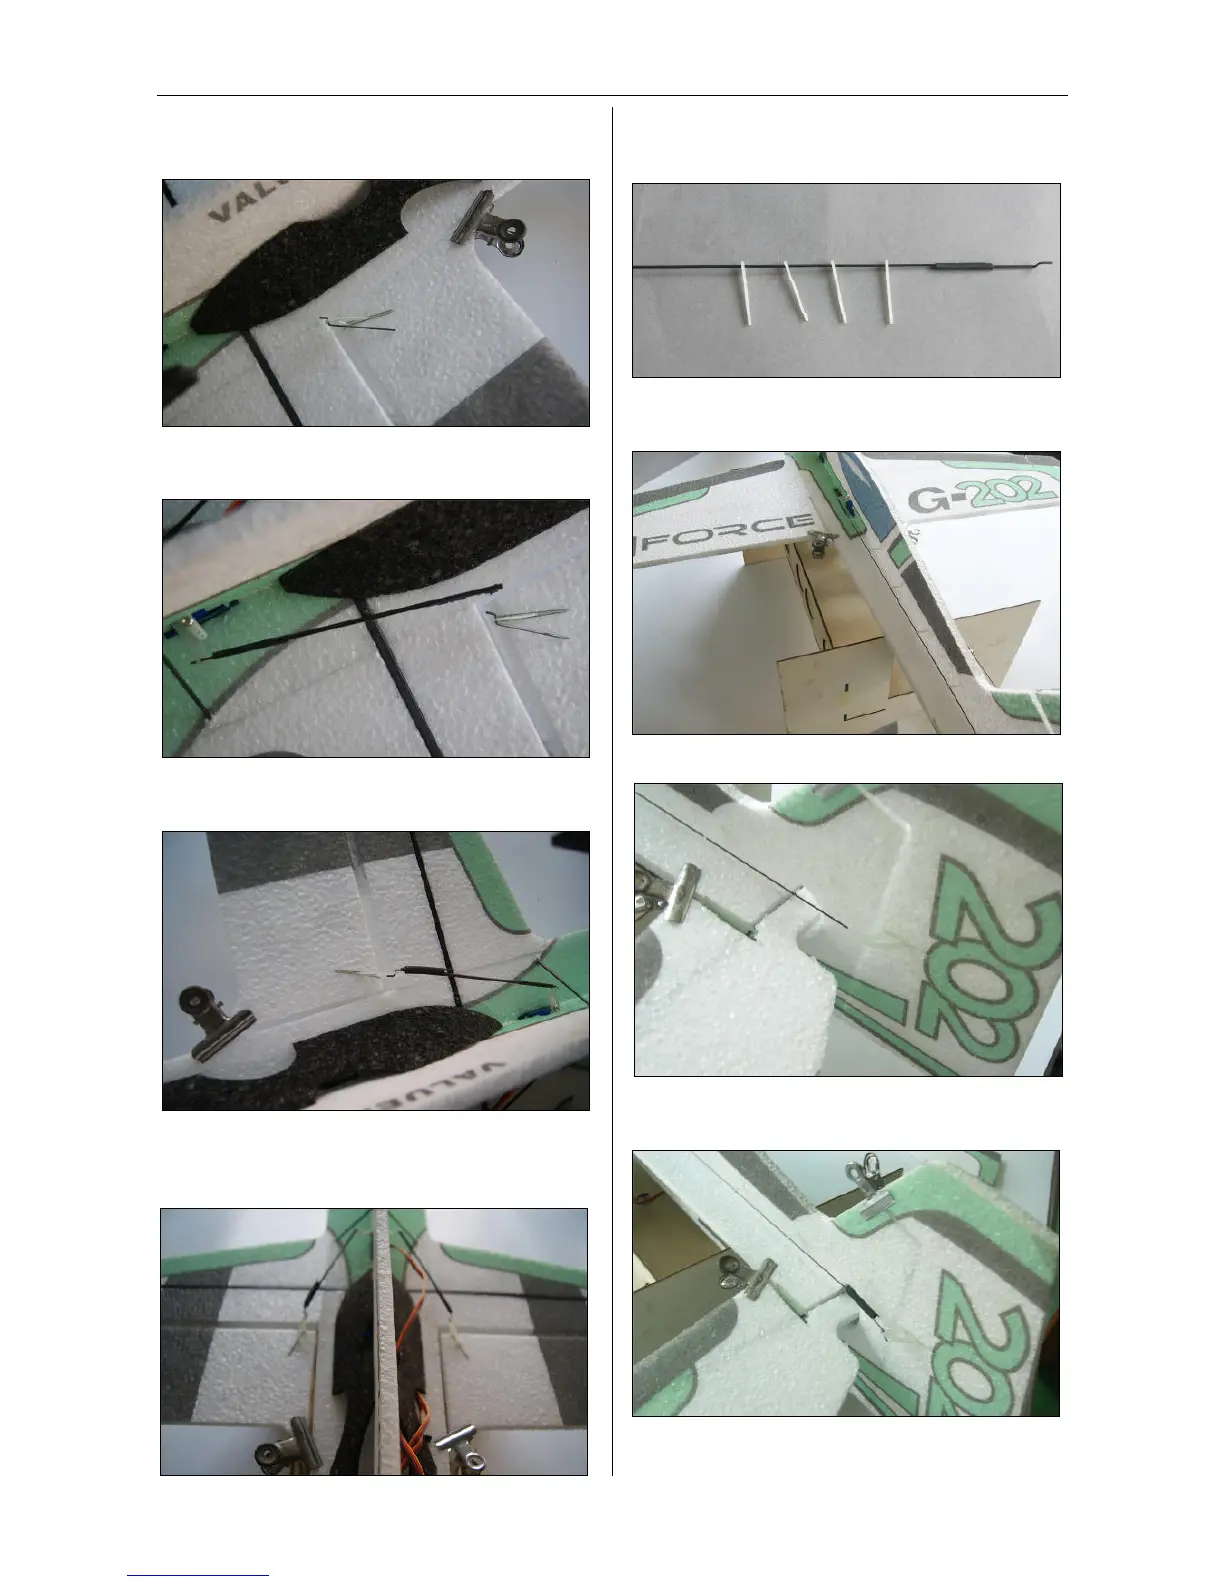
Step4. Attach the aileron servo pushrod to the aileron
servo arm.
Step5. Connect the z bend wire and the pushrod
together using the shrinking tube.
Step6. With the control surface centered, shrink the
tube with flame. Then apply some thin CA into the
tube.
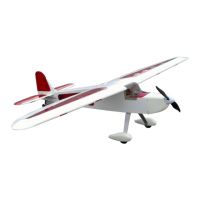
Step7.
Slide four guides to the 400mm (15.7-inch)
CF rod and attach a z-bend wire to one end of the
rod.
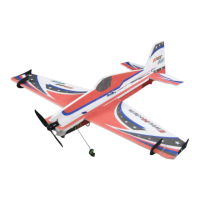
Step8. Glue the guides to the pre-cut slots and
connect the rod to the rudder servo.
Step9. Install the rudder control horn to the rudder.
Step10. Connect the pushrod to the rudder servo
control horn.