10
BEFORE EACH USE
Your VAN RYSEL bike was designed in Flanders, near the cobbleones of the famous spring classics. Your bicycle mu be maintained regularly to ensure its proper
functioning and your safety.
Before using your bike, check the condition of parts that can wear, including the rims, brakes, tyres, eering and transmission of your bike. In the event of abnormal wear or
any deformation, have your bike checked by a Decathlon workshop.
FRAME
Make sure there is no crack on the frame. No suspicious noise mu be heard. In case of crack or crunch sound, please contact your Decathlon workshop.
BRAKES
For your safety, check the front and rear brakes before each use of your bike. Check the wear of the pads and the tightness of the xing screws. They mu be in perfect
condition. Check all brake mounting components regularly. Disc brakes should be checked regularly. In the event of a brake uid leak, action is required. Get in touch with a
Decathlon workshop.
New disc brakes need a break-in period. Braking force will gradually increase as break-in progresses. Be sure to take these increases into account when using the brakes
during this break-in period.
Setting up the brakes:
The break-in procedure involves gradually braking several times, at increasing speeds. It is important to alternate the front and rear brakes and observe the following eps:
1. Ride at 15 km/h and gradually brake to 5 km/h, 10 times in a row.
2. Ride at 20 km/h and gradually brake to 5 km/h, 10 times in a row.
3. Ride at 25 km/h and gradually brake to 5 km/h, 10 times in a row.
Between each age, release and ride a few dozen metres to properly ventilate the disc and caliper.
WHEELS AND TYRES
Regularly check the wheels. Make sure they are turning without any friction, and without any scratching in the bearings. Refer to the wear indicators if the rims have them (on
the outside or inside of the rim) and replace them if necessary. Make sure the wheels are tight. Check that the axles are tightened accordingly to the TIGHTENING TORQUE
part of this user guide.
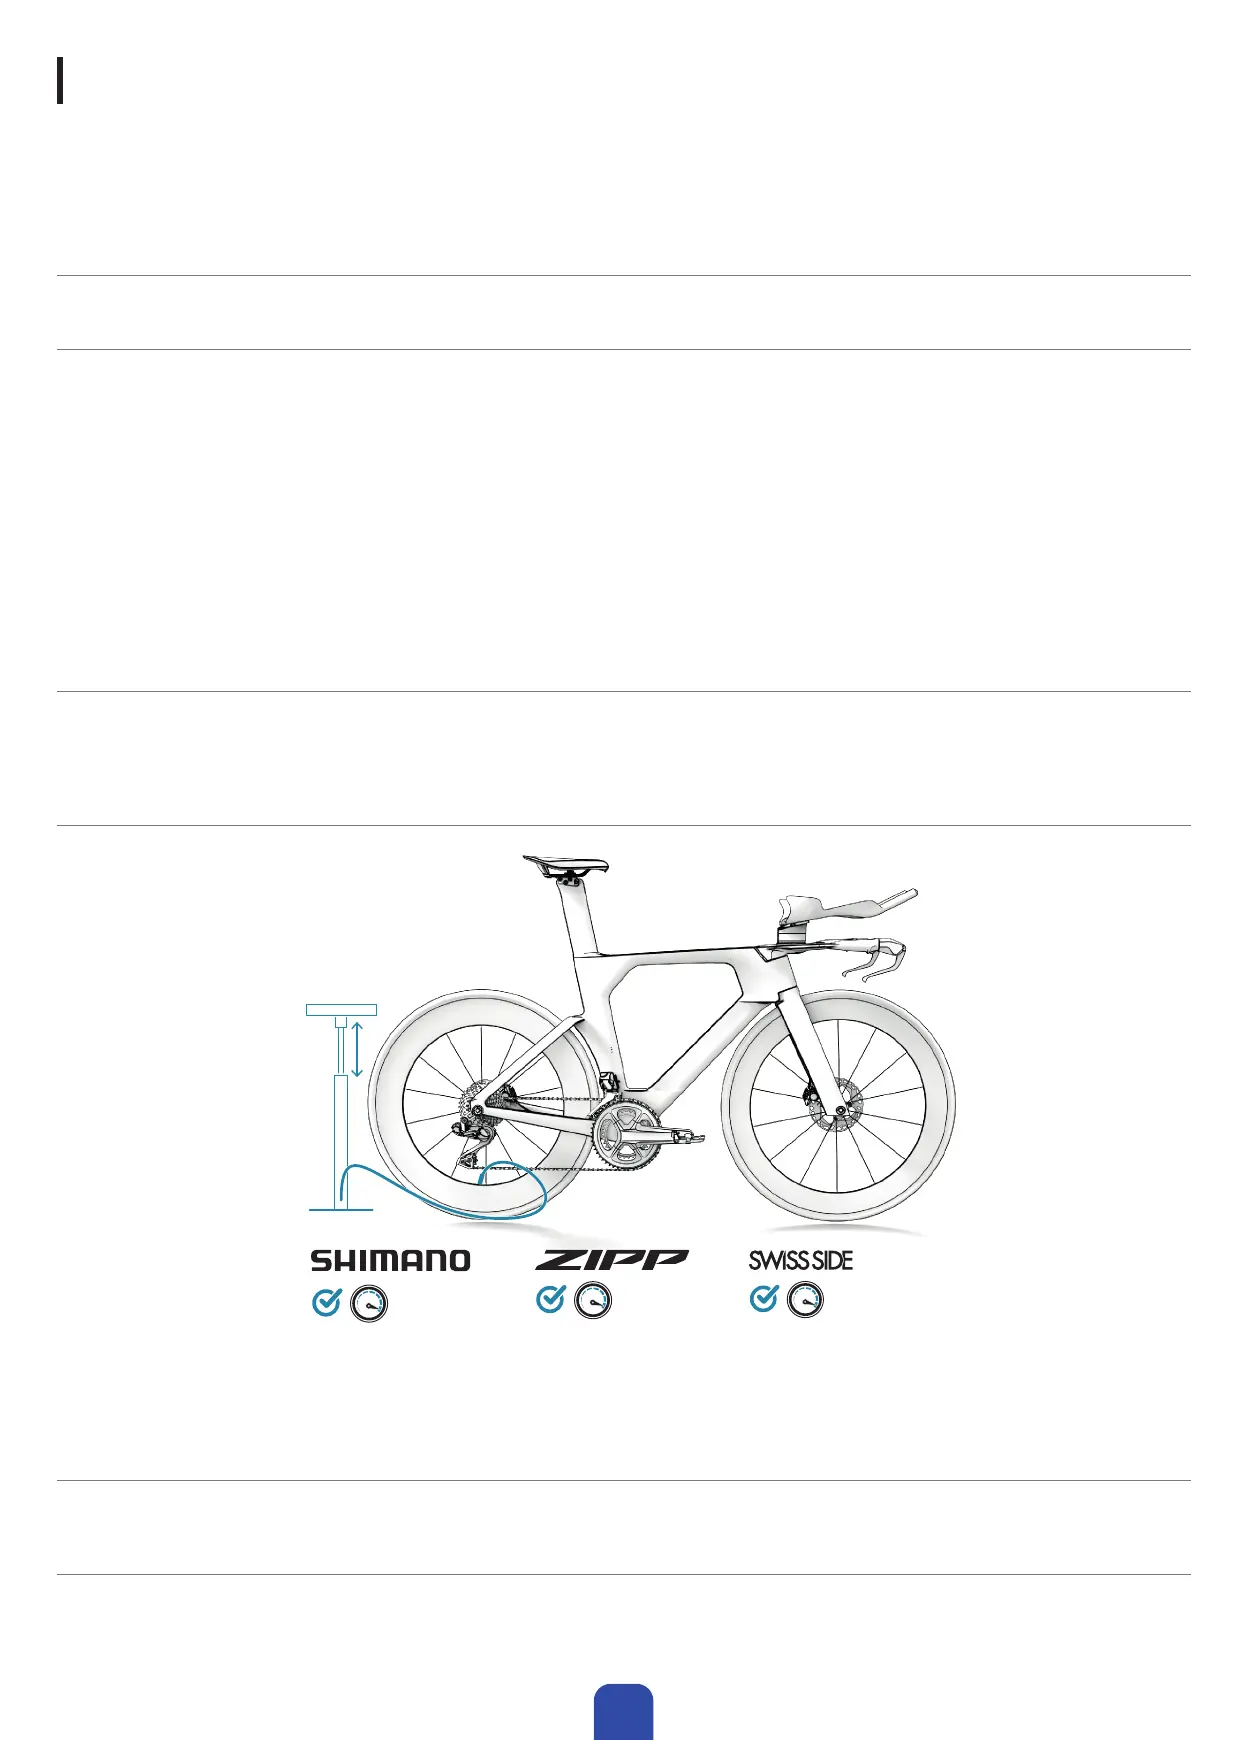
TYRE PRESSURE
MAX 7,5 BAR
MAX 109 PSI
MAX 5 BAR
MAX 73 PSI
MAX 7 BAR
MAX 101 PSI
Regularly check the tyres and check the pressure. The pressure is shown on the side of the tyre and/or rim. If the pressure is indicated on both the rim and the tyre, inate
the tyres with the maximum pressure indicated on the rim independently of the maximum pressure indicated on the tyre. The rims may have a dierent and lower maximum
pressure than the tyres. The risk of puncture is high if the tyres are underinated. Check the absence of holes or cuts and their level of wear.
TRANSMISSION
Make sure it is clean and lubricated. The transmission mu remain silent. A chain that is not tight enough can come o and cause falls, while a chain that is too tight impedes
the performance of the bike. Regularly check the chain tension. The bike chain is automatically tensioned since the bike is equipped with a derailleur.
HEADSET
Braking with your front brake and shaking slightly your bike back and forth, check the lack of play in the headset. Also make sure, while rotating your handlebar, that the
bearings turn without hardness or scratching.
 Loading...