13
VT190DiamondVue/CrystalVueUser’sGuide150‐180
MOUNTING INSTRUCTIONS
SECTION 7
7.1 Panel Mount Procedure
MechanicalDrawings
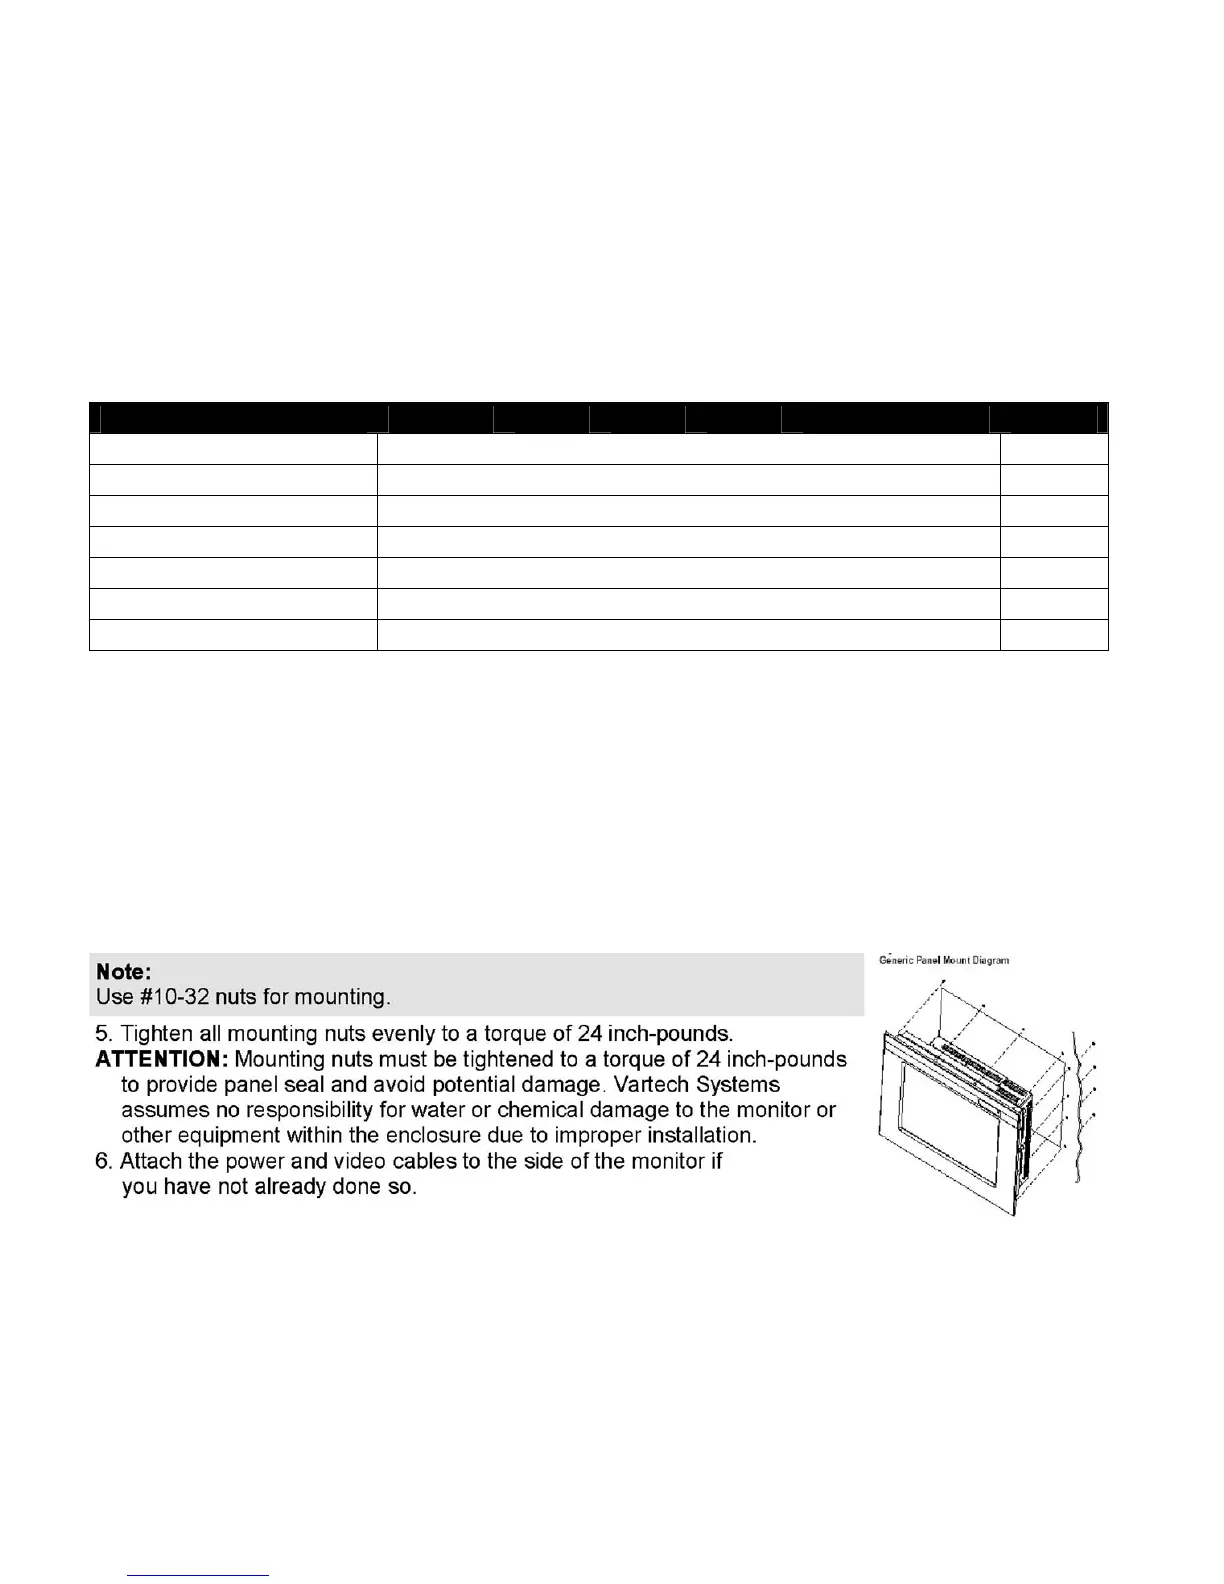
Model Description Page(s)
VT190P219"DiamondVue/CrystalVuePanelMountDrawing(Nema4) 16,17
VT190C219"DiamondVue/CrystalVueOpenFrameDrawing 18,19
VT190W2 19”DiamondVue/CrystalVueWall/VesaMountDrawing 20
VT190R2 19”DiamondVue/CrystalVueRackMountDrawing 21
VT190PSS 19”DiamondVue/CrystalVuePanelMountSSDrawing(Nema4x) 22‐23
VT190M2 19”DiamondVue/CrystalVueTableTopDrawing 24
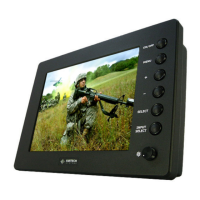
1. Cut and drill the panel (refer to panel mount drawing). Measurements are in inches.
2. If access to the side of the monitor is not available following installation, attach the power and video cables to the
side of the monitor at this time.
3. Install the monitor in the prepared cutout.
4. Install the lock nuts and washers, supplied with the monitor, behind the holes running along the sides and top/bottom
of the cutout in the panel. Extra lock nuts and washers are provided.