Do you have a question about the Vatech Pax-i PCH-2500 and is the answer not in the manual?
Manufacturer's responsibilities for safe installation and operation of the equipment.
Customer's duties for site planning and preparation before equipment installation.
Explanation of symbols used in the manual to indicate risks and important information.
Lists the standards and regulations the X-ray equipment complies with.
Guidelines for selecting an appropriate installation location, considering visibility and space.
Technical specifications related to the electrical setup for the equipment.
Details on power supply, voltage, frequency, and power rating for safe operation.
Environmental conditions required for operation and storage of the equipment.
Describes the three available options for installing the exposure switch.
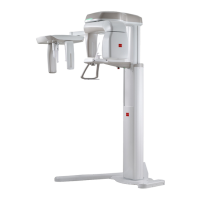
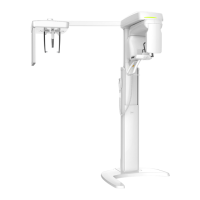
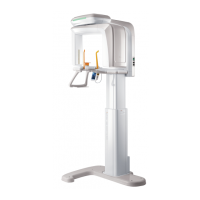
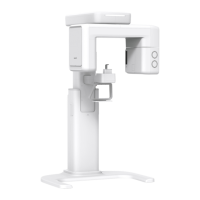
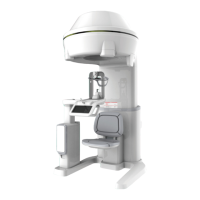
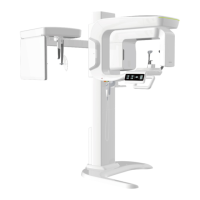
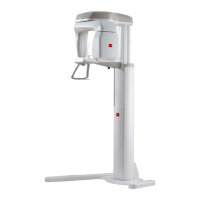
Outlines the different installation types, specifically base unit and wall-mount bracket types.
Instructions for installing safety features like warning lamps and door interlock switches.
Guidance on correctly installing the emergency stop switch for safety.
Lists all necessary tools required for the installation of the PaX-i system.
Procedure to check transport damage indicators before opening the equipment package.
Step-by-step guide on how to unpack the main box and its components.
Instructions for verifying all included parts and accessories against a location layout.
Detailed steps for assembling the main unit onto the base.
Instructions for attaching the necessary brackets for wall or column mounting.
Procedures for securing the base unit to a concrete or wooden floor.
Steps to remove safety bolts and tapes used during shipping.
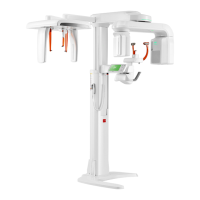
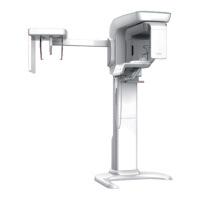
Guide for installing the optional Cephalometric unit.
Instructions on how to safely remove protective plastic films from the equipment.
Detailed procedure for ensuring the equipment is level using a spirit level.
Guidance on planning and marking for wall-mount installation.
Steps to install the column and wall brackets and combine them.
Instructions on removing a security bolt from the rotating unit.
Guide for installing the optional Cephalometric unit for wall-mount.
Procedure for leveling the equipment when using the wall-mount installation.
Final step to secure the nuts after the equipment has been leveled.
Instructions for removing protective plastic films from the wall-mounted equipment.
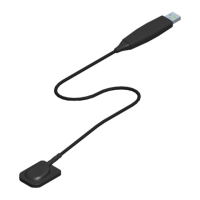
Detailed instructions for connecting various cables to the equipment.
Steps to assemble the front cover of the equipment's column.
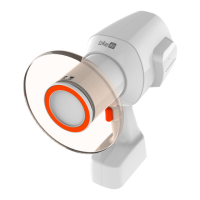
How to attach temple supports and chin rests to the unit.
Guide for using silicone caps to cover holes on the vertical frame.
Procedures for mounting holders for the UP/DOWN and exposure switches.
List and description of components remaining after installation for user reference.
Illustrates the cable connections between the PaX-i unit and the PC.
Specifies the hardware and software configurations recommended for the PC.
Guide for installing internal components like frame grabber and Ethernet cards.
Instructions on how to connect various cables from the PaX-i to the PC.
Initial checks and considerations before configuring Windows environment variables.
Guidance on verifying and checking PC BIOS settings for compatibility.
How to exclude PaX-i related folders from virus scans to prevent conflicts.
Steps to disable the Windows firewall for unimpeded imaging and data transmission.
Disabling screen savers and adjusting power settings to avoid operational disruptions.
Procedure to disable User Account Control (UAC) for smoother operation.
Steps to increase virtual memory allocation for Windows OS.
Guide for installing the primary software suite for the PaX-i system.
Steps to install the specific driver for the frame grabber hardware.
Configuring user-specific details within the imaging software for proper function.
Configuring network settings for the Crong board.
Network configuration for the optional OS CEPH sensor.
Procedure for performing a test image acquisition to verify system functionality.
Steps to assemble the vertical top cover after installation.
Details on image magnification and physical dimensions of the equipment.
Technical data for the X-ray generator, including power and tube details.
Power supply voltage, frequency, and power rating requirements.
Operating and storage conditions for temperature, humidity, and pressure.
Detailed instructions for connecting safety warning systems.
Guide for installing an emergency stop switch on the power cable line.
Procedure to adjust and limit the maximum height of the equipment's column.
Instructions for wiring and connecting a third-party exposure switch.
Guidelines for checking PC BIOS settings for compatibility and optimal performance.
Steps to increase virtual memory allocation for Windows OS.
A comprehensive checklist for installers and customers to confirm installation completion.
| Type | Panoramic and Cephalometric X-ray System |
|---|---|
| Sensor Technology | CMOS |
| Focal Spot Size | 0.5 mm |
| Cephalometric Scan Time | 4.9 seconds |
| X-ray Tube Voltage | 60-90 kV |
| X-ray Tube Current | 4-10 mA |
| Power Requirements | AC 220V, 50/60 Hz |
| Field of View (FOV) sizes (cm) | 8x8, 12x9 |