13
Connecting 4 loudspeakers
Side & pol. Front/colour Pin Rear/colour Pin
Left (+) Green [B5] White [B7]
Left (-) Green/black [B6] White/black [B8]
Right (+) Grey [B3] Blue [B1]
Right (-) Grey/black [B4] Blue/black [B2]
1
) For this accessory, contact your dealer.
Line out
You can connect a power amplifier with 2 or 4
additional loudspeakers to this set using the
labelled RCA cable.
z Red socket to right channel
z White socket to left channel.
Audio In
You can connect external audio equipment via
the labelled AUX-in RCA cables.
z Red wire for Right Channel input
z White wire for Left Channel input.
MOUNTING
Metal Sleeve (fig. F and G )
Install the metal sleeve in the dashboard. For
optimal performance of the CD player, the metal
sleeve should be positioned horizontally (be-
tween -10° and +30°).
Fix metal sleeve into place by pressing the metal
tags outwards using a screwdriver.
Connecting the Radio (fig. C)
z Ensure the battery is disconnected.
z Insert power supply connector A’ into socket
A.
z Insert loudspeaker connector B’ into socket
B.
z (Optional) Insert the line-out connector into
the corresponding socket.
z (Optional) Insert the AUX connector into the
corresponding socket.
z Insert aerial plug into the aerial socket (good
reception is only possible with a good aerial).
If an antenna adaptor is needed, please con-
sult your dealer.
Mounting the Radio (fig. G and H)
This radio can be properly installed either from
conventional Front Mounting and/or from Rear
Mounting.
Front Mounting
z Slide the radio into the metal sleeve until the
springs at either side of the radio snap into
the openings of the sleeve.
z Finally reconnect the negative car battery
terminal.
Rear Mounting
z Choose a position where the screw holes of
the mounting bracket and the screw holes of
the radio become aligned and tighten the
screws at 2 places on each side.
z Only use M5 screws that are not longer than
6 mm.
Removing the Radio (using the two
removal keys supplied) (fig. J)
z Press the REL button and open the front
panel.
z Insert both removal keys into the holes on the
front of the set until they lock.
z Pull out the radio.
Replacing the Fuse (fig. C)
z Replace with a 15A blade-type fuse.
The new fuse must be of exactly this value
and type otherwise the set will not be ad-
equately protected. Ignoring this procedure
may lead to damage to the set, which will
invalidate the guarantee.
Interference Suppression
z Most modern cars have sufficient interference
suppression. If you experience interference
generated by the car, consult your dealer.
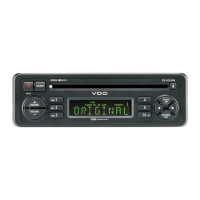
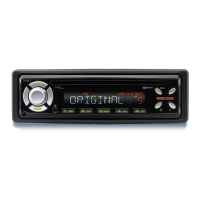
FRONT PANEL AND REMOTE
CONTROL
See fig. A and E.
Front Panel and Remote Control
Function(s)
1. 1. Switch On / Off the set
2. Press to fold down the front
panel
3. 11. Radio:
Short press: auto-seek a
station (auto mode)/stop
the frequency (manual
mode)
Long press: activate
manual tuning mode
CD:
Short press: select the
previous or next track/
file
Long press: Review/
Fast-forward the current
track
 Loading...