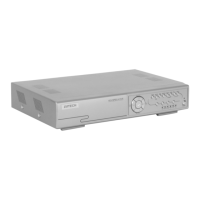
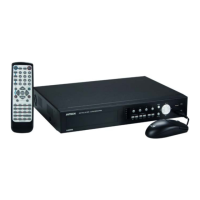
DVR4MQAEE_v5 VELLEMAN
- 38 -
HDD failure - Test with another HDD.
- Test with another HDD cable.
- Make sure HDD “Master” and “Slave” mode is set
correctly.
When two Seagate power-saving HDDs are installed,
the DVR cannot be switched on successfully
- Do not use 2 Seagate power-saving HDDs
simultaneously.
Cannot view the DVR over the network with a web
browser
- Update the JAVA programme.
- Update the firmware of the software AP.
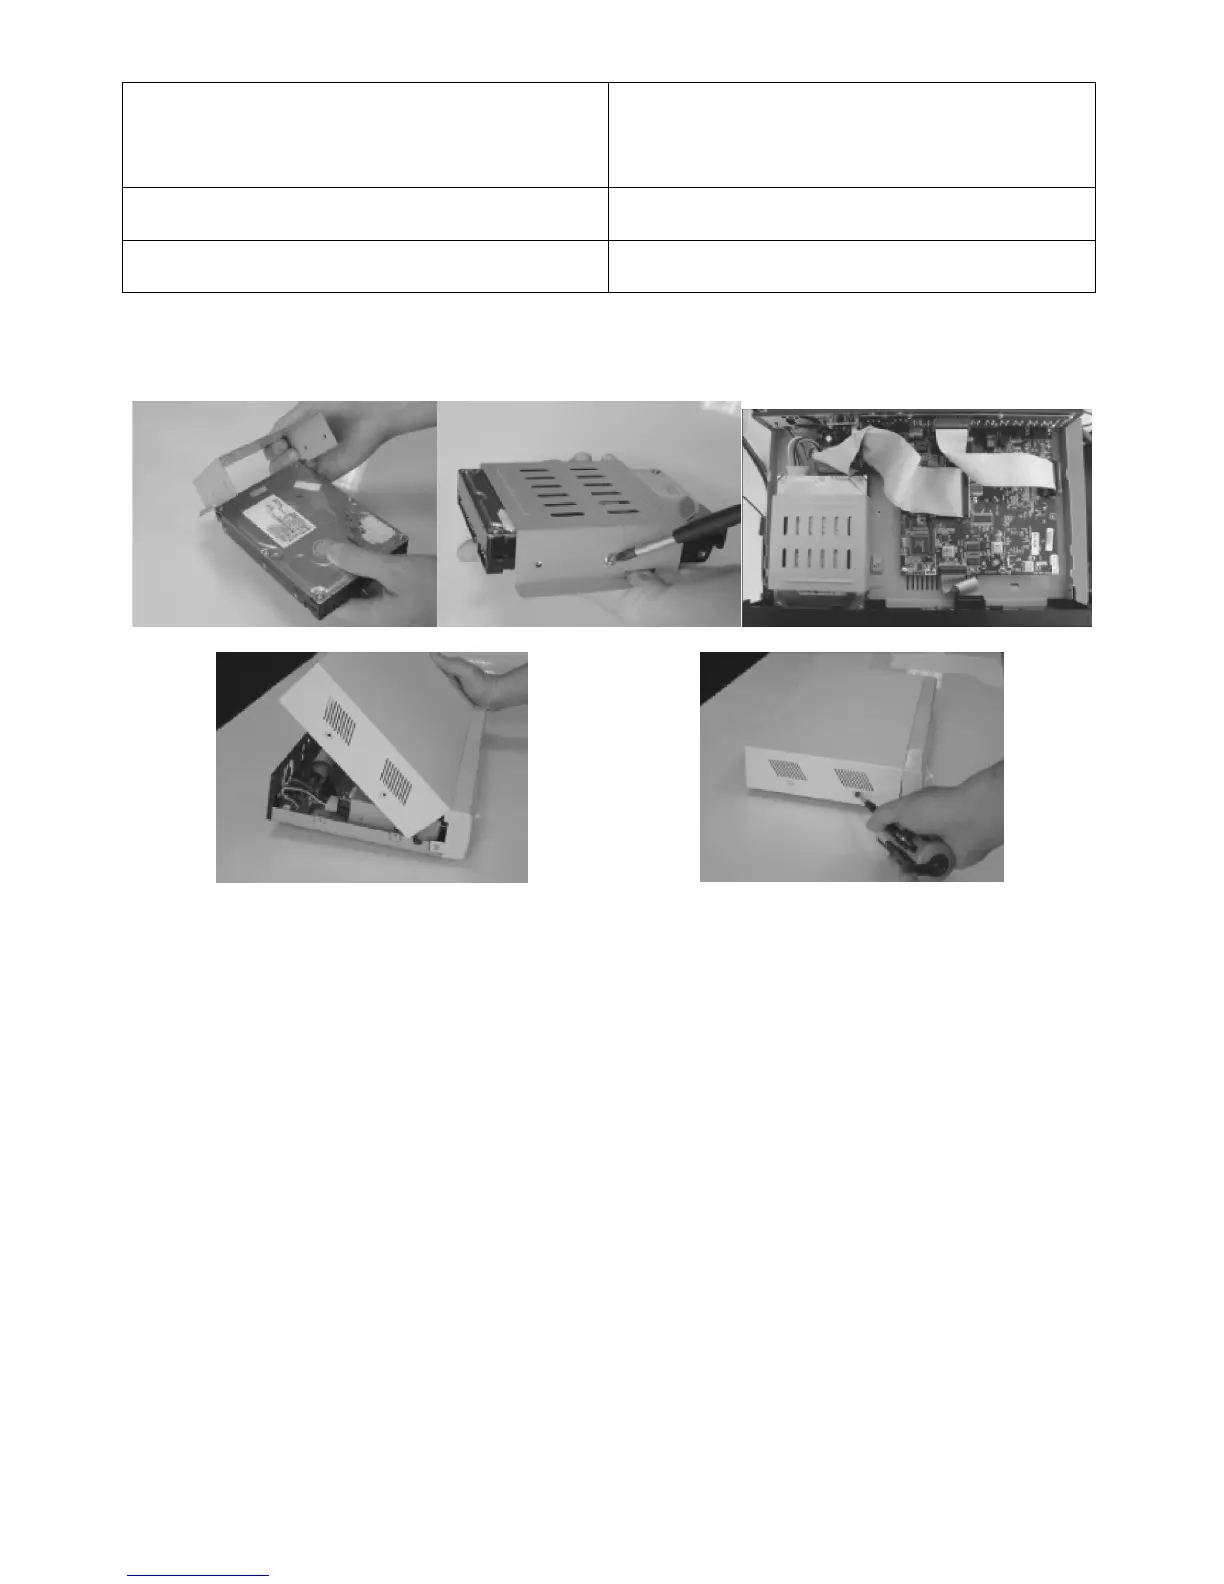
12. Appendix #1 – HDD Installation
NOTE: Always set the HDD jumper on “CS” (Cable Select).
1 2 3
4 5
• Step 1: Loosen the screws of the top cover (2 per side + 4 on the back) and lift it (refer to figure 5 and 4).
• Step 2: Remove the HDD bracket by releasing the 4 screws.
• Step 3: Get a suitable IDE HDD and set the HDD mode to master. Note that an adapter is available (not incl.) to
enable the use of SATA disks with this DVR (reference: DVR/SATA).
• Step 4: Mount the HDD into the HDD cartridge. Screw the HDD to the cartridge using 2 screws on each side
(refer to figure 1 and 2).
• Step 5: Screw the HDD cartridge back in the DVR housing; connectors towards the back of the DVR (refer to
figure 3).
• Step 6: Connect the power connector and the IDE bus to the HDD. Make sure to use the correct pin alignment
for the IDE bus (pin 1 on motherboard connected with pin 1 of HDD).
• Step 7: Close the upper cover of the DVR and fasten all 8 screws (refer to figure 4 and 5).