7
Assembly in the housing
13. Assembly in the housing
Attach the sticker showing the connections to the housing, fig 4.0.
Mount three spacers to the bottom of the housing, together with a shakeproof washer and an M3
countersunk bolt, see figure 2.0
Mount the PCB on the spacers using the three M3 bolts
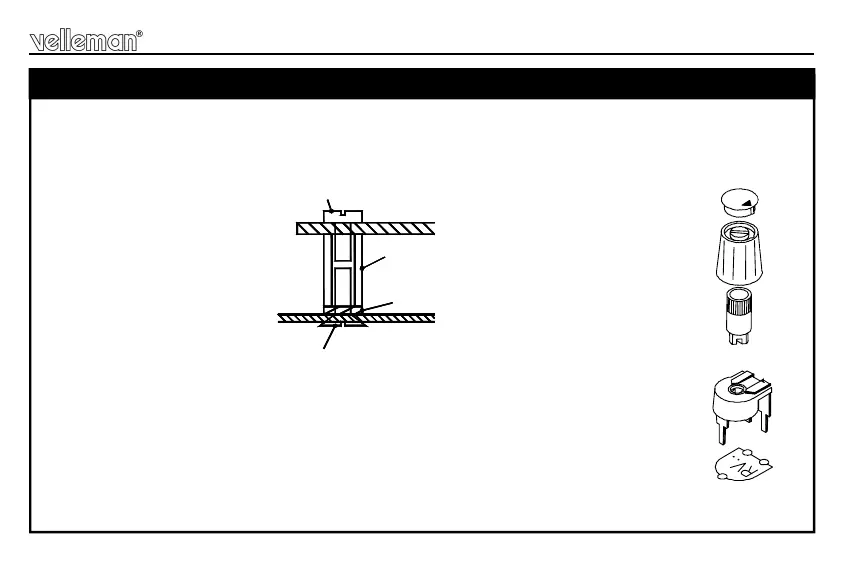
Click the shaft into the tone-control potentiometer and mount the knob on the shaft, fig 3.0
After connection of the 9V battery (check the polarity), the cover of the housing can be
clicked in place.
HOUSING
6mm M3 BOLT
PCB
LOCK WASHER
8mm M3 SPACER
4mm M3 BOLT
Fig 2.0
Fig 3.0

 Loading...