Contents
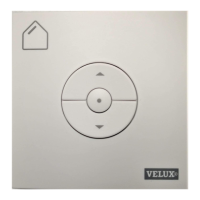
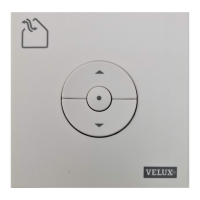
Wall switch types 3
Wall switch functionality 4
Rain sensor 5
Setup of wall switch KLI 311 to operate VELUX INTEGRA
®
roof windows GGL/GGU
or roof windows GGL/GGU with VELUX INTEGRA
®
window operators 6
Setup of wall switch KLI 311 to operate VELUX INTEGRA
®
flat roof window CVP 7
Setup of wall switch KLI 312 to operate VELUX INTEGRA
®
solar blinds DSL/RSL/FSL/FSC 8
Setup of wall switch KLI 313 to operate VELUX INTEGRA
®
solar awning blind MSL 9
Setup of wall switch KLI 313 to operate VELUX INTEGRA
®
solar roller shutter SSL or SST 10
Setup of wall switch KLI 313 to operate VELUX INTEGRA
®
solar awning blind MSG 11
Setup of wall switch KLI 311/312/313 to operate electrical products connected to
VELUX INTEGRA
®
power supply unit KUX 110 12
Setup of wall switch KLI 311/312/313 to operate electrical products connected to
VELUX INTEGRA
®
control unit KLC 500 13
Setup of wall switch KLI 311/312/313 to operate electrical products already registered in
VELUX INTEGRA
®
control pad KLR 200 14
Setup of a new wall switch KLI 311/312/313 in addition to an existing wall switch KLI 311/312/313 15
Setup of wall switch for group control of products 16
Manual operation of VELUX INTEGRA
®
roof windows GGL/GGU 17
Closing of VELUX INTEGRA
®
roof windows GGL/GGU in the case of power failure or discharged battery 18
Closing of VELUX INTEGRA
®
flat roof window CVP without using the wall switch 19
 Loading...