A
5 VELUX
®
VELUX
®
6
ENGLISH ENGLISH
24V
1
3
2
4 6
5
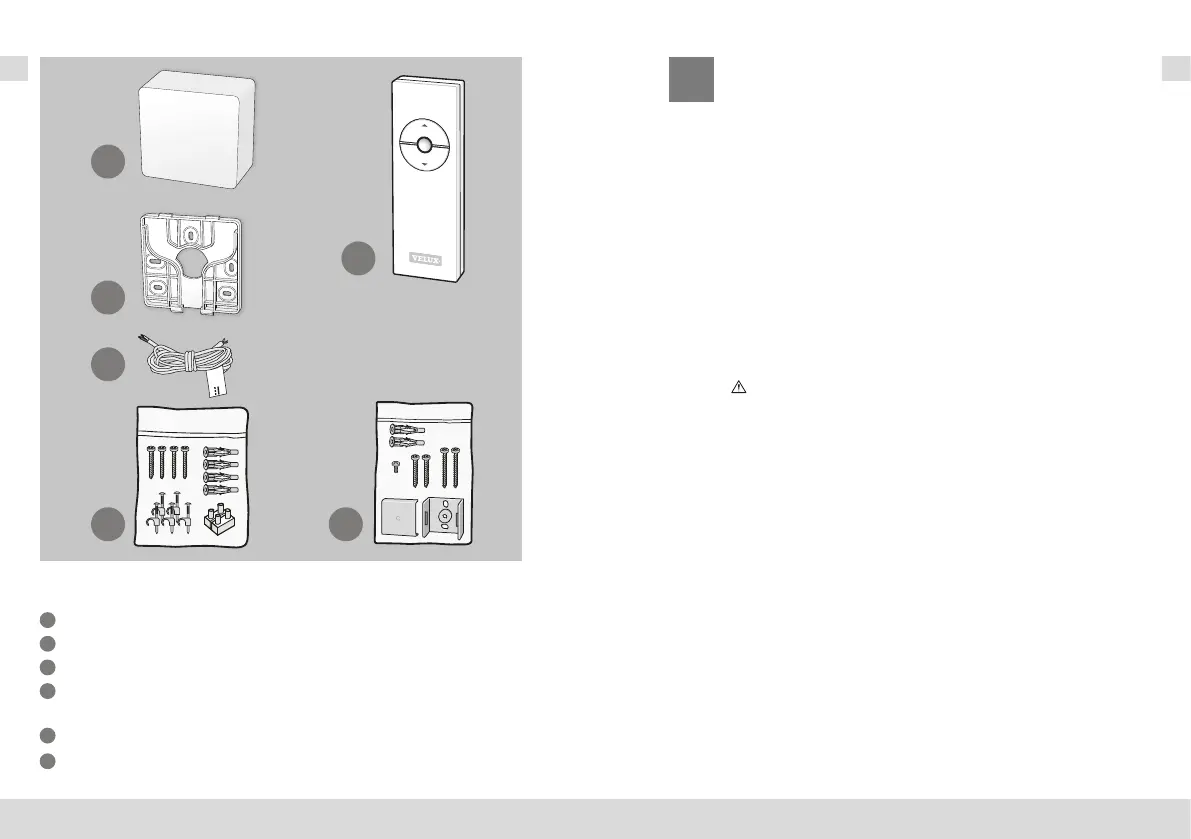
Contents of packaging
1
Power supply unit
2
Wall bracket for power supply unit
3
Connecting cable between power supply unit and product
4
Screws and rawlplugs for power supply unit, block connector and
cable clips
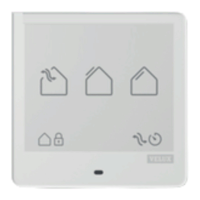
5
Remote control
6
Holder for remote control, rawlplugs and screws
Installation of power supply unit
1. Install the wall bracket for the power supply unit on the
wall. It is recommended to place the power supply unit
in the room where the product to be connected has been
installed.
In case of additional power supply units, the wall brackets
must be spaced at least 11 mm apart.
2. Connect the connecting cable to the power supply unit.
Important: The polarity (+/-) must be kept all the way
through to the product.
3. Hook the power supply unit on the wall bracket.
4. Click the lid on the power supply unit.
Do not connect to mains supply before starting the initial set-
up, see the section Initial set-up.
Installation in rooms with a high level of humidity and with
hidden wiring must comply with national regulations (contact a
qualified electrician if necessary).
The power supply unit has a built-in RF unit and will not be
operative if placed in a metal cabinet.
 Loading...