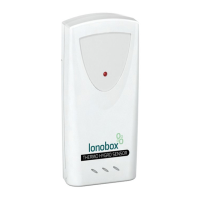
8. Installing additional remote thermo-hygrometer sensor(s)
Additional remote thermo-hygrometer sensors can be purchased separately (not supplied in the
package).
1. Select a location for the remote thermo-hygrometer that is within the effective transmission range of
100 meters (328 feet). Shorten the distance if obstacle is between the monitor & remote sensor.
2. Use a small screwdriver to loosen the screws on the battery door of the remote sensor. Insert 2
pieces of AAA batteries according to the polarity indicated.
3. Assign channel 2 or 3 to the remote sensor by setting the slide switch inside the battery
compartment. (Channel 1 is used by the anemometer and should not be assigned to the new
remote thermo-hygrometer)
4. Press “Tx” button inside the battery compartment of the remote sensor to transmit temperature &
humidity data to the monitor. Then close the battery door and tighten the screws.
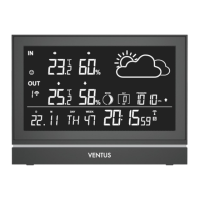
5. Hold “CHANNEL/SEARCH” button on the monitor to search for all remote sensors. The
temperature & humidity readings of your selected channel number will be displayed on the monitor
if RF transmission is successful.
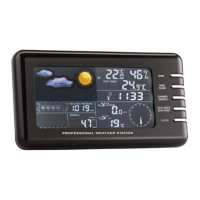
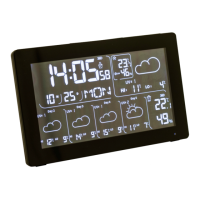
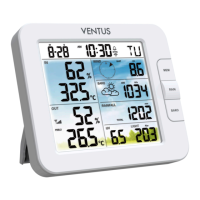
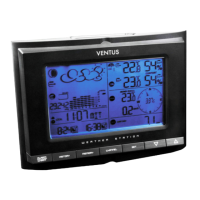
OPERATION
Name and Functions of Buttons:
Press Functions
Hold 3 seconds
RAIN/CLEAR Read daily/monthly/weekly/total rainfall Clear rainfall record
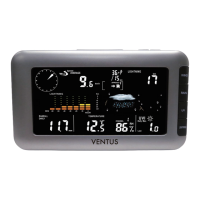
RAIN HISTORY Read current & past 6 days, weeks or
months rainfall data
WIND Read average & gust wind speed
WIND ALARM Read high gust wind alarm and low wind Enter high wind speed alarm & low
chill alarm wind chill alarm setting
PRESSURE Toggle pressure unit hPa, inHg & mb Sea level pressure setting
CHANNEL/ Select indoor, Channel 1, 2, 3 or Search for all remote sensors
SEARCH auto scroll