2
Installing the Nextiva S5000BX Models
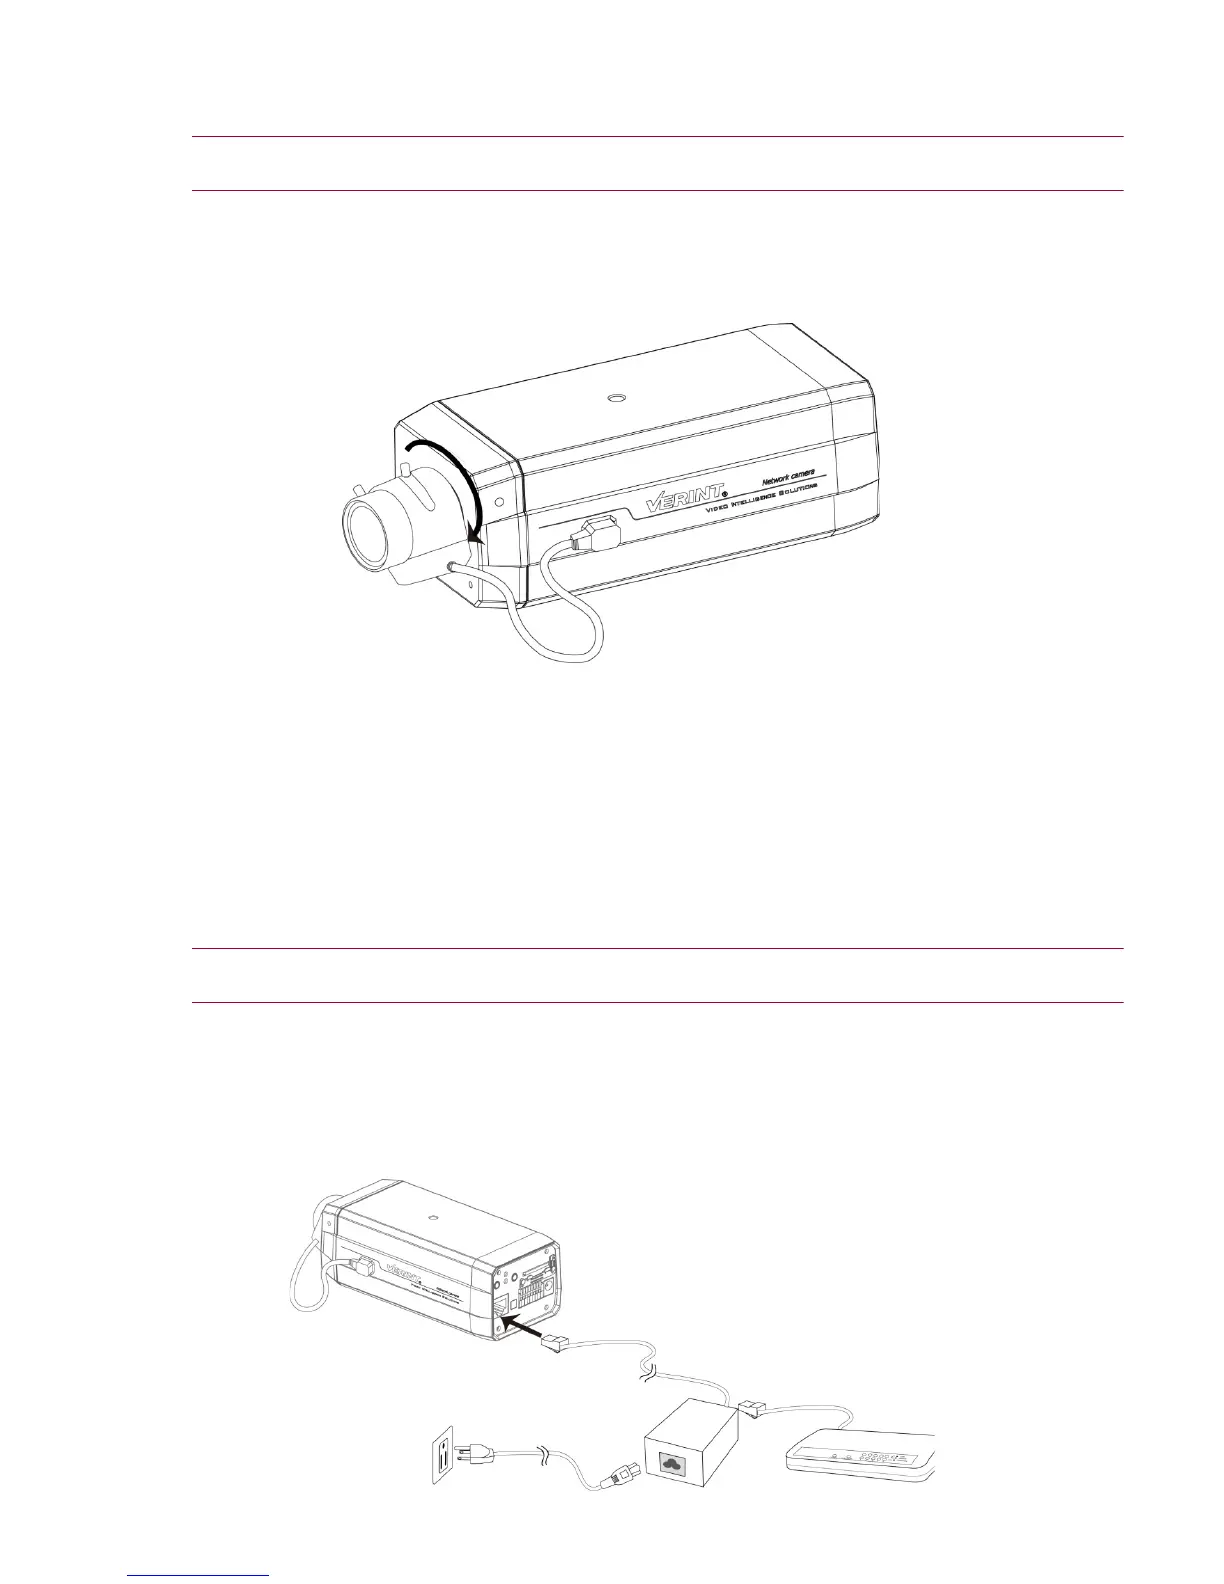
This section explains how to mount and connect a lens onto the Nextiva S5000BX models.
CAUTION: Verint will not be held liable for damages to persons or property due to the improper installation
of the Nextiva S5000 series IP cameras.
To mount the lens:
1. Mount the lens by turning it clockwise onto the camera mount until it stops.
2. Connect the lens cable plug to the camera DC-Iris Control connector.
Setting the Video Standard
The Nextiva S5000FDW can run in one of two video standards (NTSC or PAL).
To set the video standard:
1. Move the DIP switch to NTSC or PAL.
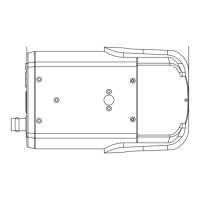
Connecting the Nextiva S5000BX Models
This section explains how to connect the power and network cables to the Nextiva S5000BX models. A
power supply is not included with the Nextiva S5000BX models and must be purchased separately.
CAUTION: Never use a PoE power connection and a 12V DC power connection at the same time. This may
damage the device.
To power the Nextiva S5000BX models using a 802.3af compliant PoE kit:
1. Plug a straight-through ethernet cable into the RJ-45 connector on the back of the IP camera.
2. Plug the other end of the cable into a POE ethernet switch or to the Data&PWR port of a POE injector. If
you use a PoE injector, make sure the Data port of the injector is properly connected to the ethernet
switch.