20
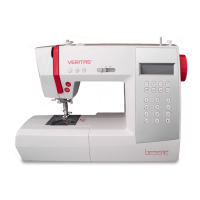
Changing the presser foot
1
2
3
4
ATTENTION! Turn the power switch to off („O“) when carrying out any
of the below operations!
3
Removing the presser foot
Raise the presser foot using the presser foot lifter. Raise the lever (e) and the foot disen-
gages. (1)
Attaching the presser foot
Lower the presser foot shank (b) using the presser foot lifter, until the cut-out (c) is di-
rectly above the pin (d). (2) The presser foot (f) will engange automatically.
Removing and Attaching the presser foot shank
Raise the presser bar (a) with the presser foot lifter. Removing and Attaching the presser
foot shank (b) as illustrated. (3)
Attaching the edge/quilting guide
Attach the edge/quilting guide (g) in the slot as illustrated. Adjust as needed for hems,
pleats, quilting, etc. (4)
 Loading...