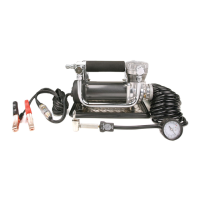
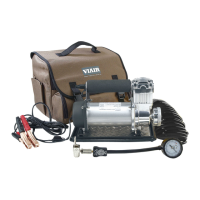
MOUNTING AND WIRING
1. Disconnectgroundcablefromvehicle’sbattery.
2. Temporarily position the air compressor in the location where it will be mounted.
3. Routegroundwiretothenegativepostofthebatteryortoanappropriategroundingpointand
cut ground wire to length as needed.
4. Mountaircompressorwiththefoursetsofbolts,nuts,washers,andlockingwashersprovided.
(SeeFig.2forMountingInstructions)Useofthreadsealantisrecommended.
5. NOTE:ForRemoteInletAirFilterInstallation,refertoRemoteInletAirFilterInstallation
InstructionsincludedintheRemoteInletAirFilterPack.
6. VIAIRaircompressor(s)comeequippedwithheavydutyheatresistantleaderhose(s)with3/8"
NPTttings.Thisleaderhoseisdesignedtoprolongthelifeofyourairline.
Donotremovethisleaderhosefromaircompressor.
7. IMPORTANT:Pleasenote,theleaderhosethatcomeswithyourcompressorhasabuilt-ininline
checkvalve.DoNotremoveinlinecheckvalvefromleaderhose.
8. Selectproperlocationtomountleaderhosewithhosebracketprovided.Avoidlocationswhere
leader hose may become tangled with wires and other hoses.
9. Tomounthosebracket,drillholewith3/16"drillbitandpushself–anchoringhosebracketpin
intohole.Routeleaderhosethroughhosebracketandsecurehosebypressingbracketclamp
into locked position.
10.Toremovehosefromthehosebracket,simplypressdownonthehoseclampreleasetabto
releasebracketclamp.(Fig.3)
11.Connectcompressor’spositiveleadwiretooneoftheleadsofyourpressureswitch.
12.Makesurethatyourcompressorsetupisproperlyfused.Forappropriatefusesize,referto
ampdrawofcompressorinthespecicationssectionofthismanual.
13.Alwayslocatefuseascloseaspossibletopowersource.
14.Beforeconnectingtopowersource,re-checktomakesurethatallconnectionsare
made properly.
15.Connectandtestcompressorsystembyrunningthecompressorforashorttimetobuildup
pressure in your air tank.
16.Onceairpressurereachespresetcutoutpressureofyourpressureswitch,thecompressor
will shut off. Inspect all air line connections for leaks with soap and water solution. If a leak
isdetected,theairlinemaynotbecutsquarelyorpushedallthewayin.Repairconnections
as needed.
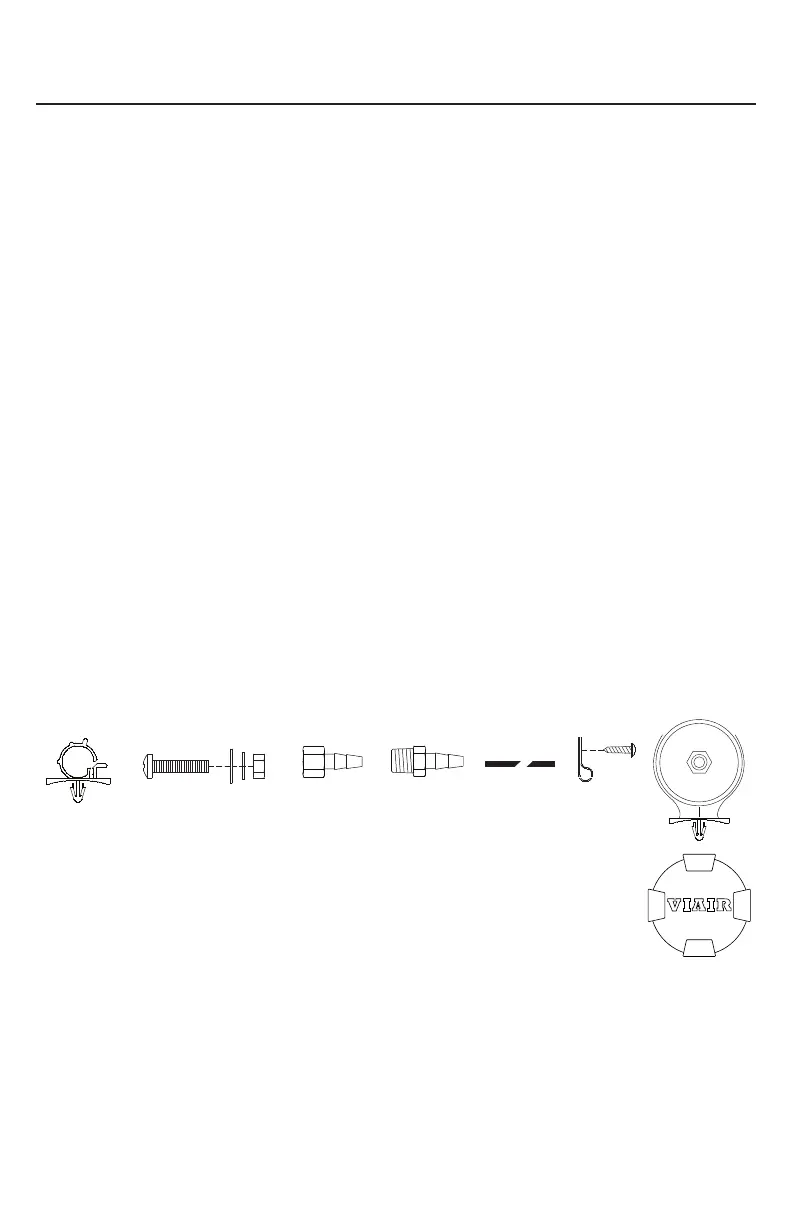
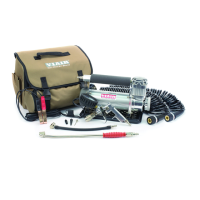
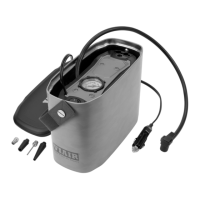
(Fig. 1) 485C Compressor Installation Parts List:
A. HoseBracket(1pc)
B. MountingBolts(4pcs)
C.FlatWashers(8pcs)
D.LockingWashers(4pcs)
E.Nuts(4pcs)
F.3/8NPTFx1/2"BarbedFitting(1pc)
G.3/8NPTMx1/2"BarbedFitting(1pc)
H.RemoteMountFilterAirLine(1pc)
I. AirLineClips(3pcs)
J.Screws(3pcs)
K.RemoteInletAirFilterwithFilterElementandFilterCover(1pc)
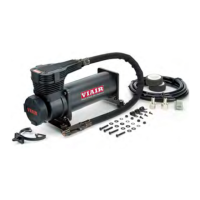
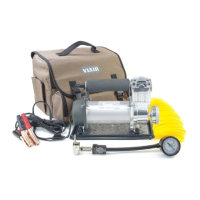
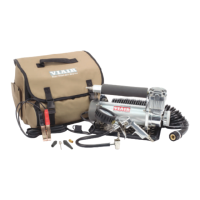
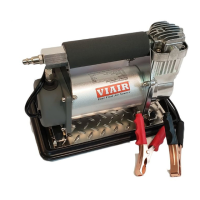
USER MANUAL
485C COMPRESSOR KIT
C E
B
A
D
F
G
I
J
K
H