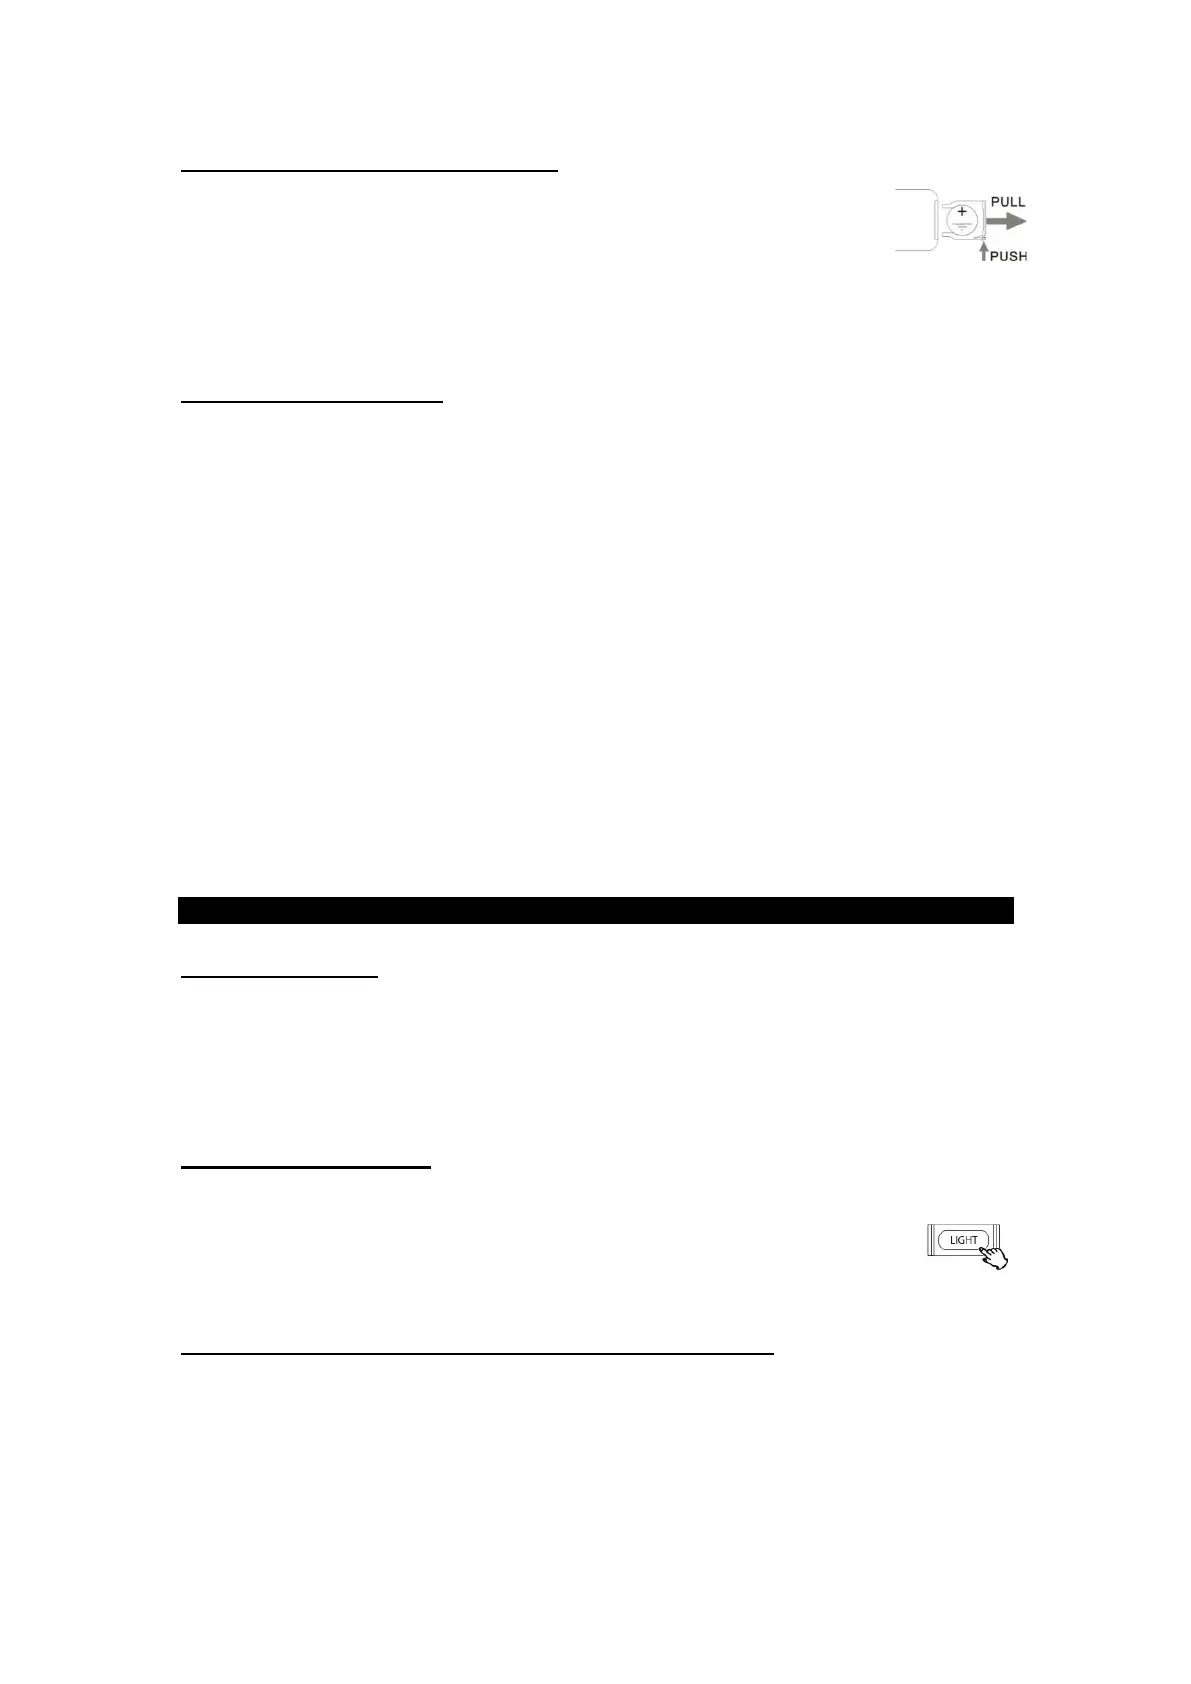
TO REPLACE WITH A NEW BATTERY:
1. Remove the battery compartment cover as per
illustration on the right.
2. Observing the correct polarity and put a 3Vdc lithium
battery (CR2025).
BATTERY PRECAUTIONS:
• Be sure to insert the battery with correct positive + and negative - polarities.
• Refer to the precautions on the battery labels.
• When the remote control unit is not to be used for a long time (more than a month),
remove the battery from the remote control unit to prevent it from leaking. If it leaks,
wipe away the liquid inside the battery compartment and replace the battery with new
one.
• Do not heat or disassemble batteries and never dispose of old batteries by throwing
them in a fire.
• Purchase the correct size and grade of cell or battery most suitable for the intended
use.
• Keep cells or batteries clean and dry both during use and storage. Wipe metal
terminals with a soft, dry cloth if they become dirty.
• Retain original product literature for future reference.
• Only use the cell or battery in the application for which it was intended.
GENERAL OPERATION
GETTING STARTED
1. Plug the AC power cord into the unit and plug into a power outlet.
2. Press ON/OFF button to turn on the unit.
3. Press POWER/FUNC button to select between the different functions such as the
FM Tuner, AUX IN, Bluetooth and Phonograph.
LED LIGHTING EFFECTS
1. To turn on/off the LED lighting effects simply press the LIGHT button located on the
front of the unit.
2. Light Mode Switch located on the back of the unit can be positioned on
PLAY to have the colors gradually change or to HOLD to have one steady color.
LINE OUT OPERATION (FOR EXTERNAL SPEAKERS ONLY)
NOTE: Line out on the back of the unit should be switched to the “off” position to use the
unit’s built-in stereo speakers.
1. Switch Line Out to “ON” position.
2. Use the left/right channel to connect your external, more powerful speakers.
NOTE: When Line Out is ON, no sound will play from the unit's speakers