Basic function setting and applying
Opening & closing force dynamically self-learning
2. Matching the receiver and transmitter
3. Safety reverse force adjustment
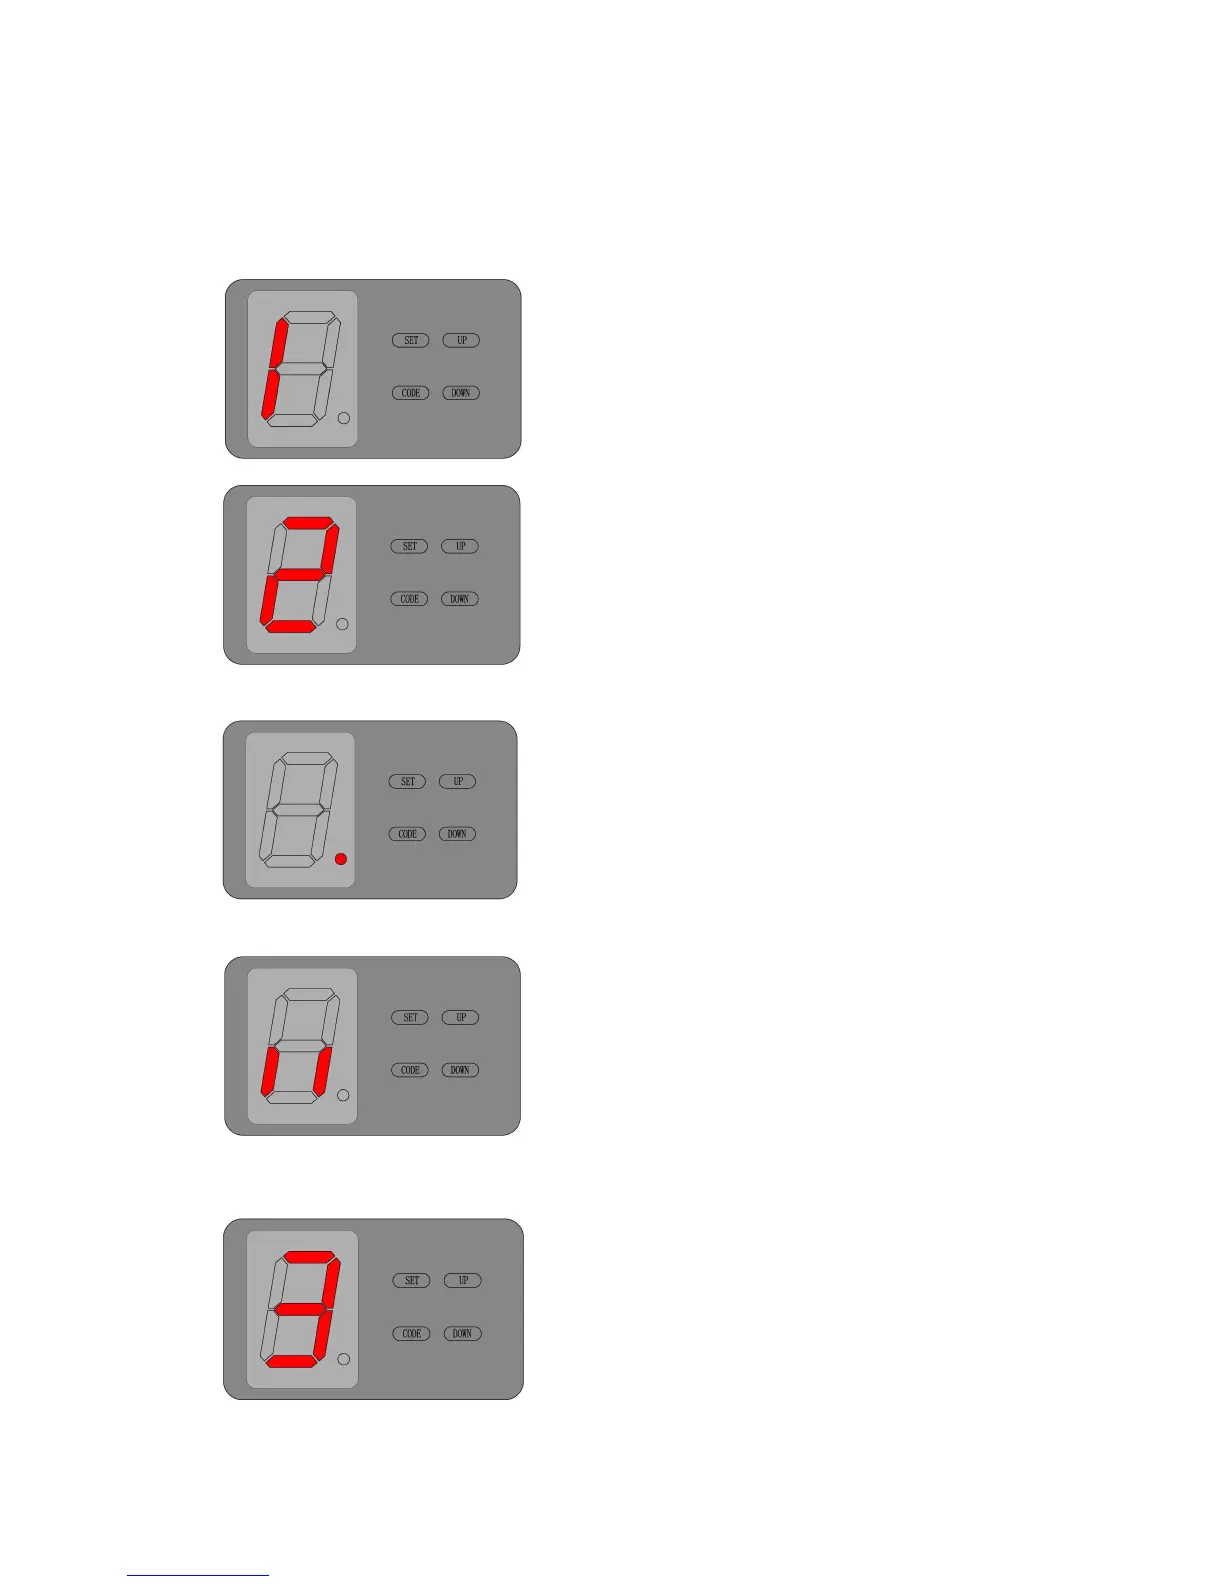
Press ‘SET’ button and hold on until the LED displays
figure ‘1’, then adjust the up limit by pressing ‘up’ button.
Fine-tuning ‘up’ or ‘down’ button to determine the final
up limit position then press ‘set’ button the display turn
into ‘2’ automatically. Adjust the down limit by pressing
‘down’ button. Fine-tuning ‘up’ or ‘down’ button to
determine the final down limit position then press ‘set’
button. The opener will operate a cycle automatically to
remember the limit positions and the opening & closing
force.
Press ‘CODE’ button and hold on until the LED dot
flashes. (Fig. A) Then press any button (except the lock
button) on the transmitter twice, the dot will be off; press
the button again the dot will fast flash then LED displays
‘11’ (Fig. B). After that the transmitter will be available. It
will be able to control the open, close, stop of the
garage door driver.
Press ‘CODE’ button more than 8 seconds (the LED dot
flashes) until the LED displays ‘C’, all the stored codes
will be deleted.
Press ‘SET’ button and hold on until the LED displays ‘3’.
It’s under force adjustment mode. The maximum force is
9 and the minimum is 1. Press ‘UP’ button to increase the
force and ‘DOWN’ button to decrease the force according
to actual situation. The display on LED is the current
force rate. Press ‘SET’ button to confirm.