66250900 - V4.1 - 15/05/19
- 4 -
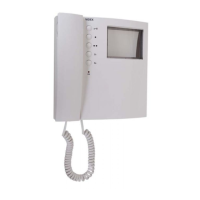
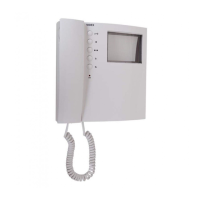
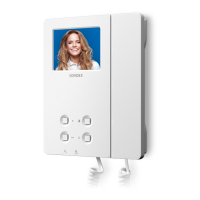
Kristallo Series
Art.KRV76-KRV78 - Installation instructions
PROGRAMMINGS MENU
When the system is in stand-by, keep pressed the button
until the monitor switches on showing the screen to the left.
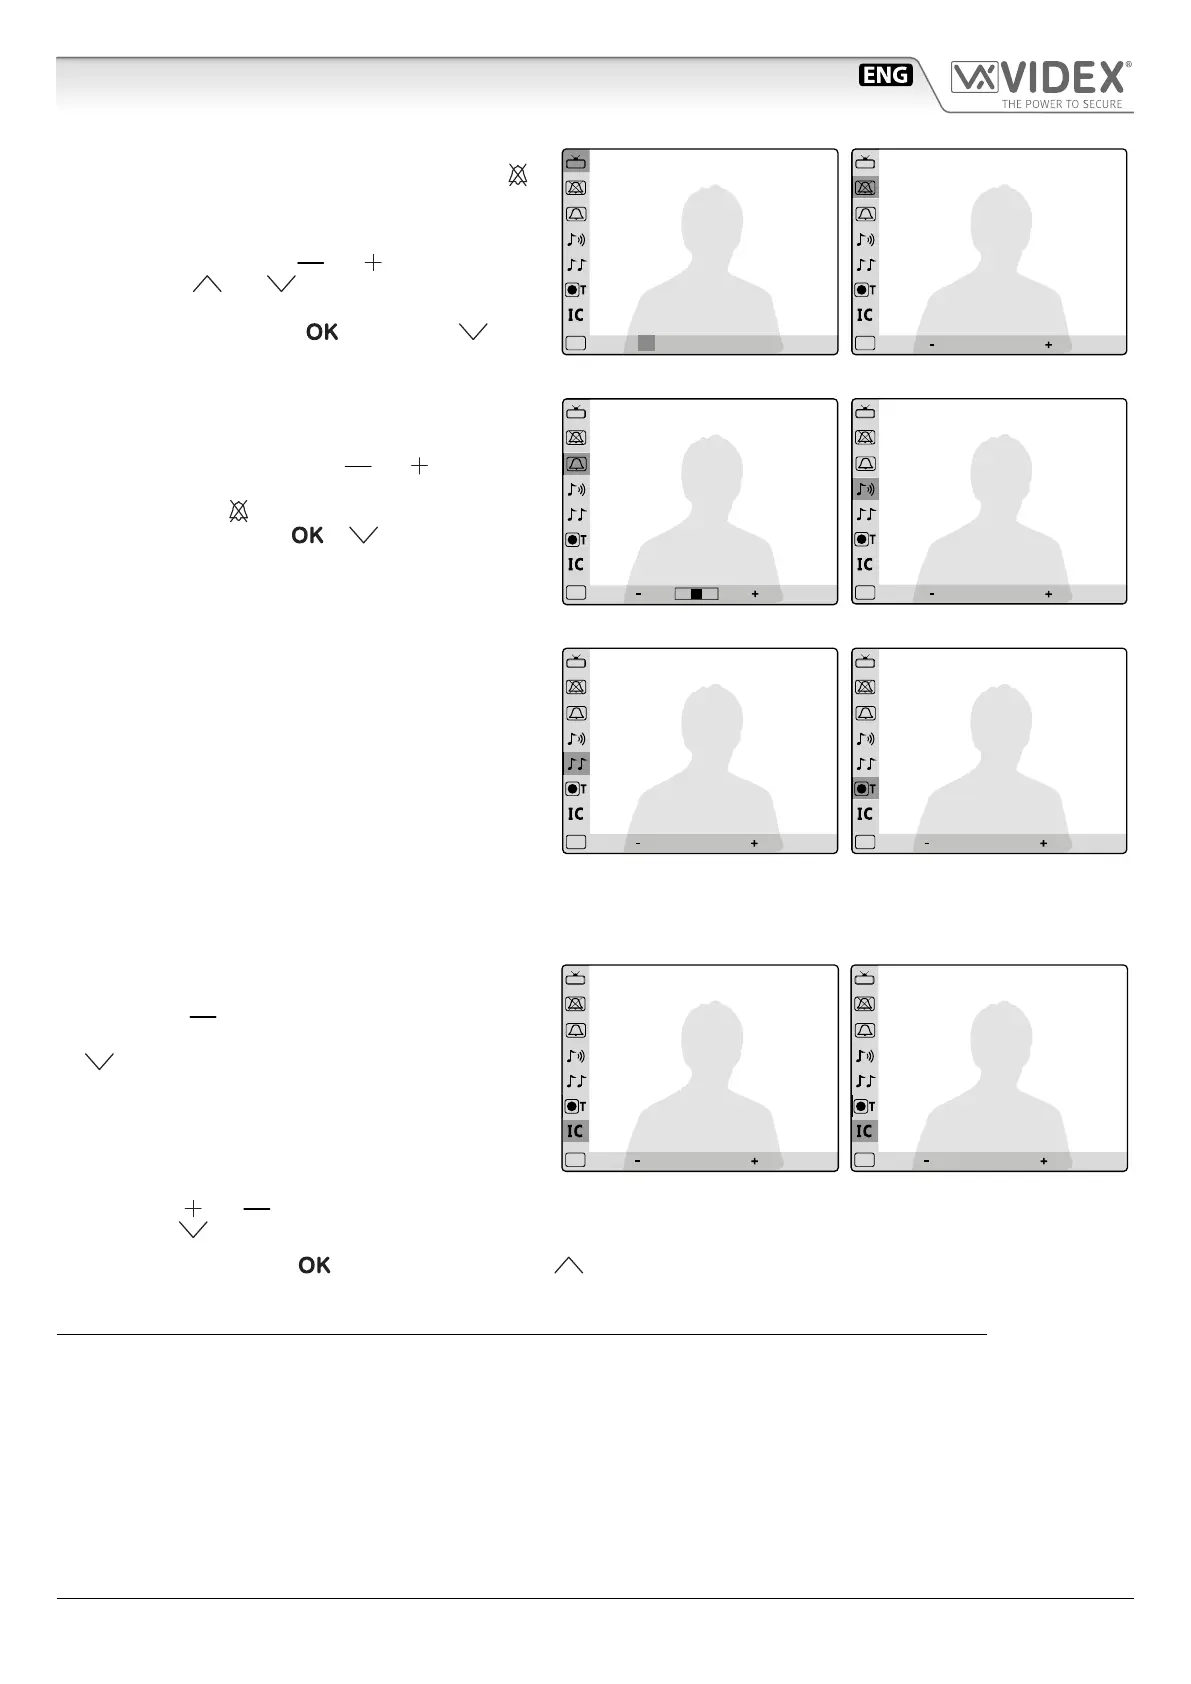
The rst programming option is the date & time Fig.4:
• change the values by the
and buttons;
• use buttons and and to move between the
elds to set (day, month, year, hours and minutes);
• conrm the setting by the button or the but-
ton when the eld minutes is selected. The system
goes to next programming step.
The second programming option is the privacy duration
Fig.4A (from 0 to 20 hours):
• adjust the value by the buttons
and (0 = privacy
duration unlimited, the service is disabled by pressing
again the button );
• conrm the value by the or . The system jump
to next programming option.
Proceed in the same way for the other programming
options: call tone volume (3 level Fig.4B), melody (9
options Fig.4C), number of rings (for 1 to 9 Fig.4D)
and service button duration (0 or from 1 to 99 seconds
Fig.4E from rmware 2.3 and later).
The “Service Button Duration” has a special programming:
• From 1 to 99 it indicates the number of seconds during
which the “SB” output is active when the service is enabled.
• By setting 0 value, the service operates in two ways :
1. When the videophone is in stand-by, a “Local Bell”
call (“LB” input terminal) automatically enables
the “SB” output for 30 seconds approx.;
2. When the videophone is switched on, by activat-
ing the service, the “SB” output terminal is enabled for 20 seconds.
The last setting is the intercommunication mode “IC” (from rmware 3.0 and later). Two intercommunication modes are available:
• To set the intercommunication for dierent apart-
ments (videophones with dierent PHONE ID) press
the button
until you select the “APT. MODE”
(Fig.4F). In stand-by mode, by pressing the button
one or more times you will be able to call the vid-
eophones with PHONE ID from 1 to 9.
• To set the intercommunication among extensions
in the same apartment (videophones with the same
PHONE ID but with dierent EXT. ID) select an EXTEN-
SION ID for this device from 1 to 9 (Fig.4G) by pressing
the buttons and . In stand-by mode, by pressing
the button one or more times you will be able to call the videophones with EXT. ID from 1 to 9 within the same apartment.
Once “EXIT” is selected, press
to exit or press the button to continue to change other programming options.
NOTE
From any of the two OSD menu’s, if the videophone switches o because of the timeout, the changes with not be stored.
09:2315/12/11
EXIT
Fig.4
01 . 5h
EXIT
Fig.4A
EXIT
Fig.4B
RINGS 6
EXIT
Fig.4D
MEL ODY 1
EXIT
Fig.4C
02 SEC
EXIT
Fig.4E
APT.MODE
EXIT
Fig.4F
EXT. ID: 2
EXIT
Fig.4G
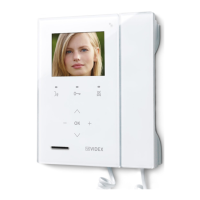
Art.KRV76-KRV78
Handsfree videophones for systems using composite video signal (coax) or balanced (two wires)
 Loading...