7
5608 488 v1.2
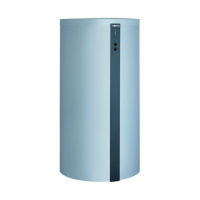
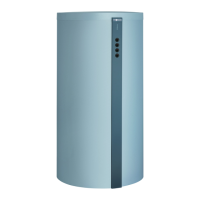
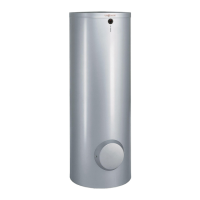
Vitocell 100-B Installation Instructions
Recommended installation clearances for service access
IMPORTANT
CAUTION
Install the DHW tank in a frost-protected and draft-free
room. Otherwise it must be drained when not in use, in
order to reduce the risk of damages caused by freezing.
Provide sufficient clearances towards the wall to allow
the aquastat to be operated (if installed).
Rear in. (mm) 18 (460)
Sides May be reduced if rear pipe connections can be reached with less clearance in. (mm) 12 (300)
Top in. (mm) 12 (300)
Front in. (mm) 26 (650)
All sides in. (mm) 0 (0)
Floor combustible
Minimum clearance to combustibles
- For narrow passageways, remove upper and lower
portion of crating and carry DHW tank to its installation
location by means of crating boards mounted on the tank.
- Position tank carefully and remove wood crating.
- Leave adequate clearance to the wall or other objects
enabling easy access to the aquastat (where applicable).
- Install tank(s) on flooring or foundation capable of
supporting the weight of the tank(s) filled with water.
- The tank does not require a special foundation and
can be placed directly on the floor. If, for cleanliness
purposes, the tank is to be kept off the floor, a
foundation can be used for each tank or tanks.
Tank Set-up
Set-up and Connections
1. Apply Loctite 55 as per supplied instructions to each
tank nipple. Use Loctite 55 provided in the installation
fittings package.
2. Connect female ends of brass adaptors to the tank
nipples.
IMPORTANT
When using the Vitocell 100-B tank for solar applications
always use a brass elbow complete with sensor well on
the solar collector return connection.
CAUTION
Do not over-tight the adaptors as this may damage the
Ceraprotect enamel of the Vitocell 100-B tank.
Refer to the “Installation of DHW
temperature sensor for solar operation”
in the respective tank Installation
Instructions.

 Loading...