10
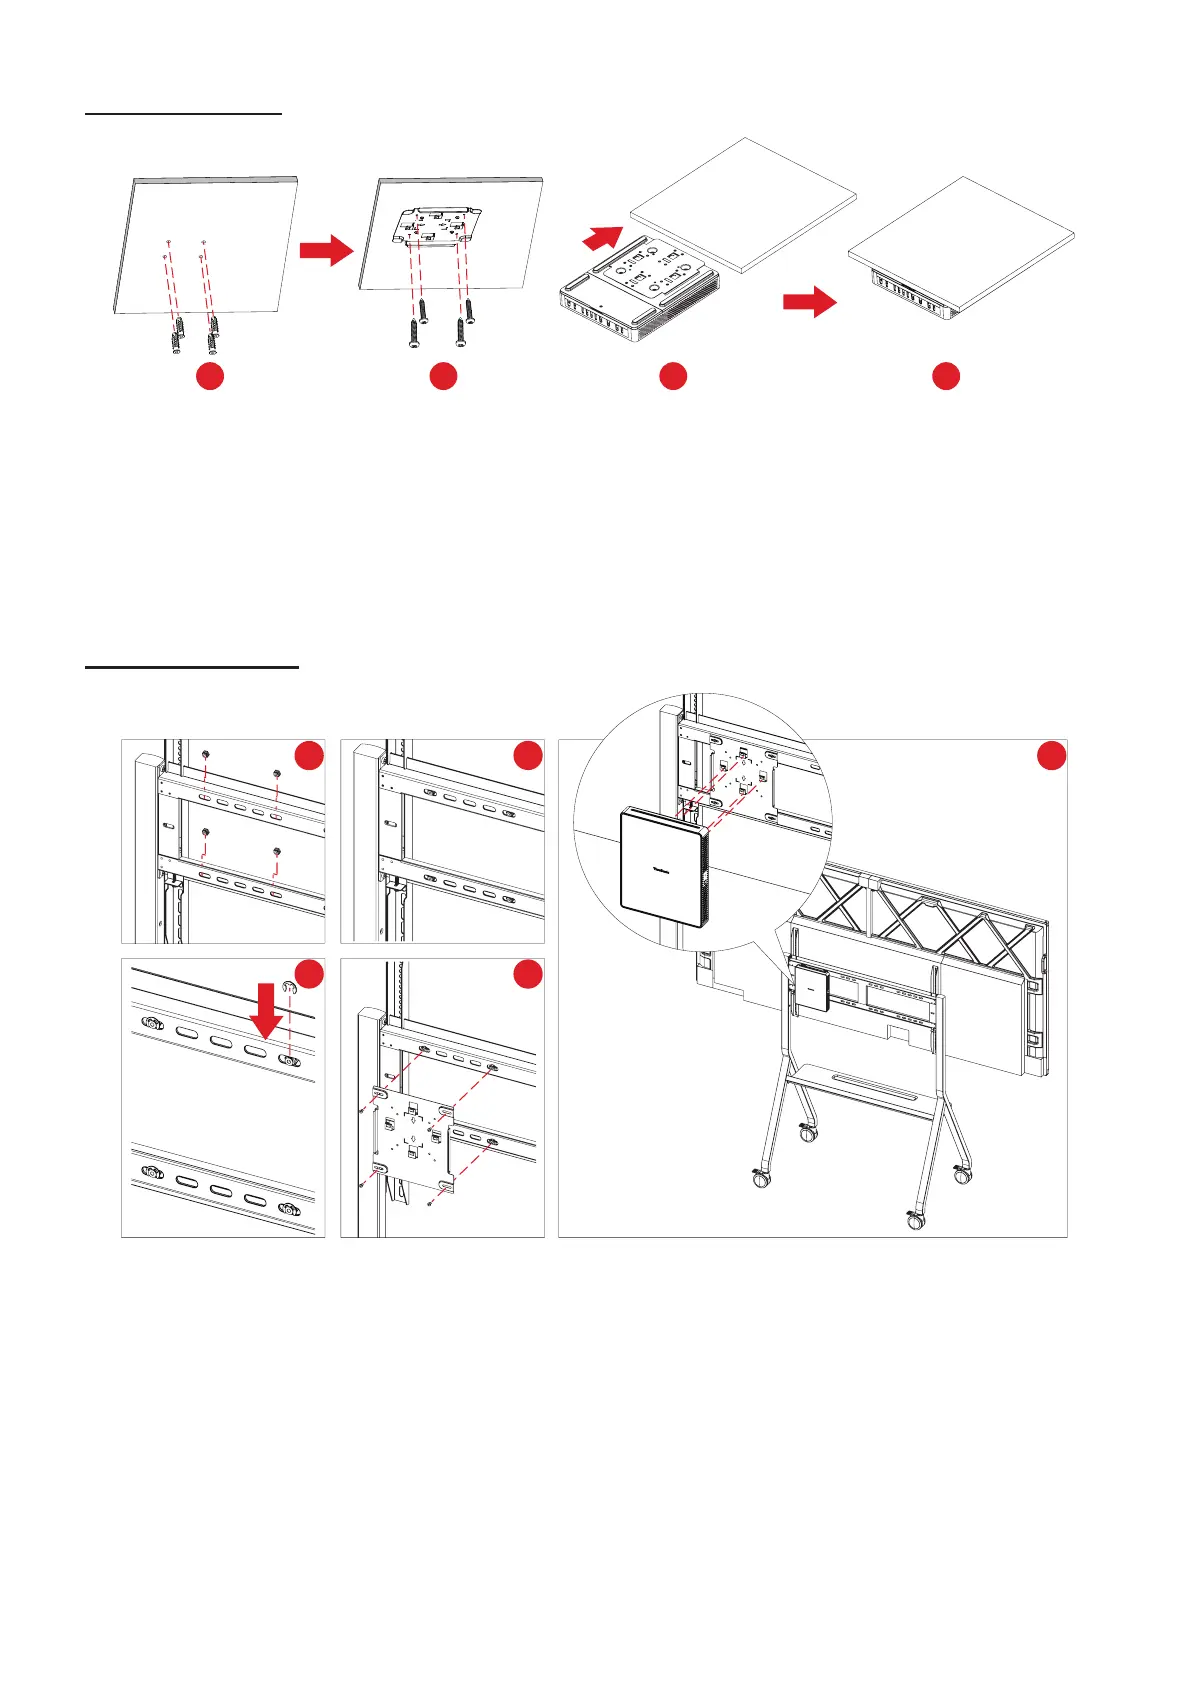
Table Mounng
1 2 3 4
1. Pre-drill four holes into the table and install four Anchors (Ø6.0 x 25 mm).
2. Align the VESA Mounng Bracket (Wall/Table/Trolley Side) with the four Anchors,
then secure the VESA Mounng Bracket with four Anchor Screws (T4 x 20 mm).
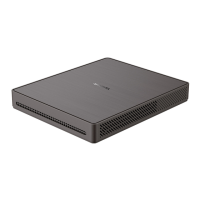
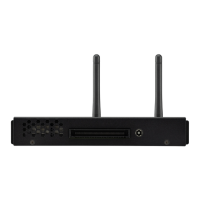
3. Aach the Conferencing PC to the VESA Mounng Bracket.
Trolley Mounng
1
2
3
4
5
1. Select the installaon locaon on the trolley and make sure the space is
appropriate for the Conferencing PC.
2. Install four Hex Nuts into the oval holes of the trolley.
3. Secure the Hex Nuts with four E-type Circlips (Ø8 ).
4. Align the VESA Mounng Bracket (Wall/Table/Trolley Side) with the four Hex
Nuts, then secure the VESA Mounng Bracket with four Screws (M4 x 6 mm).
5. Aach the Conferencing PC to the VESA Mounng Bracket.