9
Inial Setup
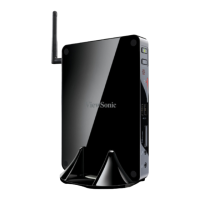
Installing the Conferencing PC
With the included VESA Mounng Bracket set, the Conferencing PC can be aached
to a wall, table, or trolley.
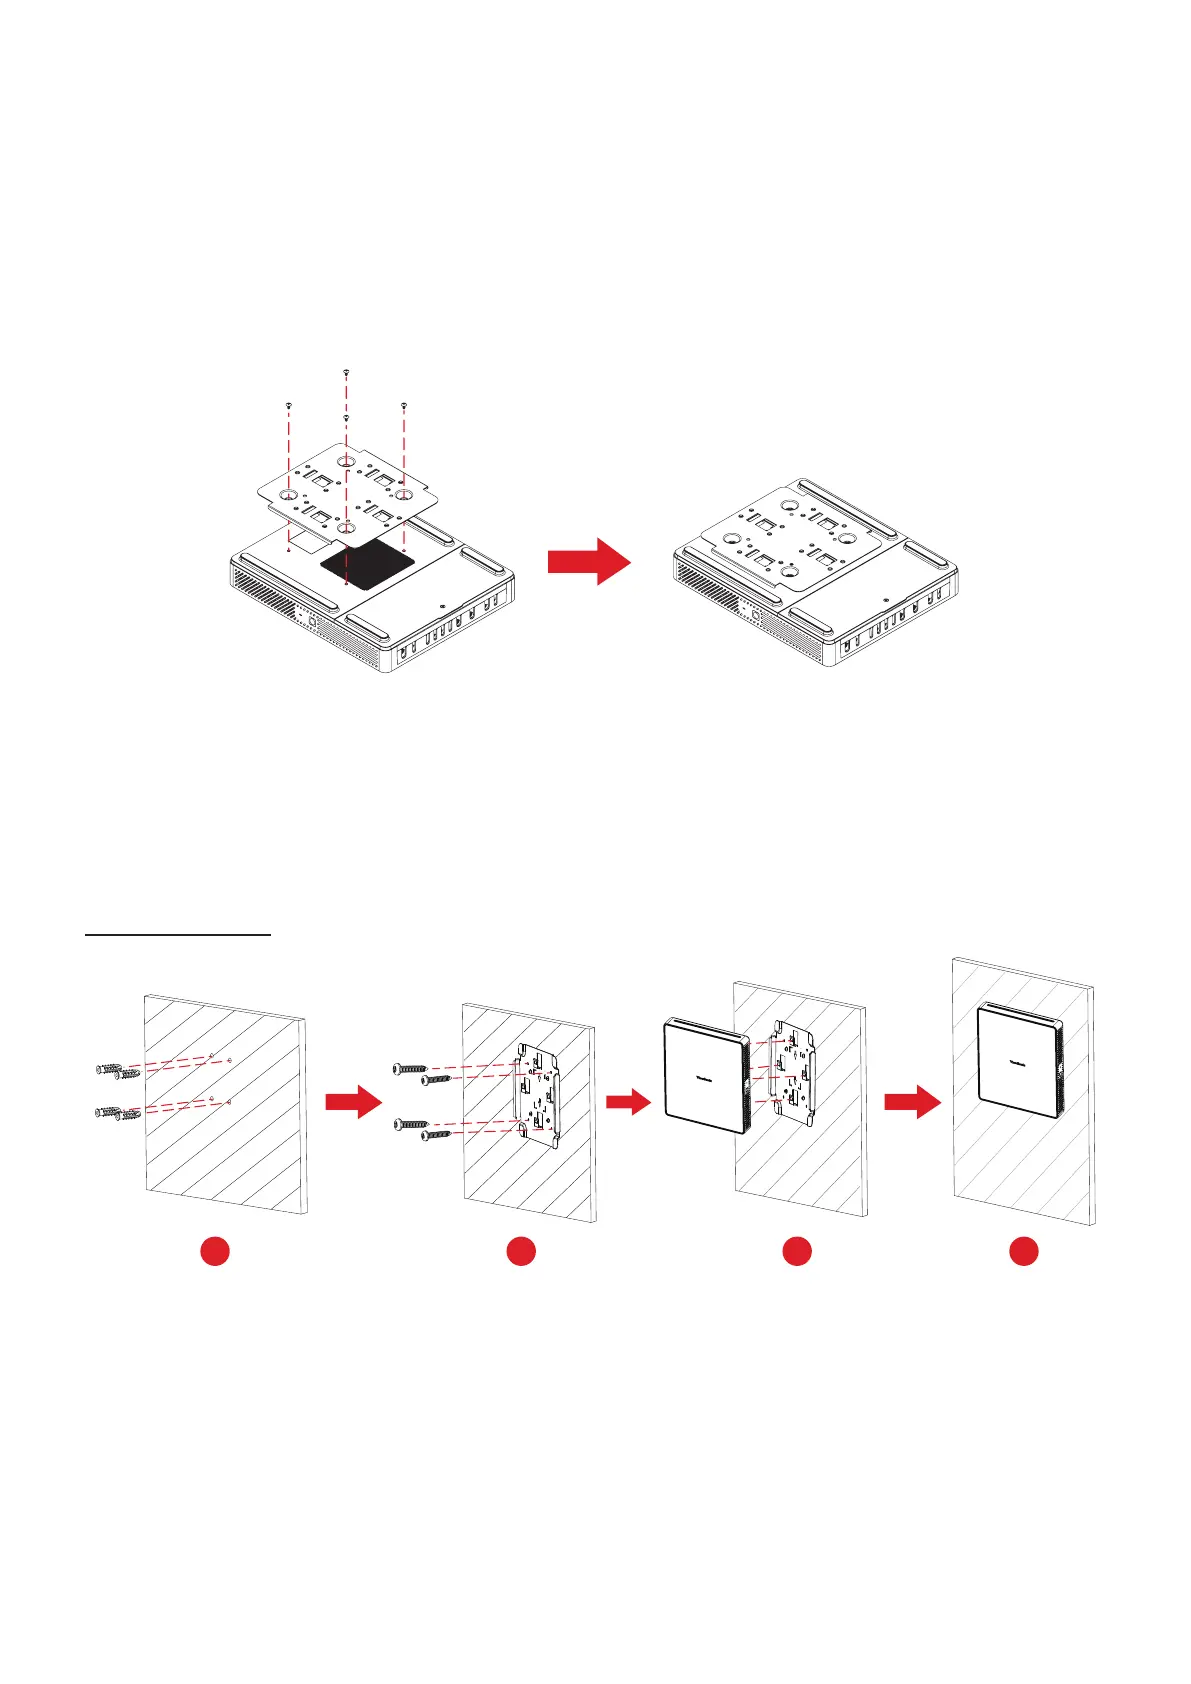
Installing the VESA Mounng Bracket (PC Side) onto the Conferencing PC
Aach the VESA Mounng Bracket (PC Side) to the Conferencing PC with four
Bracket Screws (M3 x 6 mm).
Installing the VESA Mounng Bracket (Wall/Table/Trolley Side) and
Conferencing PC
Wall Mounng
1 2 3 4
1. Pre-drill four holes into the wall and install four Anchors (Ø6.0 x 25 mm).
2. Align the VESA Mounng Bracket (Wall/Table/Trolley Side) with the four Anchors,
then secure the VESA Mounng Bracket with four Anchor Screws (T4 x 20 mm).
3. Aach the Conferencing PC to the VESA Mounng Bracket.