Page 8 For technical questions, please call 1-888-866-5797. 59531
SAFETY OPERATION MAINTENANCESETUP
Operating Instructions
Using the Work Light
1. To turn the Work Light on, press
the Work Light button.
2. To turn flashing lights on, press the
Work Light button again.
3. To turn the Work Light off, press
the Work Light button again.
Jump Starting a Vehicle
Note: Read the vehicle owner’s manual pertaining
to jump starting prior to using the Jump Starter.
1. Press the Battery Test button to verify that the
Jump Starter is fully charged. Recharge as
needed, following the instructions in the “Charging
the Jump Starter” section on page 6.
2. Turn off the vehicle ignition switch and all
accessories (lights, radio, climate control, etc.).
3. Turn Clamp Power Switch on the Jump
Starter to their OFF position. You may
leave the Work Light on if needed.
WARNING! TO PREVENT SERIOUS INJURY:
DO NOT TOUCH POSITIVE AND NEGATIVE
BATTERY CLAMPS TOGETHER.
3. Connect the red Positive Battery Cable to
vehicle’s positive battery terminal. Connect
the black Negative Battery Cable to a non-
moving metal part of the vehicle.
WARNING! TO PREVENT SERIOUS INJURY:
DO NOT CONNECT TO THE NEGATIVE
TERMINAL OF THE BATTERY.
4. When the correct connection has been made, turn
the Clamp Power Switch to the ON position.
5. Start the vehicle. If the vehicle does not start,
wait an additional 3 minutes before trying again.
Note: For a successful engine start, allow Jump Starter
to charge vehicle battery up to 5 minutes before starting.
6. After the vehicle is started, turn the Clamp
Power Switch to the OFF position. Remove
the black Negative Battery Cable first, and
then the red Positive Battery Cable.
Using the Air Compressor
Note: Compressor will automatically shut down
when over heated. Compressors duty cycle is 15
minutes with Max on and 30 minutes with Max off.
1. Press the Battery Test button to verify that the
Jump Starter is fully charged. Recharge as
needed, following the instructions in the “Charging
the Jump Starter” section on page 6.
2. Open the Air Hose Compartment on the
back of the unit and pull out the air hose.
3. Check the proper inflation level for the object that is
being inflated.
Tire Inflation
1. Thread the Tire Inflator over the valve stem
firmly, making sure it is fully seated.
Air
Hose
Tire
Inflator
Figure A:
2. Press the Air Compressor Switch on.
Note: Monitor the Air Pressure Gauge on the
front of the unit to avoid over-inflation.
3. When the proper inflation level has been
reached, press the Air Compressor Switch off.
4. Unscrew the Tire Inflator from the valve stem.
5. Store the Air Hose in the storage compartment.
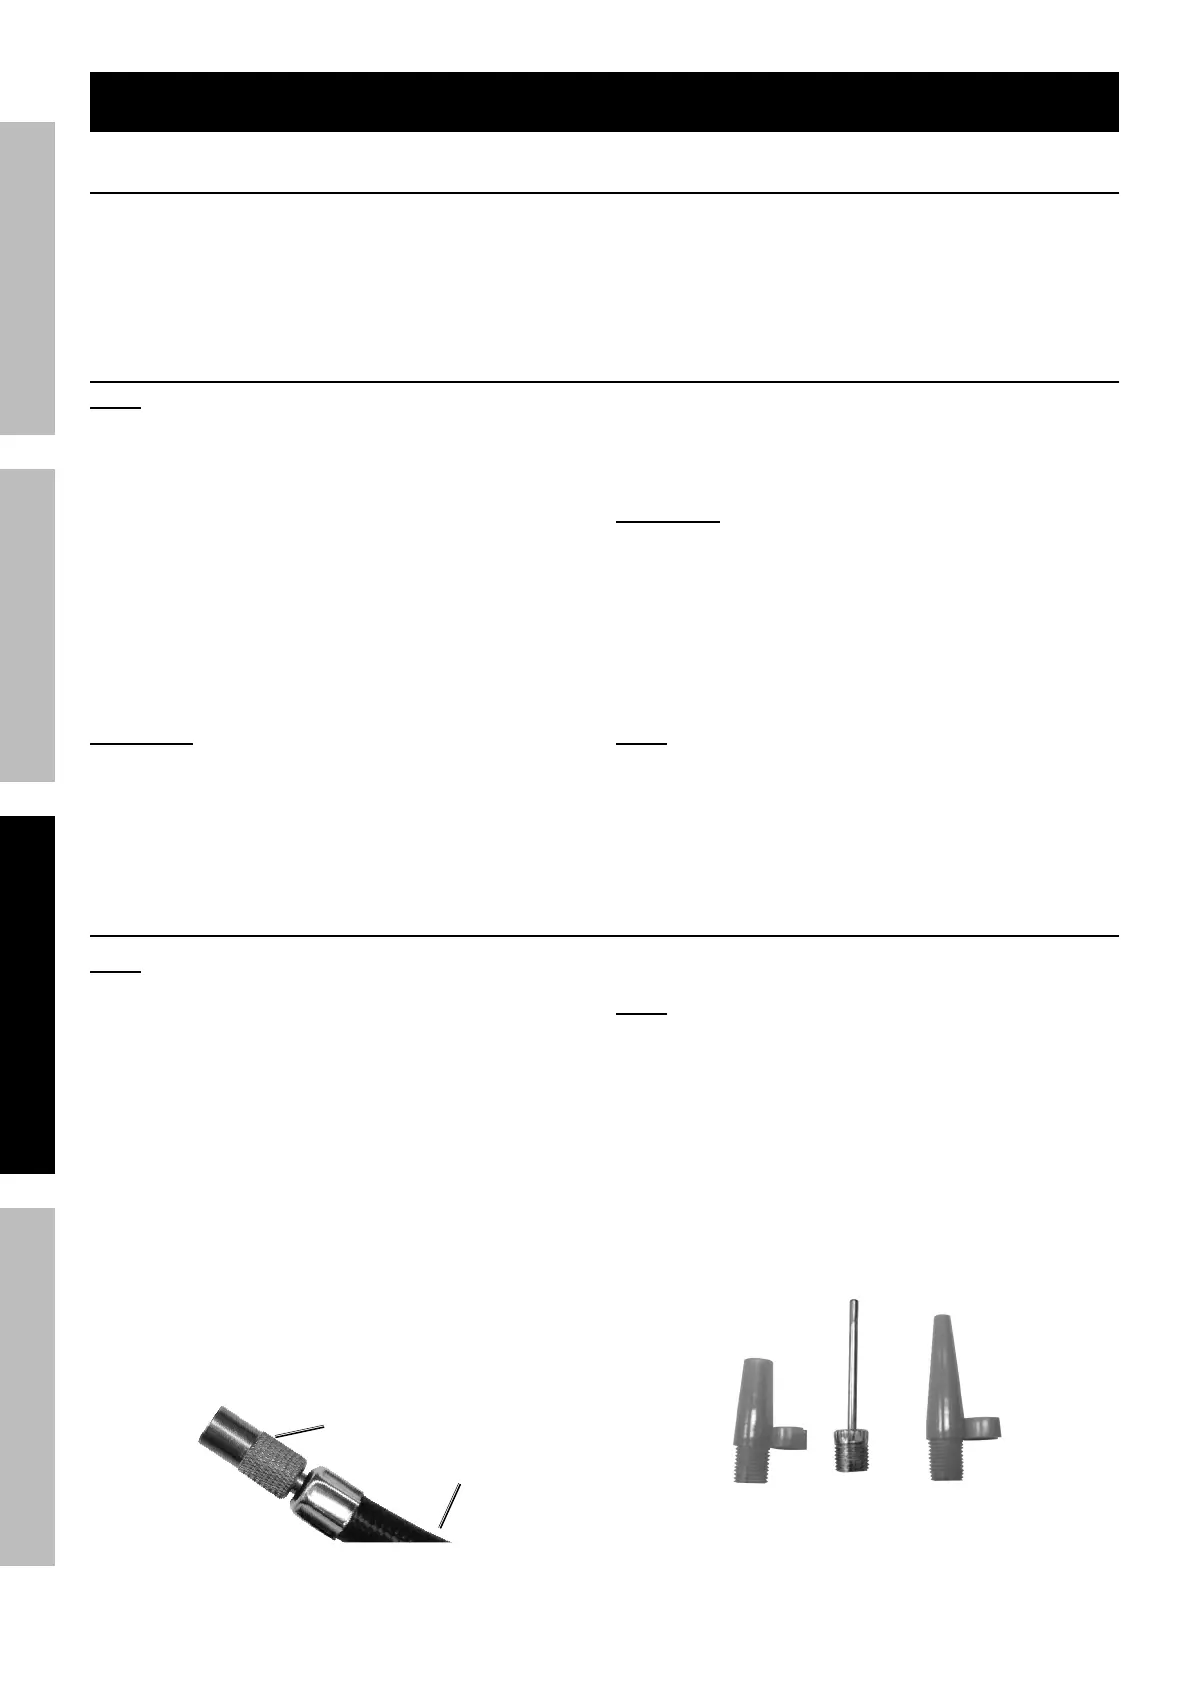
Using Hose Adapters
1. Three adapters are included with the Jump
Starter that can be attached to the Tire Inflator.
Figure B:
2. Attach the proper adapter to the Tire
Inflator for the object to be inflated.
 Loading...