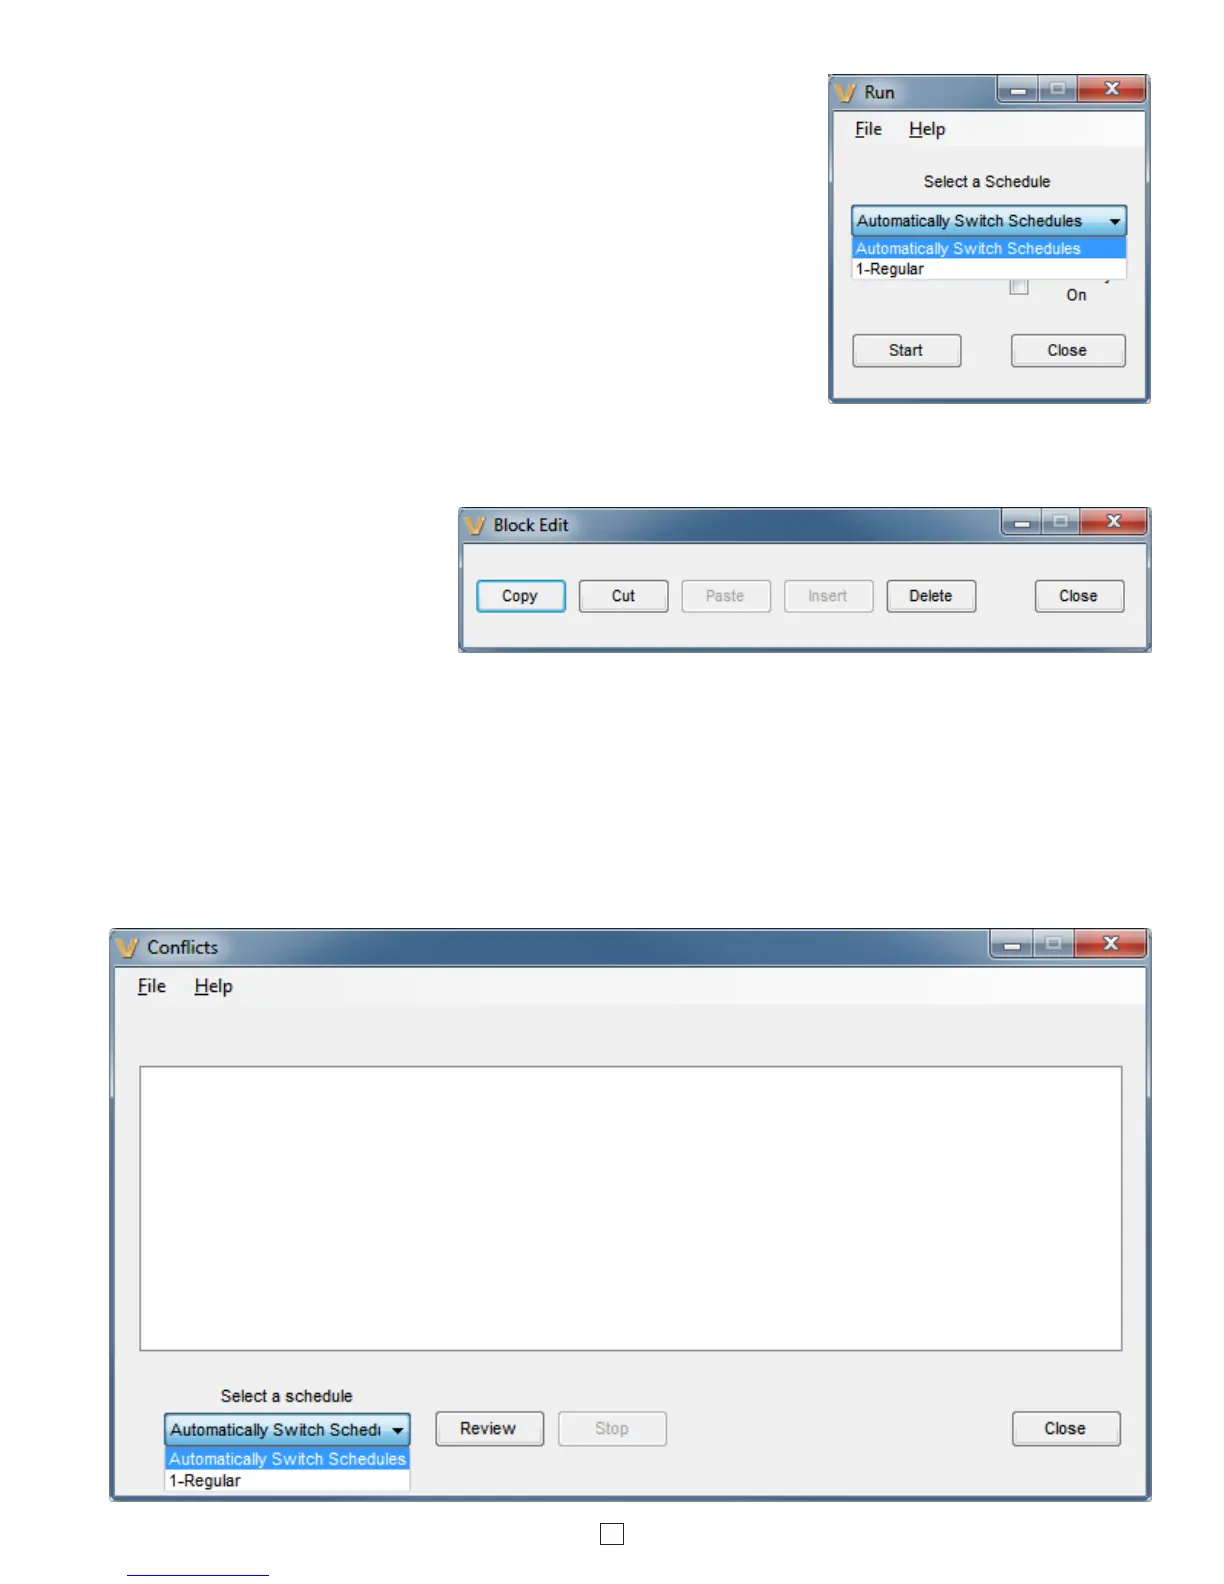
Run: Click this button to exit PC programming and place the CTG-2A in run
mode. Simply press the “Run” button, select the desired fixed schedule or
Automatically Switch Schedules and press “Start”. Note: If you are starting the
CTG-2A during a preprogrammed time for “System Disable” or “Aux Relay On”,
check the appropriate boxes then click “Start”.
Automatically Switch Schedules: If more than one schedule is programmed
you can run the unit in the Automatically Switch Schedules Mode. In the
Automatically Switch Schedules Mode the CTG-2A will automatically switch
on/off and to different schedules per the dates programmed in the “Calendar”.
Schedule changes will take place at 12:00 AM. Note: Multiple schedule changes
on a particular day are not supported.
Exit: Clicking “Exit” with a dat file open will prompt you “Do you want to start
running?” Selecting “Yes” or “No” will exit and close the CTG-2A programming
software. If “no” was selected the CTG-2A will display “OFF” and will not activate
any programmed events. The 4 trigger inputs will remain functional. If “Yes” was selected the “Run” menu will appear
allowing you to select the “Automatically Switch Schedules” or any preprogrammed schedule. Click on “Start” and the
CTG-2A will begin running the selected schedule.
14
Block Edit: This screen opens after
single clicking in the Event row. By
clicking and highlighting, entire
blocks of events can be selected.
This is used to Copy, Cut, Paste,
Insert or Delete single or multiple
Event rows. This can be useful for
copying an entire schedule then modifying the event times slightly for early release, late start, etc. (above).
Conflicts: Clicking the “Conflicts” button will open the Conflicts screen where you can have the software review the
programmed Events and Schedule changes in your dat file to determine date or time conflicts. This will also check for
conflicts if a wave file is not finished playing before another event is scheduled to activate. When you have finished
programming your dat file, click on “Conflicts”, and select “Automatically Switch Schedules ” or which schedule you
would like to check for conflicts then click “Review”. The “Conflicts” screen will display all the events with conflicts and
the “Event Programming” menu will highlight the events with conflicts in yellow. Make corrections to the highlighted
events then review conflicts again. (below) Note: If using multiple schedules and Automatically Switch Schedules Mode,
check each schedule for conflicts first, then check Automatically Switch Schedules for conflicts.

 Loading...
