72
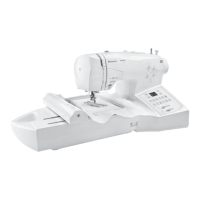
Embroidery
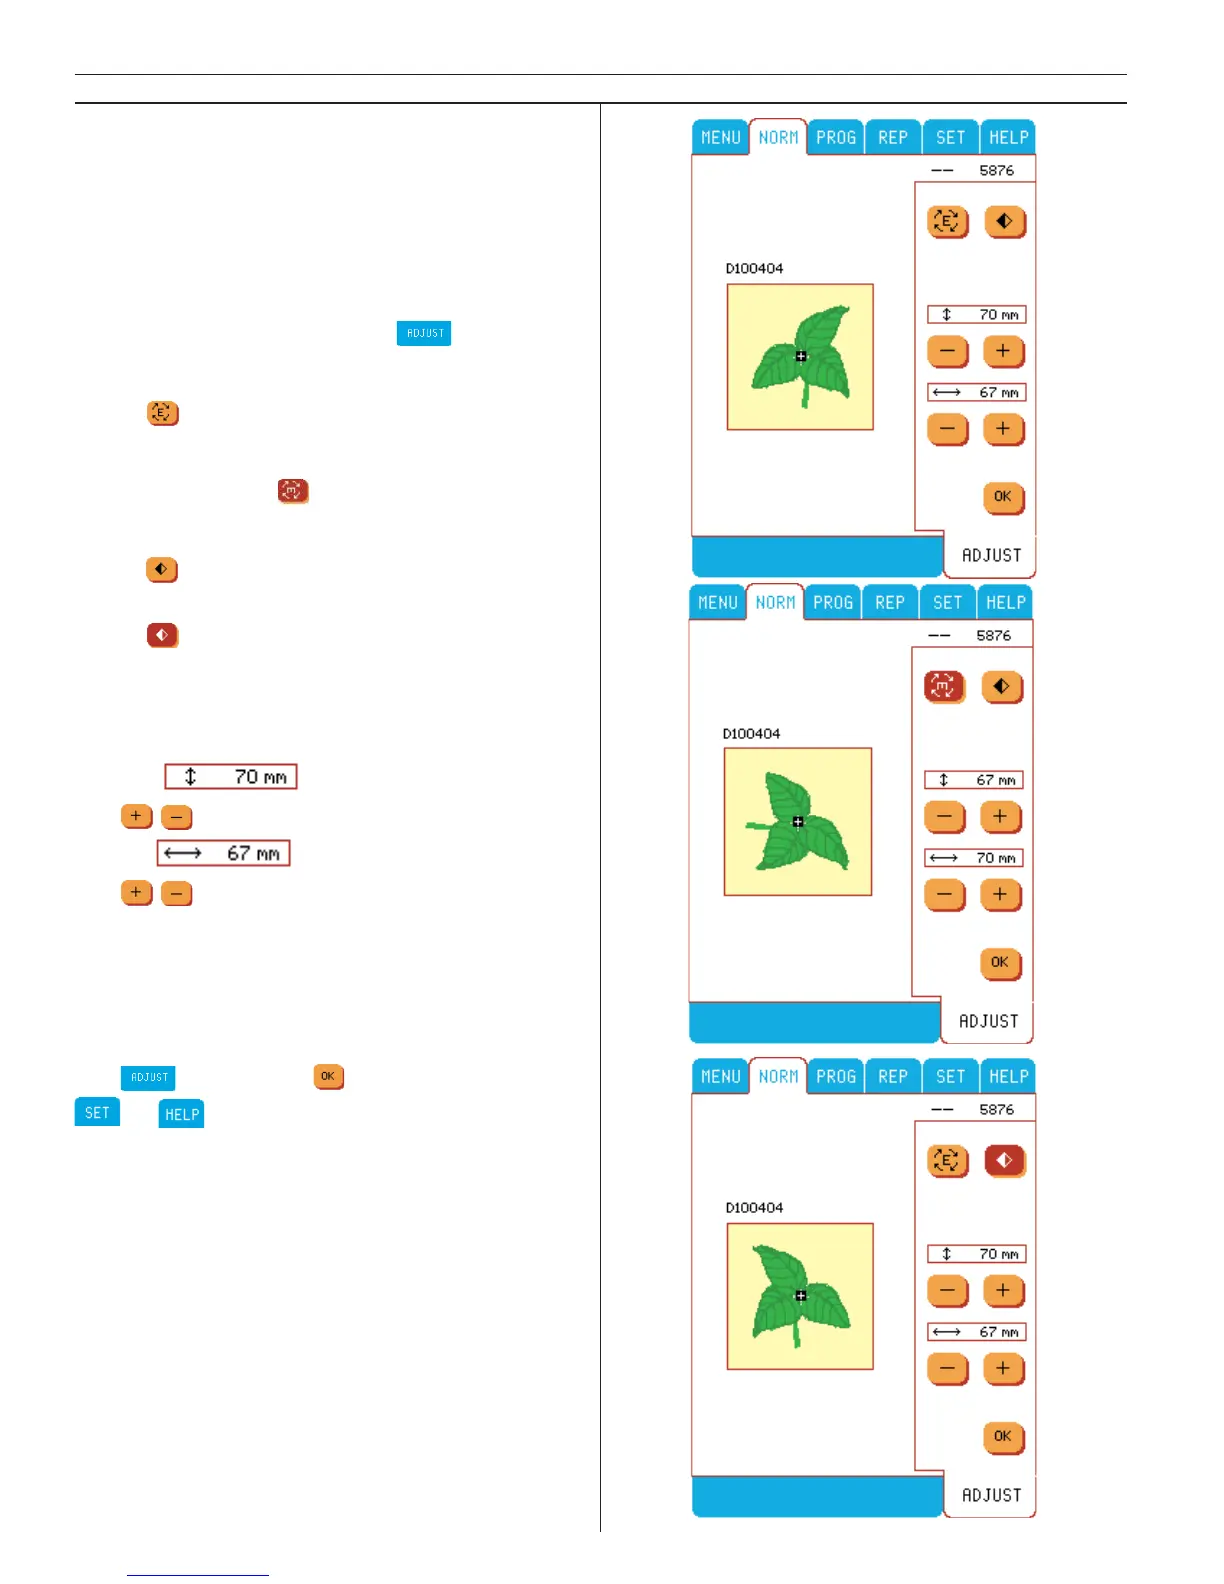
Adjust in Embroidery
There are many options to adjust your design.
Always adjust fi rst, before using any of the but-
tons on the embroidery screen menus (step
through stitches, check parameters of de sign,
move design in hoop, etc.) and before begin-
ning to sew.
To activate Adjust menu touch
.
Rotate embroidery
Touch
to rotate the embroidery in 90 degree
steps. See it on the color touch screen. When an
embroidery has been rotated, the button will be
indicated in brown .
Mirror image side to side
Touch
and the leaf will fl ip side to side. The
mirror image button will be indicated in brown.
Touch
to return to normal image
Size
Scale embroidery size up or down (up to 20%).
An audible beep will advise you of the limits.
Height
Use
.
Width
Use
.
You can increase the width and height indepen-
dently to create long and thin or short and wide
designs. When enlarging or reducing the size
of the embroidery, experiment with dif fe rent
weights of embroidery thread.
Exit
by touching or by accessing the
or menu.
 Loading...