12 13
*NOTE: The PROBE function is included on Premiere Models.
Setting the Clock
Setting the Clock
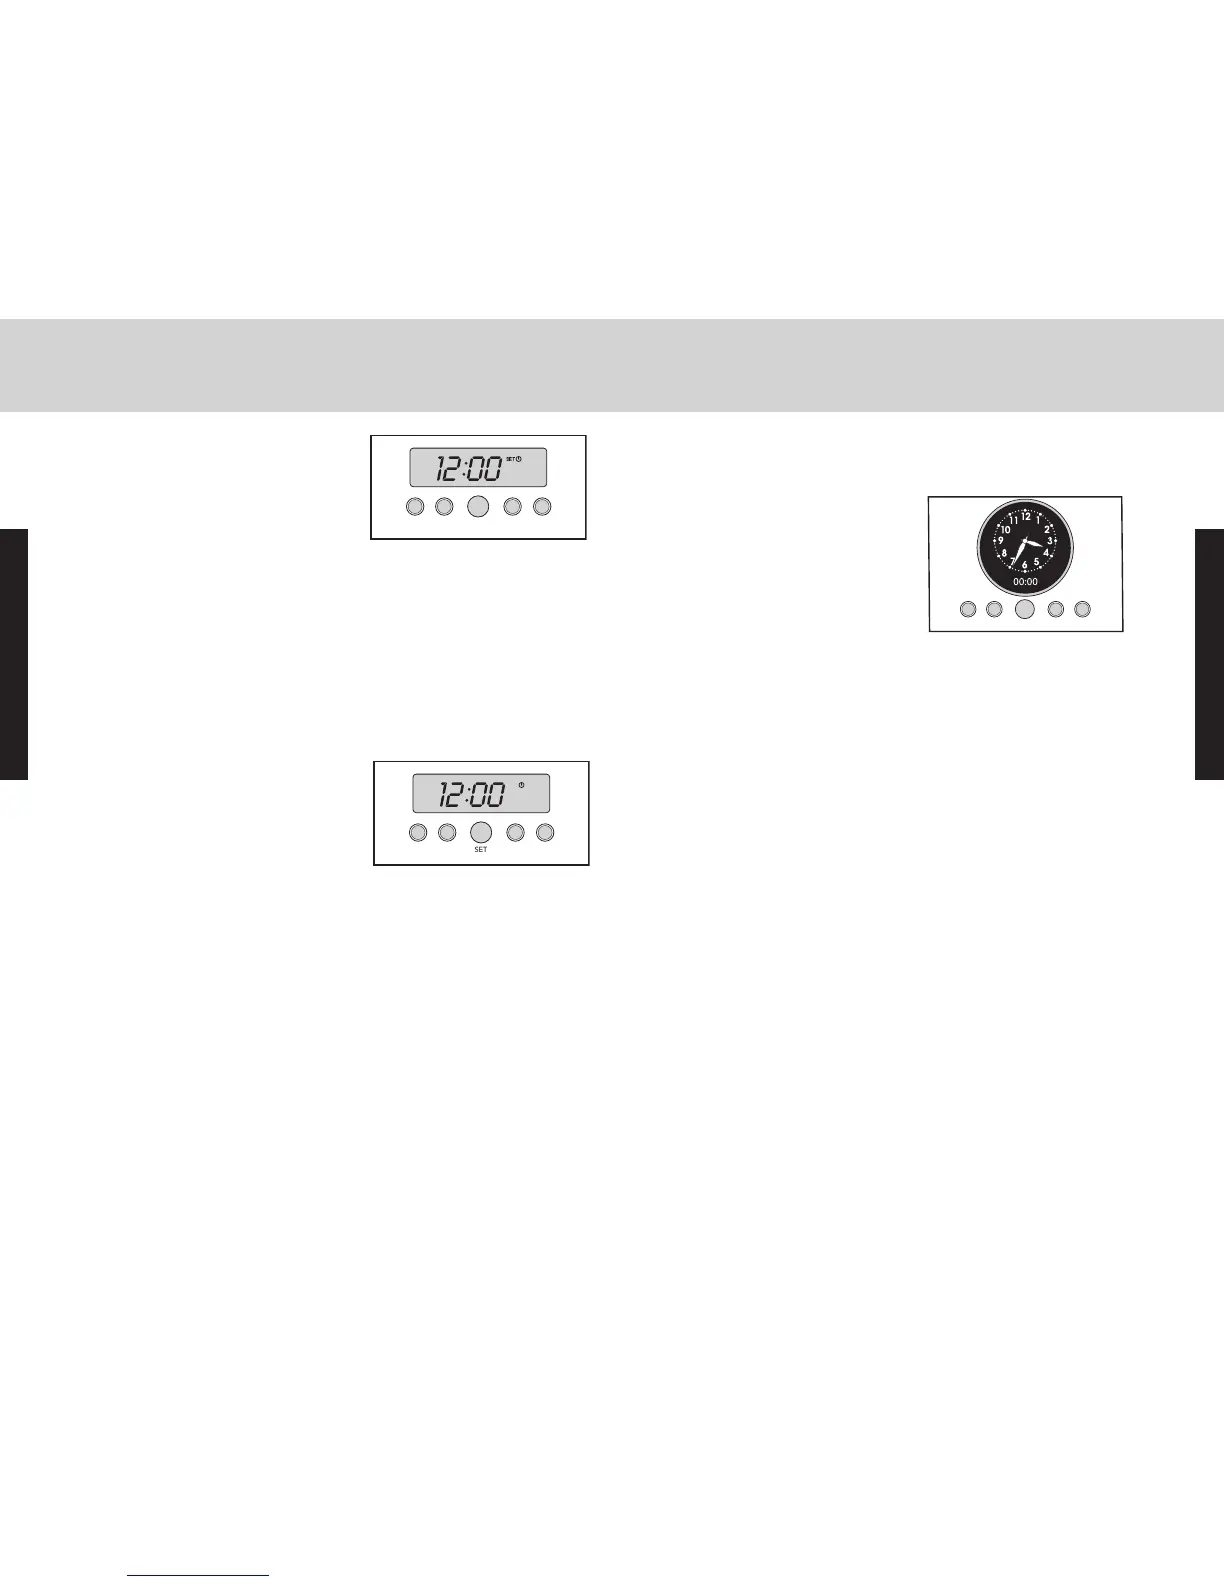
Digital Display
((SSeelleecctt MMooddeellss))
The time-of-day must be set before any
other program can be used. When your
oven is first connected to the power in
your home, the timer display will show --:--
.
To program the time-of-day:
1. Press the “CLOCK”* button once. 12:00 will be displayed with the word
SET in the upper right corner.
2. Turn the “SET” knob until the correct time-of-day is displayed. AM and
PM are not indicated.
3. Press the “CLOCK” button again. The word SET will disappear and the
correct time is now set into the timer.
The time-of-day can be changed by following steps 1 through 3. It cannot
be changed while there is a Bake Hours or Start Time cycle programmed
into the timer.
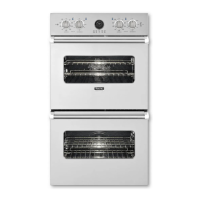
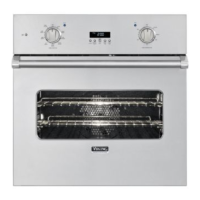
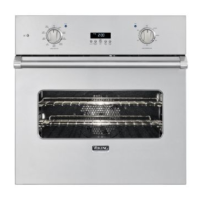
Digital Display
((FFrreenncchh DDoooorr MMooddeellss))
1. Press and hold the “min/sec timer” and
“bake time” buttons simultaneously.
2. Turn the “Set” knob to set the digital
clock.
3. Release the “min/sec timer” and “bake
time” buttons.
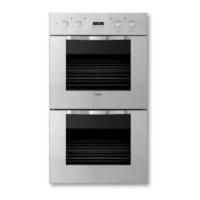
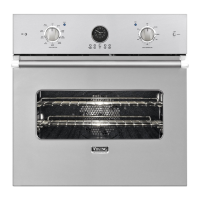
Analog Display
((PPrreemmiieerree MMooddeellss))
Synchronizing the analog and digital clocks:
N
OTE: It is important to always synchronize
the analog and digital clocks before setting
the time-of-day.
1. Press and release the “start
time” button.
N
OTE: This is only
necessary after a power outage or for the
first time to set the clock.
2. Press and hold the “min/sec
timer” and start time buttons
simultaneously.
3. Turn the “Set” knob to move
the hands on the analog clock
to 30 minutes ahead of the
current time. Release hold from “start time” and “min/sec
timer” buttons.
4. After several seconds, the display will blink. Press and hold the
“min/sec timer” button and turn the “Set” knob to set the
digital clock so that it matches exactly with the analog clock.
The clocks are now synched and you can now set the time of
day.
The time-of-day must be set before any other program can be
used.
Setting the time-of-day:
1. Push and hold the “min/sec timer” and “bake time” buttons
simultaneously.
2. Turn the “Set” knob until correct time is displayed on the
digital clock.
3. Release hold from “min/sec timer” and “bake time” buttons.
The analog clock’s time will automatically set to match the
digital clock.



 To Next Page