Preliminary procedures
After having installed the device, it must be programmed, giving it an
identication number (ID), which is unique for each appliance.
The BASIC programming is described below, which can be done with
the device's keyboard.
All programming operations must be performed with the indoor unit
on standby.
For ADVANCED programming, use the SaveProg software for PC.
N.B.: the buttons do not work by touch alone but have to be pressed
for longer (approximately 0.4 s): this prevents accidental activation or
controls. Unless specically disabled, the recognition notice is given by
acoustic signalling.
Programming ID identication code
The identication code is programmed with a congured MASTER en-
trance panel.
An indoor unit with no ID code programming beeps three times when the
button is pressed
1) Lift the handset and place to the ear.
2) Press the
and buttons simultaneously and keep them
pressed until the
button starts blinking.
3) Release the buttons.
4) Press the button within 5s of releasing the buttons and keep it
pressed until you hear a warning tone on the handset and the com-
munication is activated between the indoor unit and the external elec-
tronic unit. If more than 5s passes without the button being
pressed, steps 1, 2 and 3 must be repeated.
5) Release the
button.
6) Within 25s, pair the ID code from the external electronic unit, following
the procedure described on the speech unit (pushing a button, inter-
nal keyboard entry).
NOTE: If the installation already contains an indoor unit with the same
paired identication code, the entrance panel will emit a tone and the pro
-
cess must be repeated from the start in order to assign a different code.
Programming secondary ID
The secondary identication code is programmed when the same call
has to activate multiple indoor units at the same time (max 4 composed
of 1 Master and 3 secondary ones). You need to dene a Master indoor
unit which can be paired with up to 3 indoor units with a secondary ID. At
most 50 Master ID codes can be programmed in this way.
1) Lift and place to the ear the handset of the indoor unit.
2) Press the
and buttons simultaneously and keep them
pressed until the
button starts blinking.
3) Release the buttons.
4) Press the and buttons simultaneously within 5s of releas-
ing the buttons and keep them pressed until you hear a warning tone
on the indoor unit and the communication is activated between the
indoor unit and the external electronic unit. If more than 5s passes
without the
and buttons being pressed, steps 1, 2 and
3 must be repeated.
5) Release the and buttons.
6) Within 25s, pair the ID code of the Master from the electronic unit, fol-
lowing the procedure described on the speech unit (pushing a button,
internal keyboard entry).
Note: Use the SaveProg software to program chime activation of all the
monitors and switching on only the master monitor.
Note: To delete from a group, the programming deletion procedure
described in the “Default data restore procedure” section must be per
-
formed.
Button programming for intercom calls
1) Raise and place to the ear the handset of the indoor unit to program
(caller).
2) Press the
and buttons of the indoor unit to program (caller)
and keep them pressed until the
button starts blinking.
3) Release the buttons.
4) Press and hold down the
button.
5) Wait for the indoor unit to emit a continuous tone.
6) Release the button.
7) Press a button on the indoor unit to call (
/F1/F2/ ).
8) An audible warning on the calling indoor unit conrms that the proce-
dure has correctly completed.
Programming the self-start button for a specic
electronic unit
1) Lift the handset and place to the ear.
2) Press the
and buttons simultaneously and keep them
pressed until the
button starts blinking.
3) Release the buttons.
4) Press and hold down the
button.
5) Wait for the indoor unit to emit an audible warning.
6) Release the button.
7) Call the indoor unit from the entrance panel on which you want direct
self-starting (pressing a button, internal keyboard entry or selecting
the name from the contacts list).
8) At the end of the procedure described above, the indoor unit emits
a signal to conrm that the operation has been successful and it is
called by the entrance panel.
Procedure for restoring default programming for the
button
1) Lift the handset and place to the ear.
2) Press the
and buttons simultaneously and keep them
pressed until the
button starts blinking.
3) Release the buttons.
4) Press and hold down the
button until the indoor unit beeps.
5) Release the button and press the button again, the indoor unit emits a
signal to conrm that the operation has been successful.
Note: to reprogramme buttons
and use the SaveProg soft-
ware.
Programming procedure for the levels of contrast and
brightness of the LCD
1) Lift the handset and place to the ear.
2) Press the
and buttons simultaneously and keep them
pressed until the
button starts blinking.
3) Release the buttons.
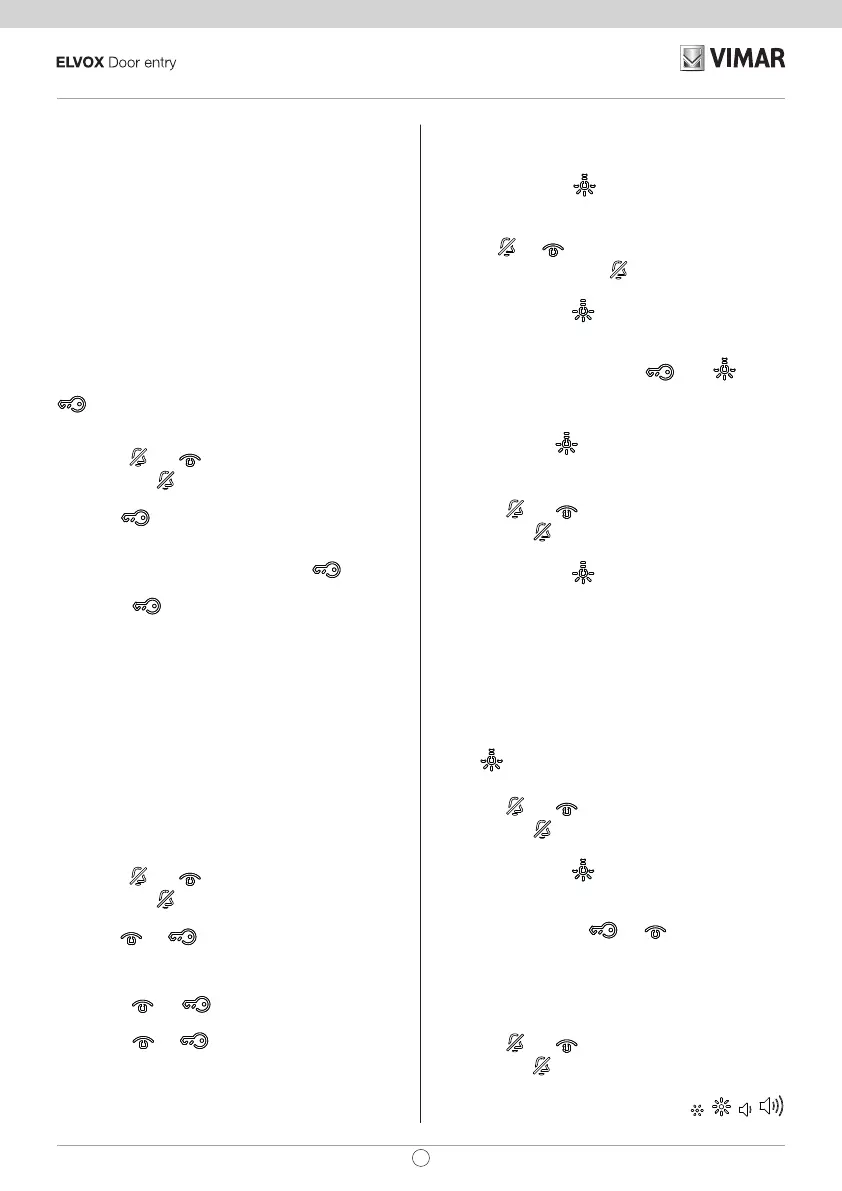
4) Press one of the 4 buttons beneath the handset:
, , ,
. Self-starting is performed on the rst programmed speech unit (by
19
TAB: 7548
EN